
ความแตกต่างใบเสร็จรับเงินแบบกระดาษกับ ใบเสร็จรับเงินในระบบ e-Tax Invoice & e-Receipt ของกรมสรรพากร
27/01/2023
การจัดทำ นำส่งและเก็บรักษาใบกำกับภาษีอิเล็กทรอนิกส์ คือหน้าที่ที่สำคัญของผู้ประกอบการในระบบ e-Tax Invoice & e-Receipt
24/02/2023วิธีสมัครระบบ e-Payment เพื่อดูข้อมูลการถูกหักภาษี ณ ที่จ่าย (e-Withholding Tax) จากระบบกรมสรรพากร

หากเราต้องดูข้อมูลการถูกหัก ภาษี ณ ที่จ่าย (e-Withholding Tax) ว่าผู้มีหน้าที่หักภาษี ณ ที่จ่าย ได้นำภาษีที่หักส่งกรมสรรพากรหรือไม่ มียอดการถูกหัก ณ ที่จ่ายทั้งหมดเป็นเท่าไร สามารถดูได้จากระบบ e-Payment ของกรมสรรพากร ซึ่งจะมีวิธีการสมัครและการเข้าดูข้อมูลการถูกหักภาษี ณ ที่จ่าย ตามลายระเอียดข้างล่างนี้
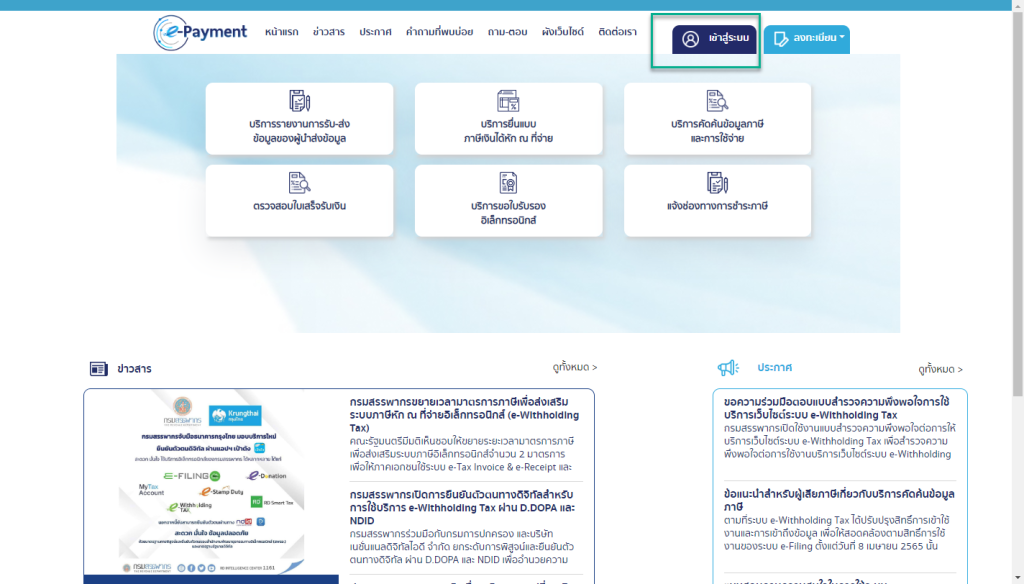
- เข้าสู่เว็บไซต์ https://epay.rd.go.th แล้วคลิก “เข้าสู่ระบบ” ตามรูปด้านล่าง
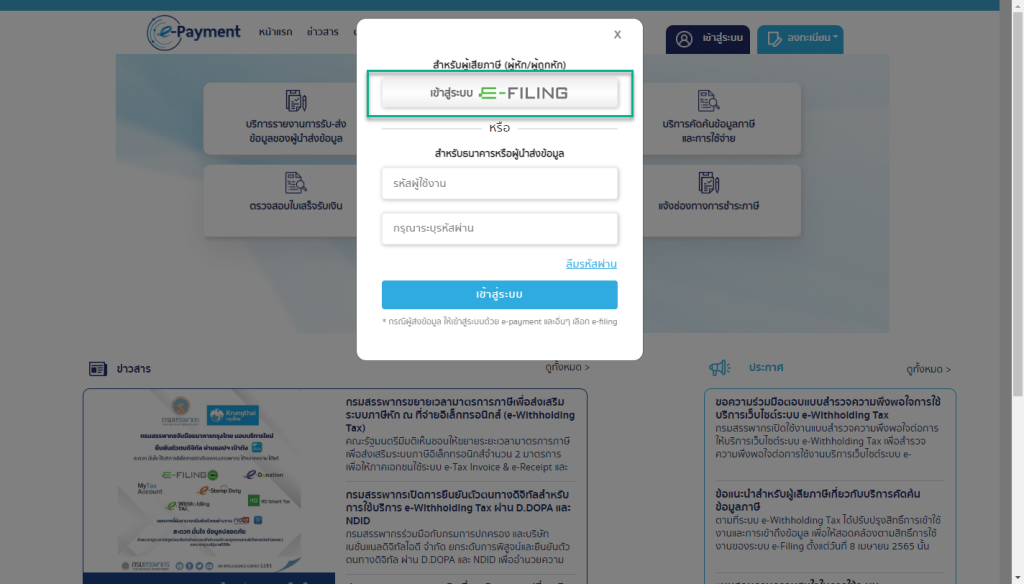
- คลิกที่เข้าสู่ระบบ E-FILING
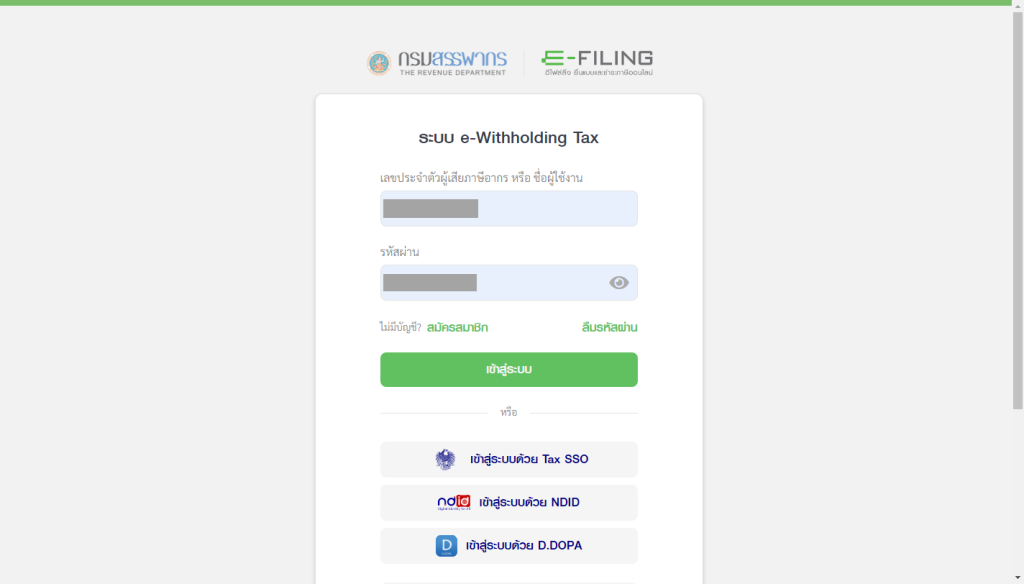
- กรอกรหัสผู้ใช้งาน และรหัสผ่าน ระบบ E-FILING
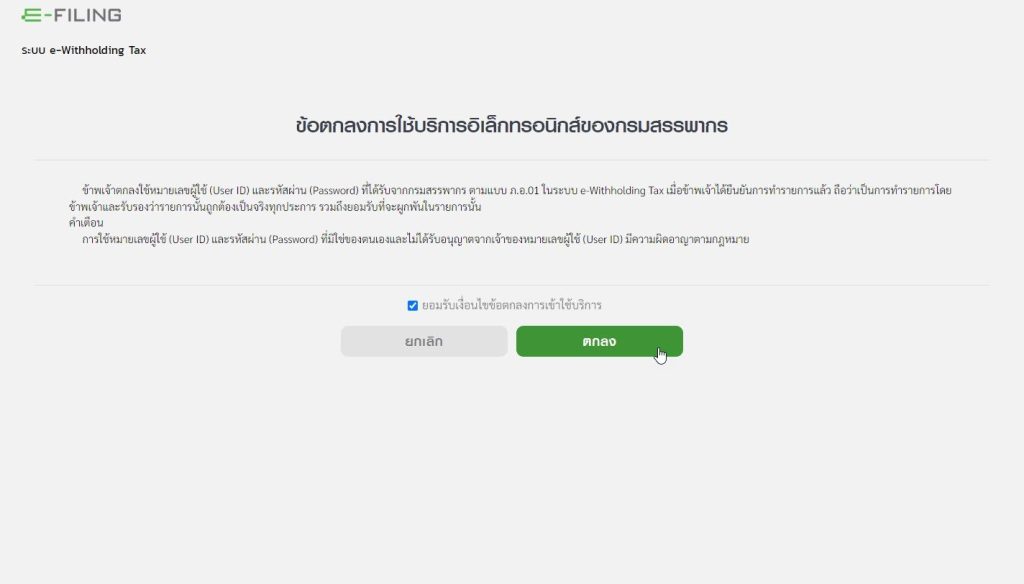
- เลือก ยอมรับเงื่อนไขข้อตกลงการใช้งาน แล้วกดปุ่ม “ตกลง”
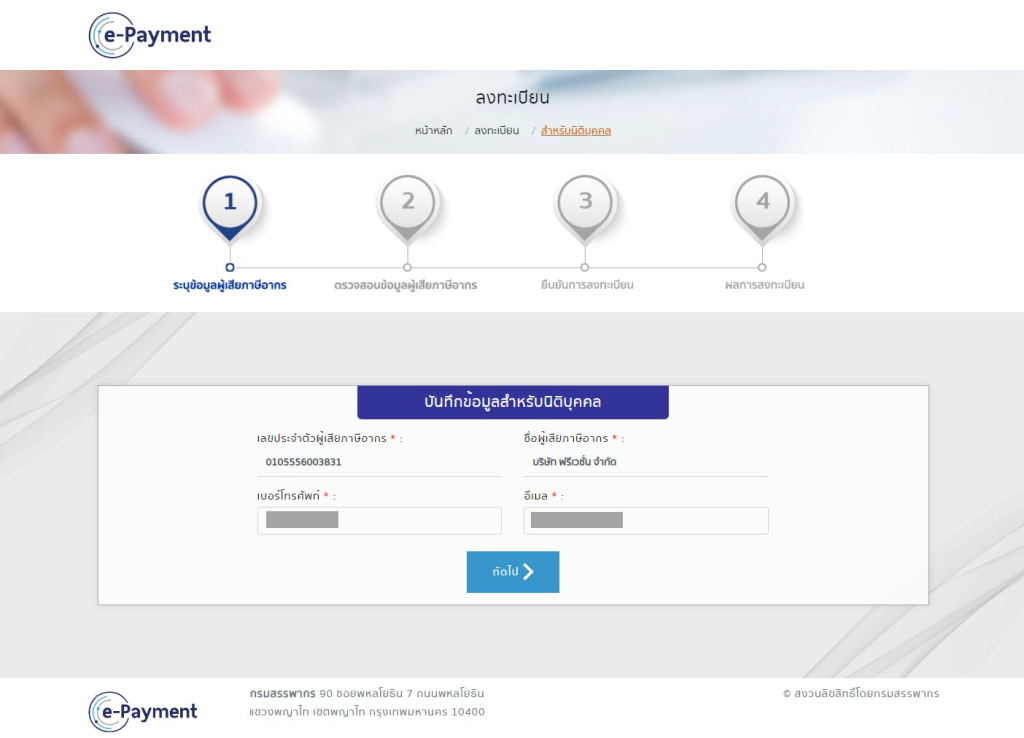
- กรอกเบอร์โทร และอีเมล แล้วกดปุ่ม “ถัดไป”
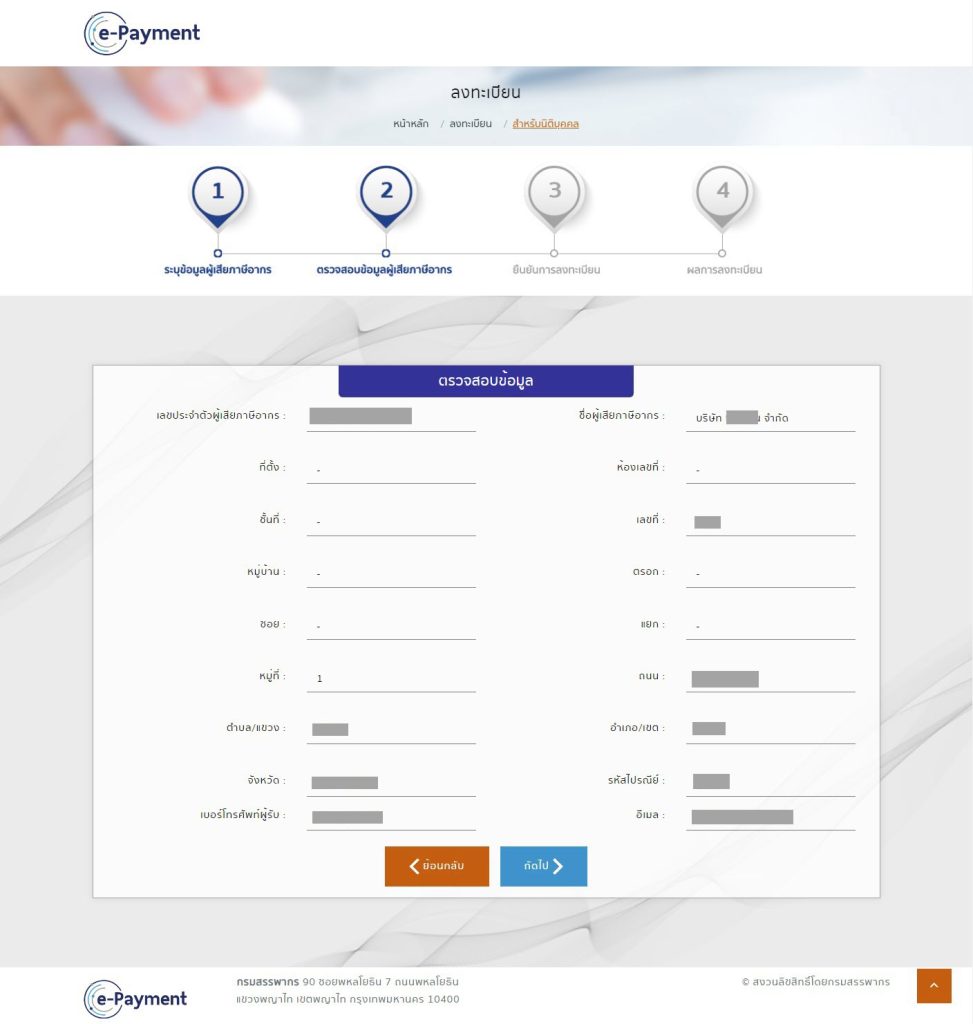
- ตรวจสอบข้อมูลแล้วกดปุ่ม “ถัดไป”
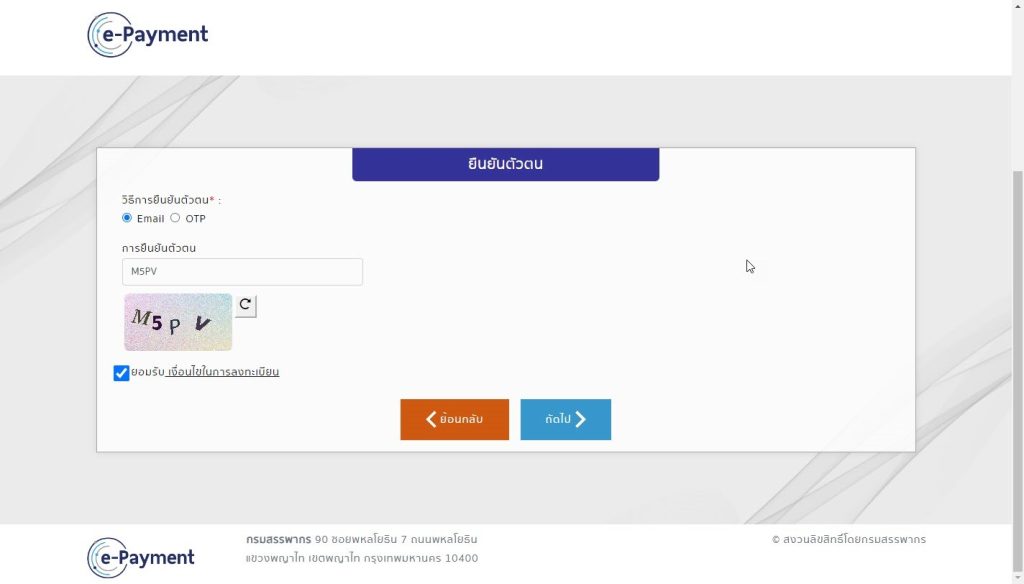
- เลือกวิธีการยืนยันตัวตนเป็น Email แล้วกรอกตัวอักษรบนรูปภาพลงในช่อง เลือกยอมรับ แล้วกดปุ่ม “ต่อไป”
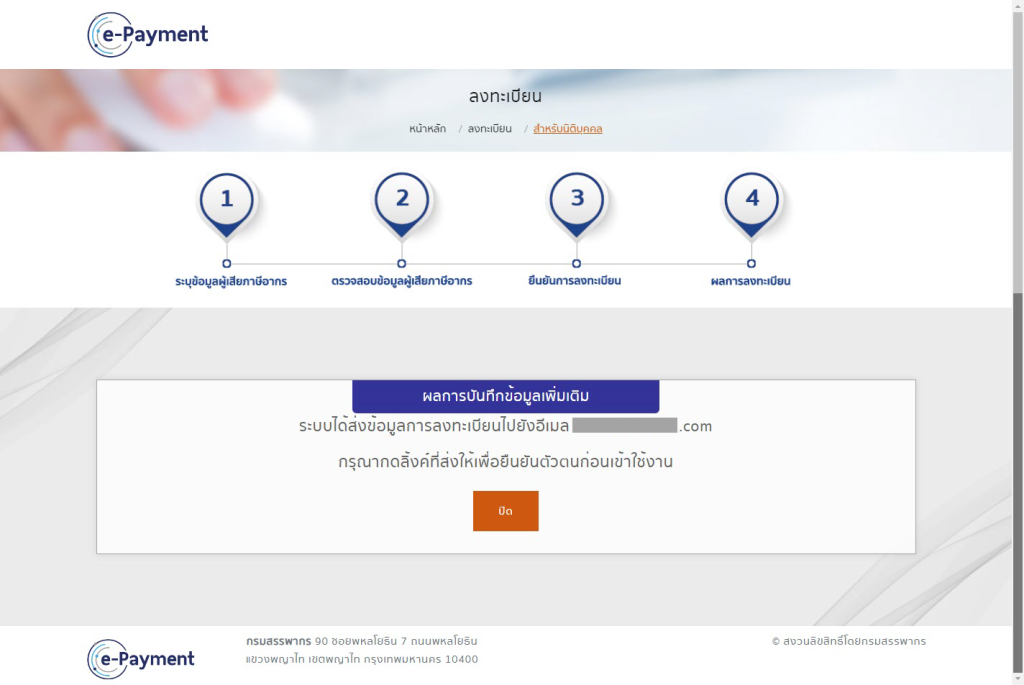
- ระบบ e-Payment จะแจ้งผลการลงทะเบียน
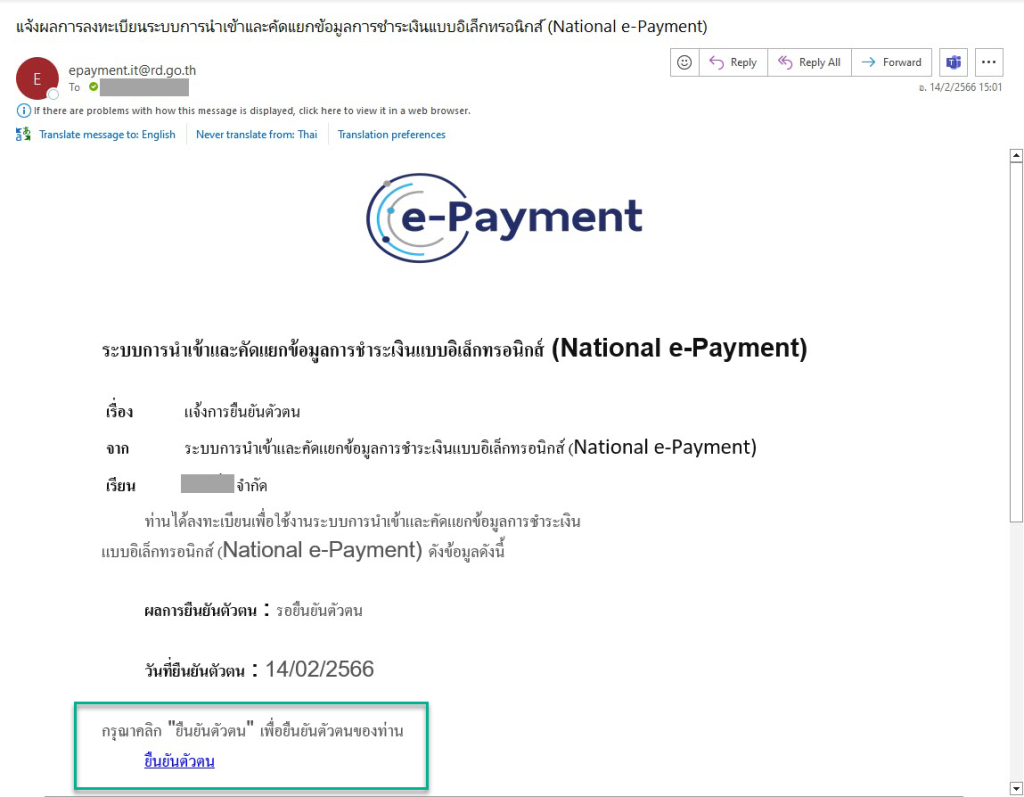
- คลิกที่ลิงค์ “ยืนยันตัวตน”
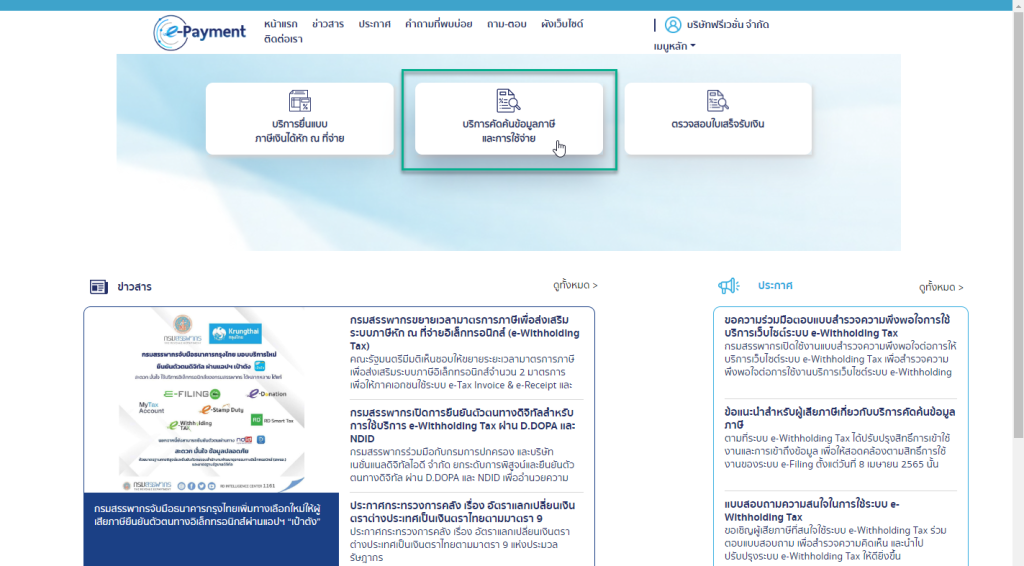
- ระบบจะทำการล็อกอินเข้าระบบ e-Payment ของกรมสรรพากร เลือก “บริการคัดค้นข้อมูลภาษีและการใช้จ่าย”
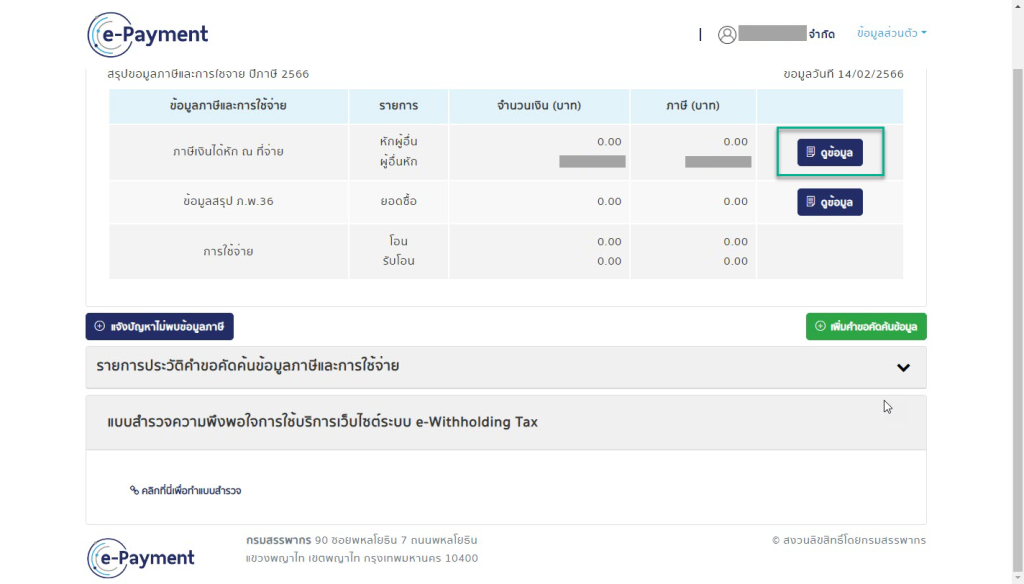
- ดูข้อมูลการถูกหักภาษี ณ ที่จ่ายได้ โดยการกดปุ่ม “ดูข้อมูล”
ผู้เขียน นายกฤษณ์ สุขวัจน์
วันที่ 17 กุมภาพันธ์ พ.ศ. 2566