How to create an Invoice/Tax Invoice (Mobile App.)
This section will describe how to create an Invoice/Tax Invoice via mobile app.
1. Create an Invoice/Tax Invoice
When the app is open, press the blue button on the bottom right.
Select the type of document that want to create. here I will choose an Invoice/Tax Invoice.
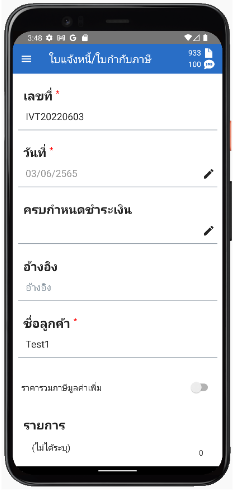
When the document is successfully selected. Fill out the information on that page. You will see that some fields have a red * which is a required field.
In the “Date” section, to change it, press the pencil button on the right to change the day, month, year.
In the part of the customer’s name, when pressed, it will bring up this page.
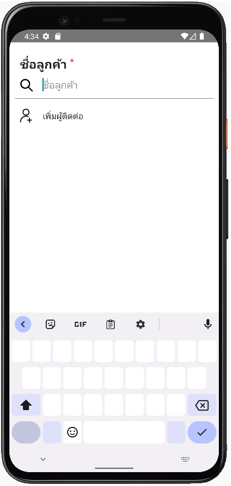
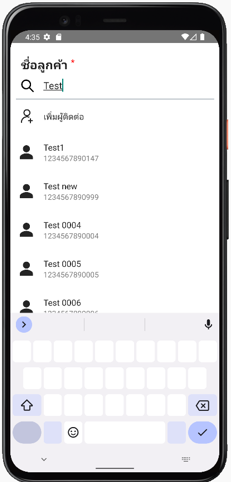
Type the name of the customer If there is customer information in the system There will be a customer field to choose from below (if not available, press “Add Contact” to add customers).
Find the desired customer and click on that customer’s name. (If you do not press select The app won’t be able to create the document.) Here, I’ll choose Test1.
Upon successful selection the app will then return to this page and fill out other fields.

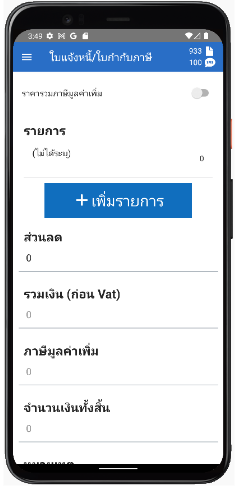
If the list of goods including VAT provided press the button to the right of the message “Price including VAT”
Later on the list page Press the box labeled “(not specified)”.
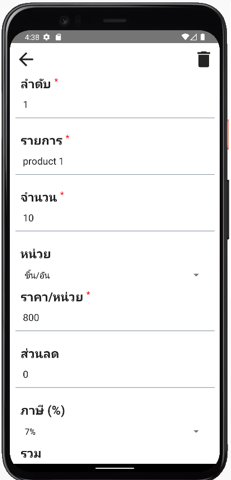
When pressed, it will bring up a page to fill out as follows. Fill out the product or service information below. The “item” field is the product or service name.
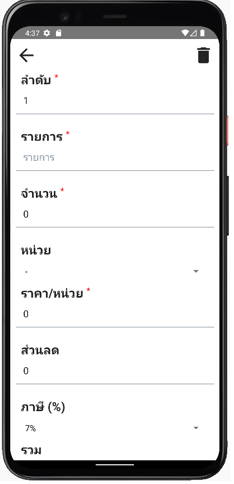
Here’s an example I’ve listed. When successful, press the arrow on the top left. Or, if you want to delete it, press the trash bin on the top right.
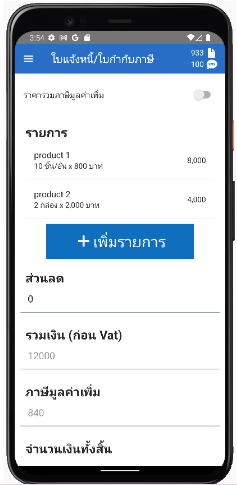
When you press the arrow image, it will return to this page. If there is more than one product or service item, press the blue +add Item button.
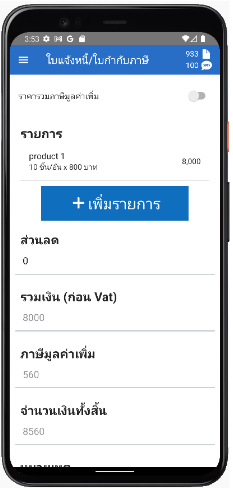
When pressed, will see a list (not specified) can press to edit as before.
When the list is complete below will tell the amount of VAT. And the total amount of the “discount” you can specify. But in this article, we would like to not specify.
The next part will be “Notes” and “Payee” if you want to specify. You can specify as well.
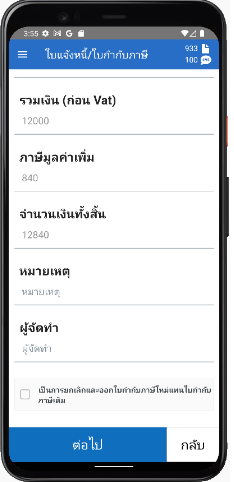
The next section will be the buttons. “This is to cancel and issue a new tax invoice instead of the original invoice.” If yes, press the square button on the left. is a checkmark and provide the information below. In this article, we will not choose this button.
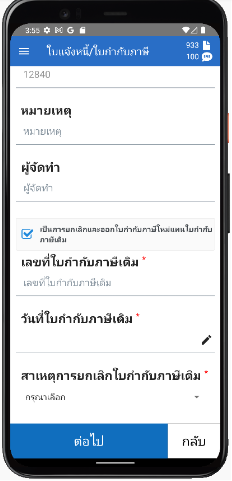
Once all the information has been entered, press the “next” button below to continue.
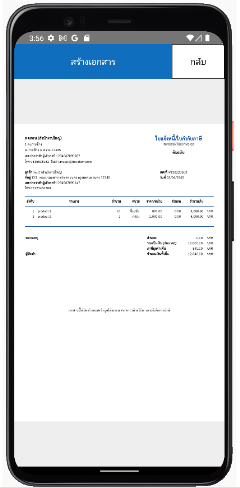
When successful there will be a picture of the document for you to check. If there is any part that needs to be corrected, press the “back” button on the right, if not, you can press the button. “create a document”.
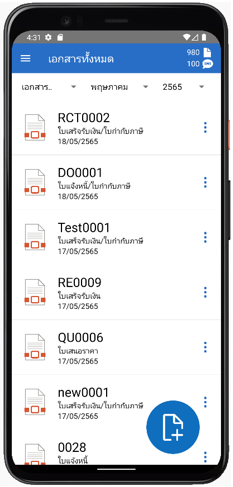
2. Complted document
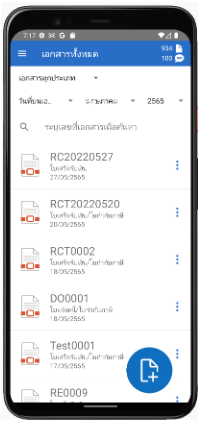
When the document is created the app will access to the page. “all documents”, please wait a moment. Then the system will update the document you just created above.
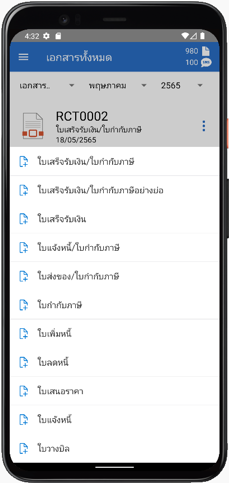
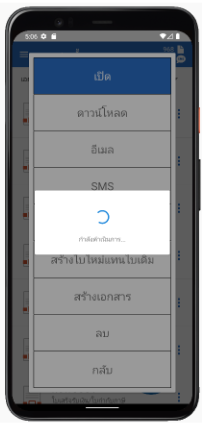
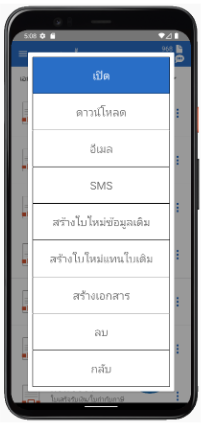
Documents that you have created You can press the button on the right side of the document to make additions.
When you press the button there will be a list to choose from. You can select the items you want to continue.
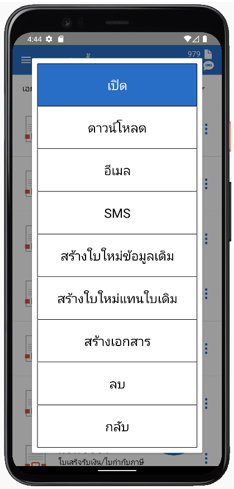
3. Send Email
If you wish to send documents via email You can click on the email
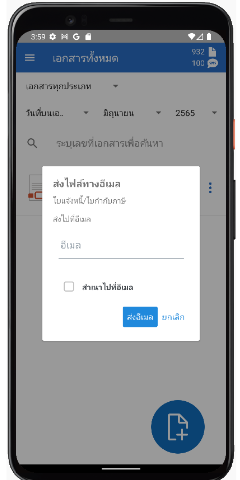
Enter the email you wish to send.
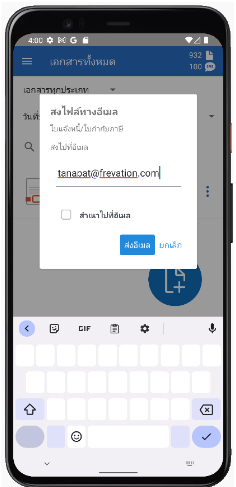
When you press the check mark on the lower right keyboard, it will look like in the picture.
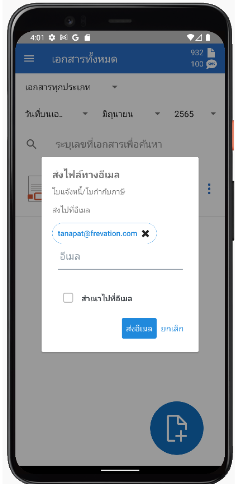
You can also specify a different email address.
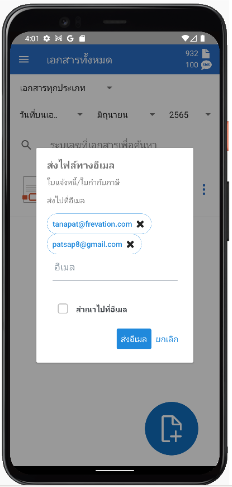
You can also copy to another email by clicking the checkbox next to copy to.
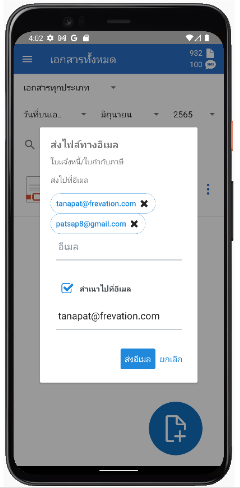
In this article, we request that we do not copy to any other email address.
Then press the send email button.
received email.

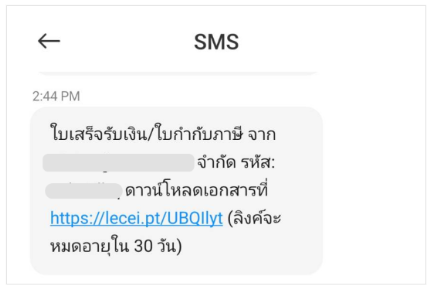
4. Send SMS
If you want to send SMS, select SMS.
Enter the number you want to send and press the Send SMS button.
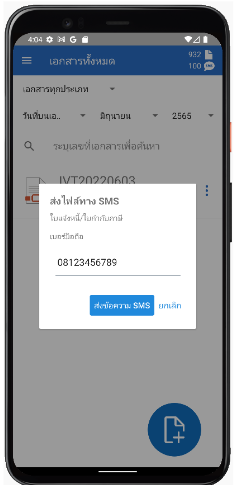
When checking the message, it will appear as shown in the picture.