How to create e-Tax Invoice & e-Receipt via Shopee (Mobile App)
This section will describe how to create a Tax Invoice via mobile app.
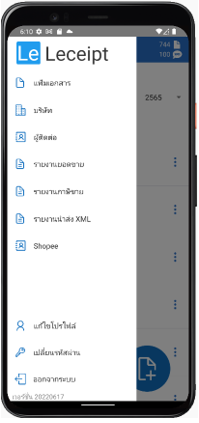
1. How to connect with Shopee
Press the top left button and select the Shopee tab.
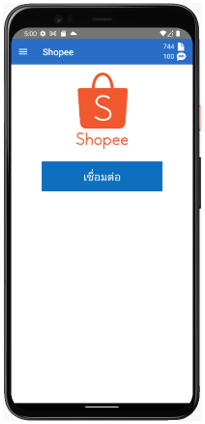
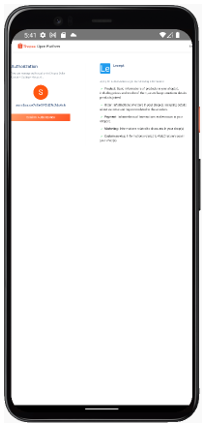
If you haven’t logged in yet You will see the page, press the Connect button.
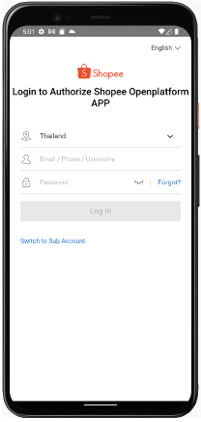
Fill in your information and then log in.
If you have successfully logged in, you will see this page, click the Confirm Authorization button on the left.
Once the connection is successful, wait a few minutes and you will see this page.
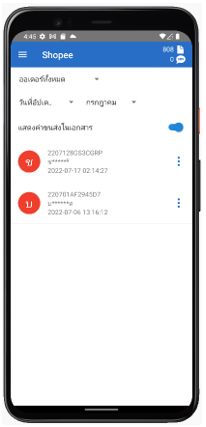
2. How to create e-Tax Invoice & e-Receipt
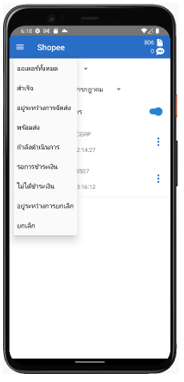
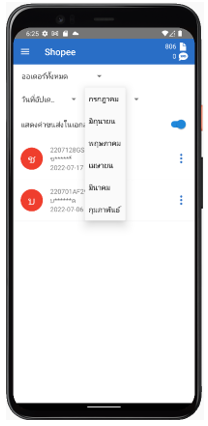
At the order list browsing option from Order Status, there will be a menu to choose from as follows :
- All orders
- Succeed
- In process of delivery
- Ready to ship
- In progress
- Waiting for payment
- Not paid
- Pending cancellation
- Cancel
The next option will be the type of date that will be sorted on the document.
- Document creation date (the date the order was created)
- Status update date (the day the order was changed status, e.g. in transit, completed)
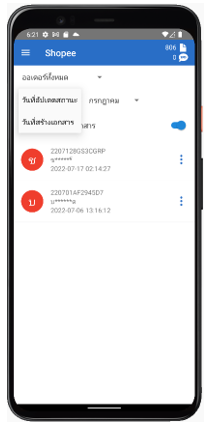
The next option is In which month do you see orders.
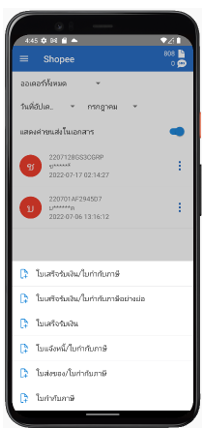
The next section is showing the shipping costs in the document. If you don’t want to specify, you can can press to close.
Create a document
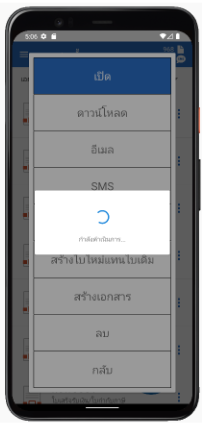
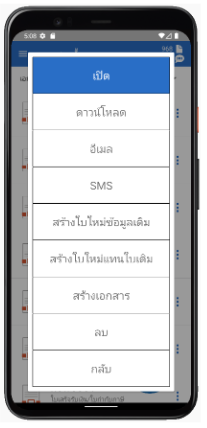
If you need documents from the desired order You can press the … button to the right of the order. to create When pressed, it will allow you to select the type of document you want to create.
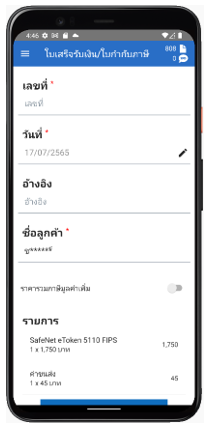
Upon successful selection You will be able to specify a number or other to create a document.
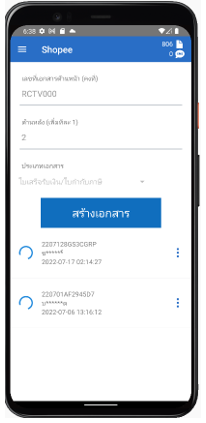
If you want to create multiple documents at a time You can press on the order you want. When pressed, there will be a check mark on the left. This means you select that document and then there will be a box for you to specify the document number on the front and back. and the type of document to be created.
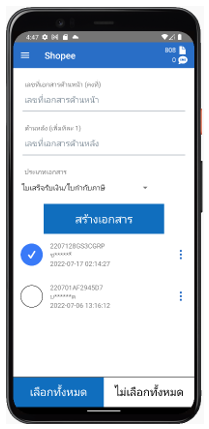
If you want to create a document with document number RCTV0001
Please specify the document number on the front as RCTV000, the document number on the back as 1.
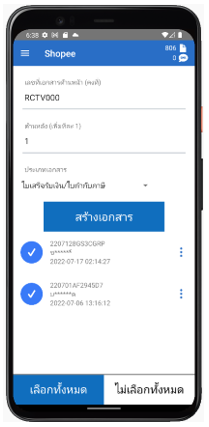
Then press the Create Document button.
When all selected orders have been successfully created, there will be a View All Documents button. come up to go to the page of all documents.
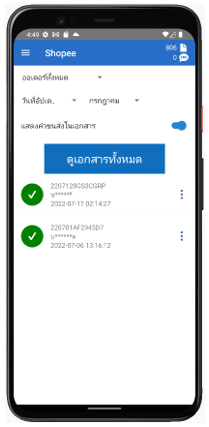
You will see that the document you selected has been created successfully.
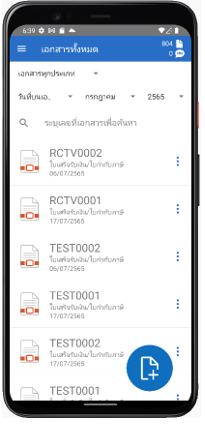
This is the entire process of creating an etax document through Shopee. You can continue to use it.
3. How to send the PDF file via Email
If you wish to send documents via email You can click on the email
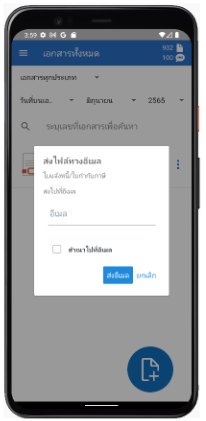
Enter the email you wish to send.
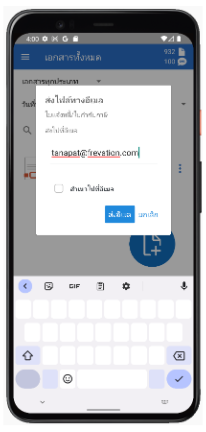
When you press the check mark on the lower right keyboard, it will look like in the picture.

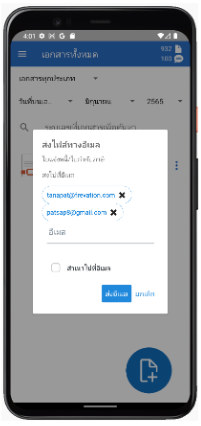
You can also specify a different email address.
You can also copy to another email by clicking the checkbox next to copy to.
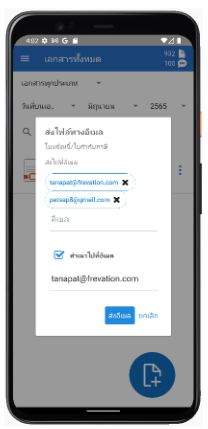
In this article, we request that we do not copy to any other email address.
Then press the send email button.
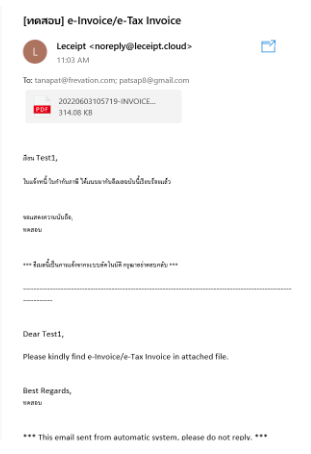
received email.
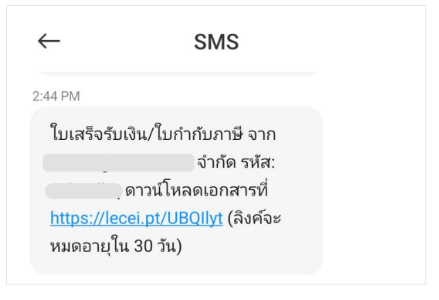
4. How to send the PDF file via SMS
If you want to send SMS, select SMS.
Enter the number you want to send and press the Send SMS button.
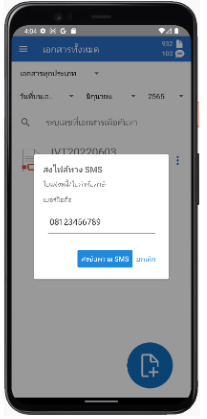
When checking the message, it will appear as shown in the picture.