How to generate a Quotation
After signing up and creating your company (vendor) information, we will continue to walk you through the steps to create a PDF invoice with the following steps.
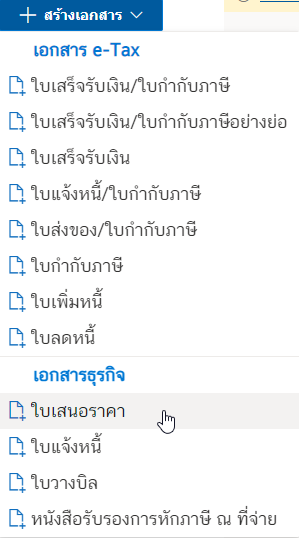
1. Start generate a document.
Click on the สร้างเอกสาร (Create document)
And then please select the เอกสารธุรกิจ (Business). After that click on the ใบเสนอราคา (Quotation) ดังรูป
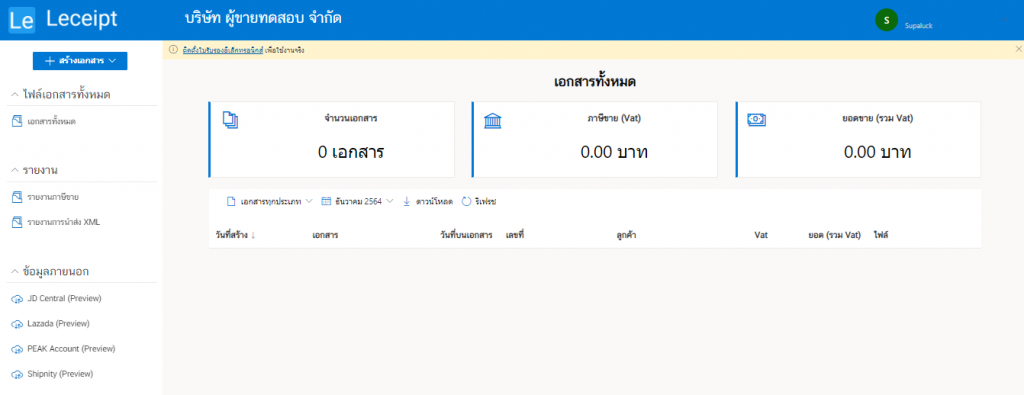
You will see the form of the ใบเสนอราคา (Quotation)

2. Buyer’s information.
Enter the name of your client’s company or business for this section. Do not leave blank as in the example image.

If sliding this button to the left (“Close”), it will display the information as shown in the picture. Which we can enter address information freely.

But if you slide the button to the right (“Open”), there will be an address format to fill in as follows.
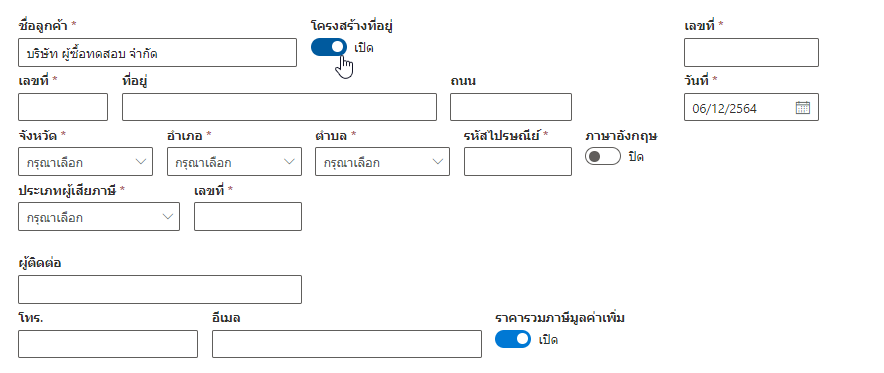
Entering your customer’s address in the fields, เลขที่ (Number). Enter the location number of the address. (This field cannot be blank), but other address information such as group numbers or village names to be filled in the ที่อยู่ (Address) box. Including the ถนน (Street).

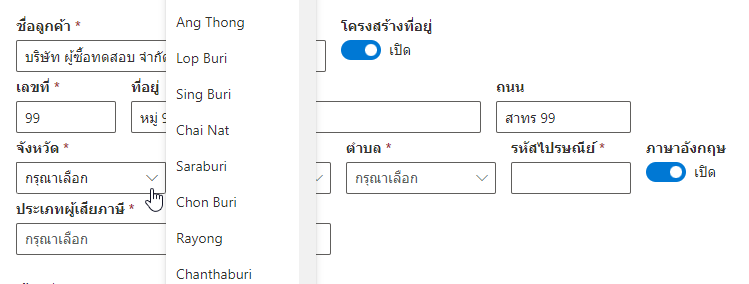
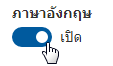
Before we enter the province, district and sub-district, please notice that ภาษาอังกฤษ (English), on the right-hand side. Our system supports selecting these data in English as well, as shown in the picture.
It at the
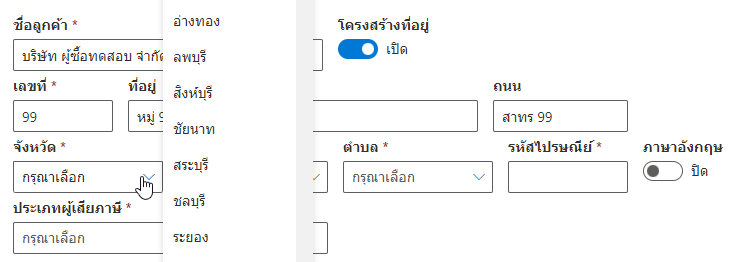
ภาษาอังกฤษ (English) button. Please choose “ปิด (close)”. by sliding the button to the left. The information will be in Thai language.
To input the อำเภอ/เขต (District) this section are mandatory by doing the same after being selected as the preferred province. Choose Bangkok and then you can click to select อำเภอ/เขต (Sub-district).
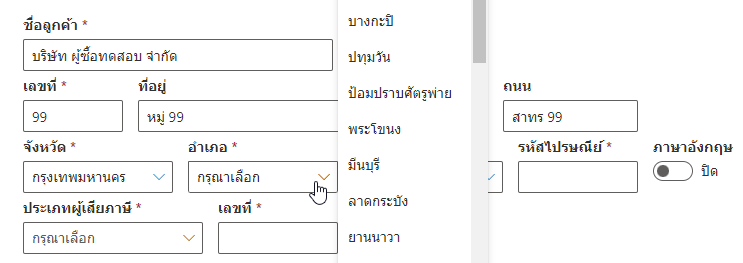
Then click to select the
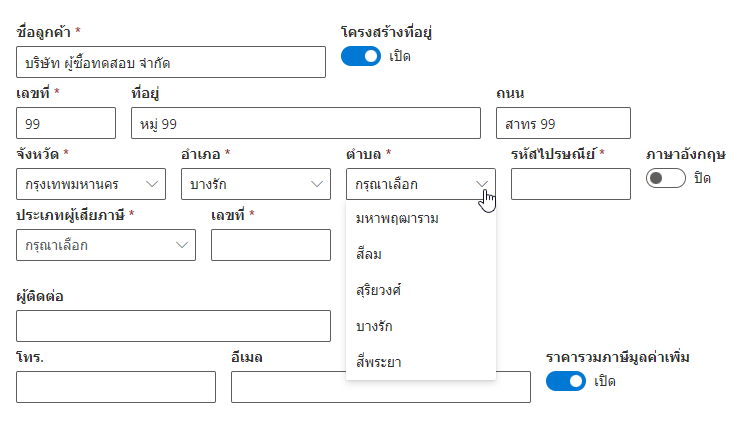
ตำบล/แขวง (Sub-district).
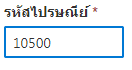
Entering a postal code can be done as shown below (This section must not be left blank).
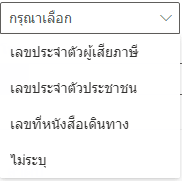
Enter the types of taxpayers as shown in the picture (this section must not be blank) as shown in the picture.
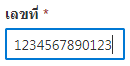
After that, fill in the 13-digit taxpayer number (this section must not be blank) as shown in the picture.
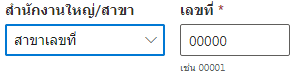
Then select an office as shown in the picture.
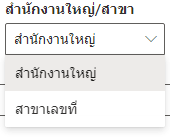
If choosing a branch, enter the number as shown in the picture.
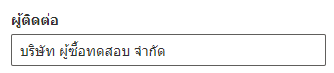
Input ผู้ติดต่อ (Contact Name).
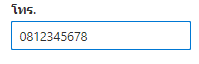
To enter a phone number, as below.
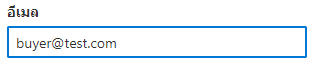
Enter your customer’s email address as shown in the image.
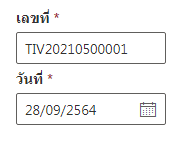
When filling out the address information, from the picture below, you will notice a form to fill in on the right hand side which will have เลขที่ (Number) และ วันที่ (Date).
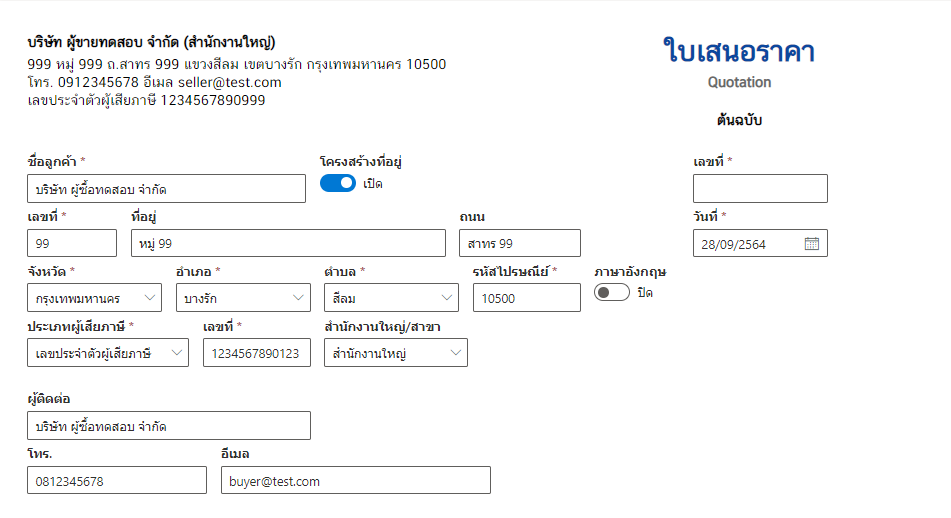
Entering เลขที่ (Number) which is the document number that you have customized as in the example picture (This section must not be blank) and click to select the desired date.
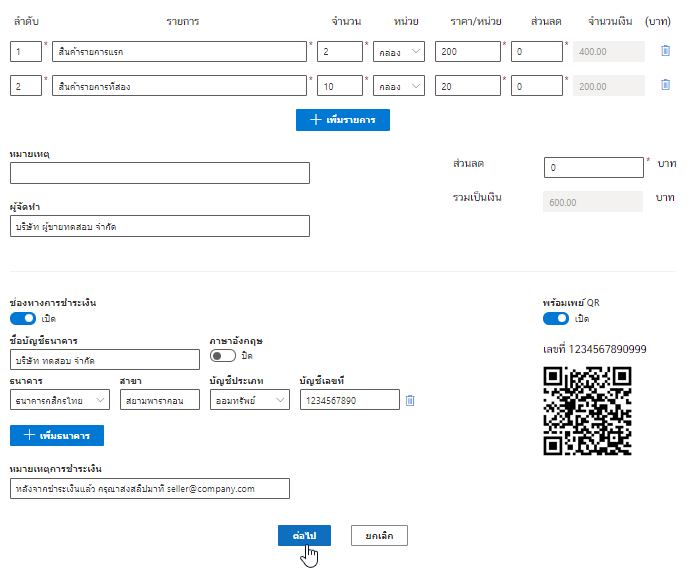
3. Product list and price calculation.
Next is the part that fills in information and calculates the products that your customers order as shown in the picture.

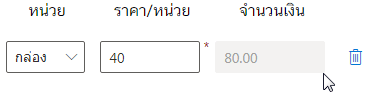
Input the ลำดับ (Number) and fill the รายการสินค้า (price list) and entering the number of products ordered as shown in the picture.

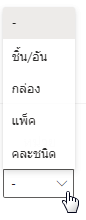
Later to make a choice of หน่วย (Unit of product).
Next, enter the price of the product and try to click on the gray area in the amount section, you will find that the system has calculated the price of the product for you.
To add a product list, press the เพิ่มรายการ (Add) button.

After adding a product list, it will look like the picture.

For the blue trash can on the far right is a button to delete that item, if you want to delete that product, click on the trash can.
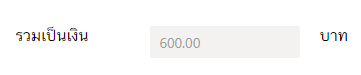
In the lower right corner, you will notice that the system has already calculated the total amount of money.
The last part of the form to fill out is below, there will be a note box and the name of the payee, this section can be filled or left blank.

4. Payment.
We have payment channels that support both bank transfer and PromptPay payment information. First of all, the default payment method is shown as shown below.
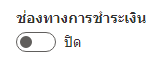
Click on เปิด (Open) status, details will show as below.
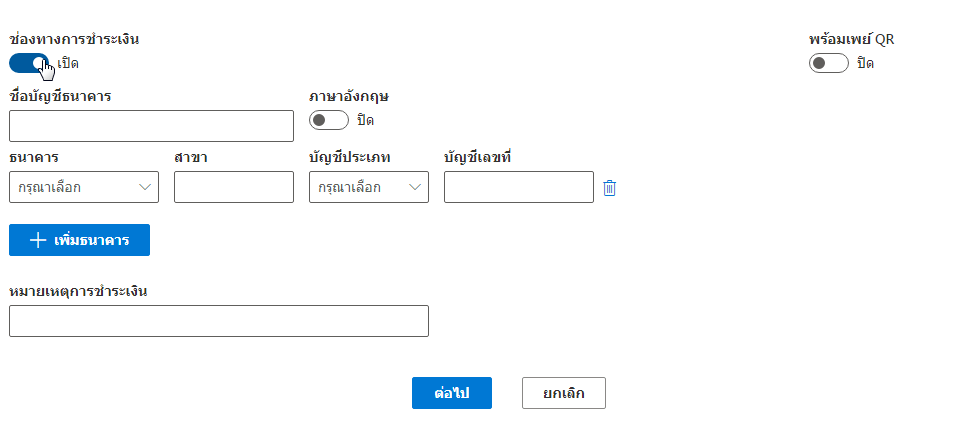
Show bank transfer information
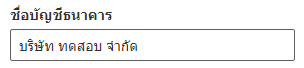
Enter the bank account name that you want to show as shown in the picture.
Notice the ภาษาอังกฤษ (Button). Our system supports the English version.
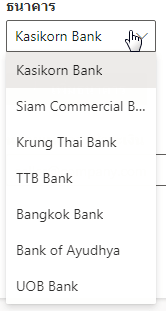
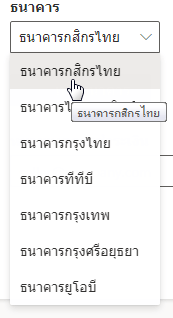
Click to select a bank.
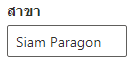
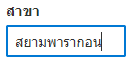
then type a branch
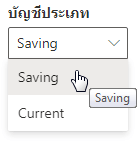
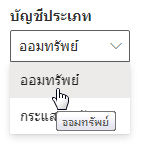
Click to select an account type.
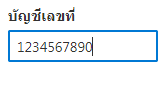
Enter account number.

Or if the English button is turned off The data selection will be in Thai language.

By choosing a bank account.
And type the name of the branch.
Click to select an account type.
Enter account number
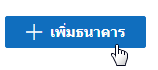
Banks can be added by clicking the เพิ่มธนาคาร (Add).
For the payment event, it can be the payment details. You can wear it or not.

Paying via PromptPay
Notice the button as in the picture
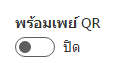
To enable it by sliding to the right it will show as shown in the figure.

When the customer scans the QR code Bank app will show PromptPay account number. (Tax ID number) and the amount to be transferred.

When everything is fine, click the ต่อไป (Next) button.
Then the system will process the process to wait a moment as shown in the picture.
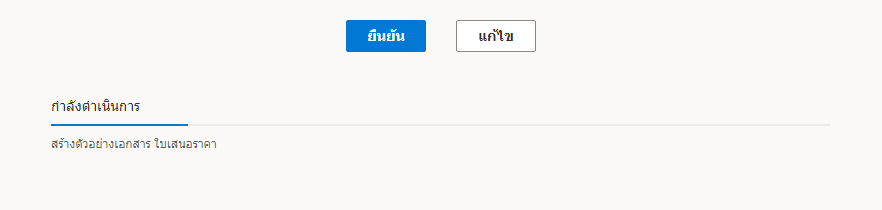
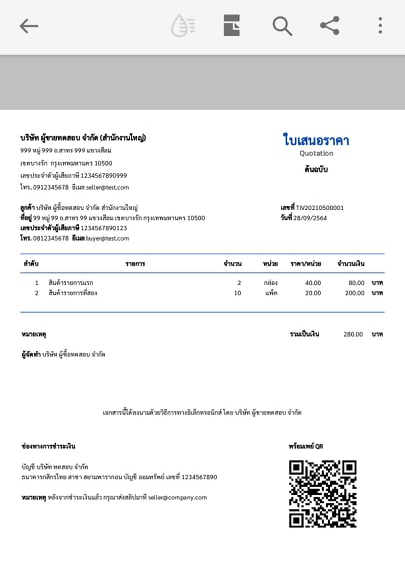
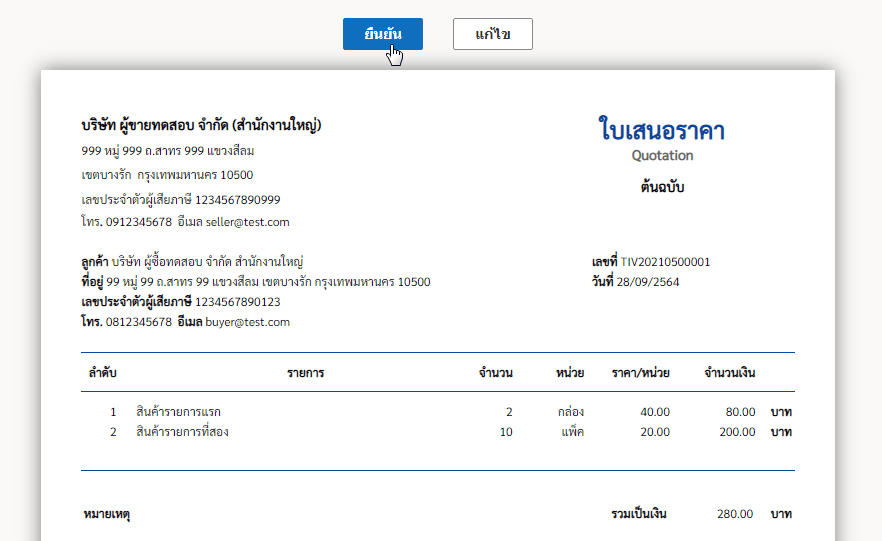
When the system is processed successfully, it will show a preview of the document as shown in the picture. If the displayed data is correct, click the ยืนยัน (Confirm) button. but if you want to edit the document, press the แก้ไข (Edit) button.
5. Completed document.
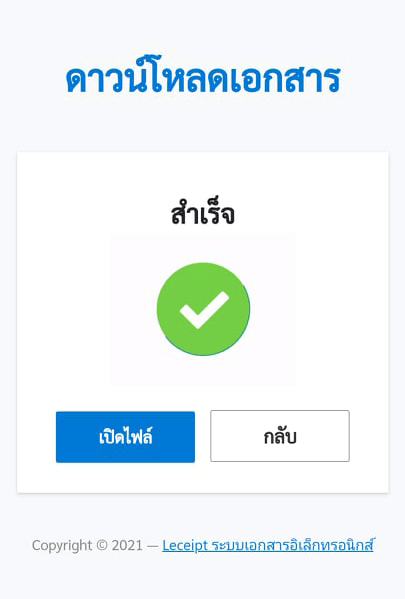
Then we will get a file of the completed document as shown in the picture.

6. Openning the document.
At the เลือก (Select), and then click the เปิดเอกสาร (Open).
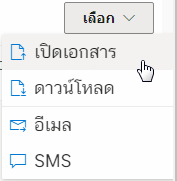
Or click on the PDF icon.

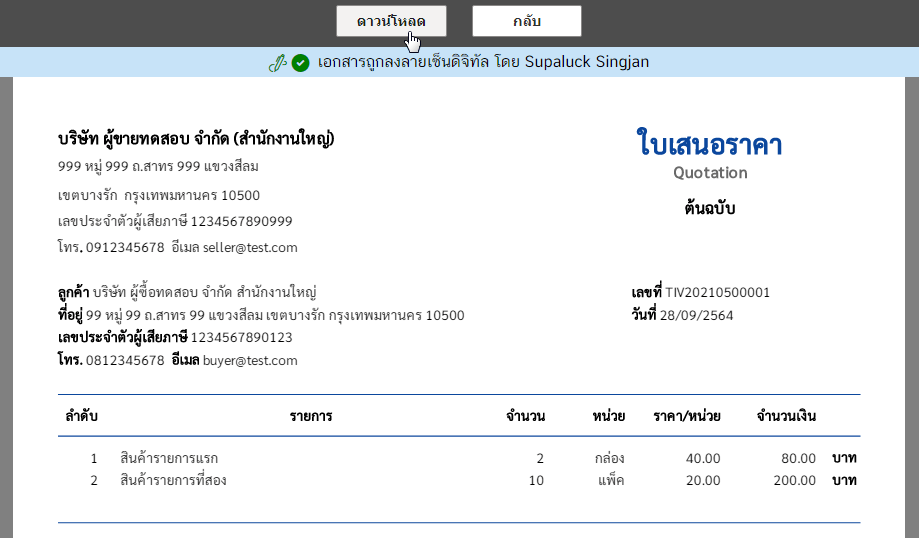
Then it will show the document details of ใบเสนอราคา (Quotation) which has a digital signature and can be downloaded to use.
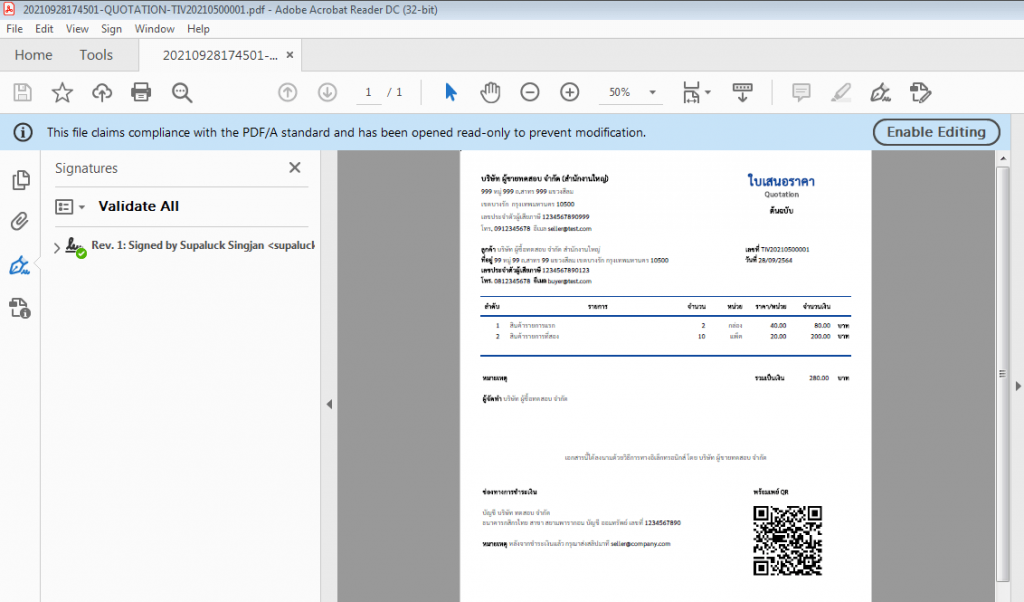
7. Downloading.
From the menu เลือก (Select) and click ดาวน์โหลด (Download) system will download the file.

And when you open the file (Adobe Acrobat Reader DC is recommended) you’ll see the digitally signed document.
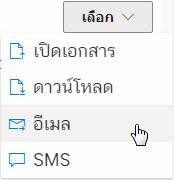
8. Emailing.
Our system supports sending the ใบเสนอราคา (Quotation) file via Email. At เลือก (Select) and click on อีเมล (Email).
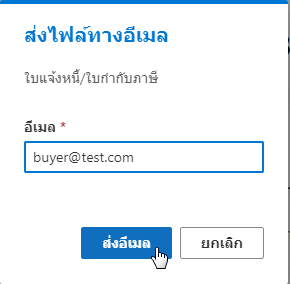
Then, in a pop-up box, enter the email address you want to send the file, And click on ส่งอีเมล (Send Email).
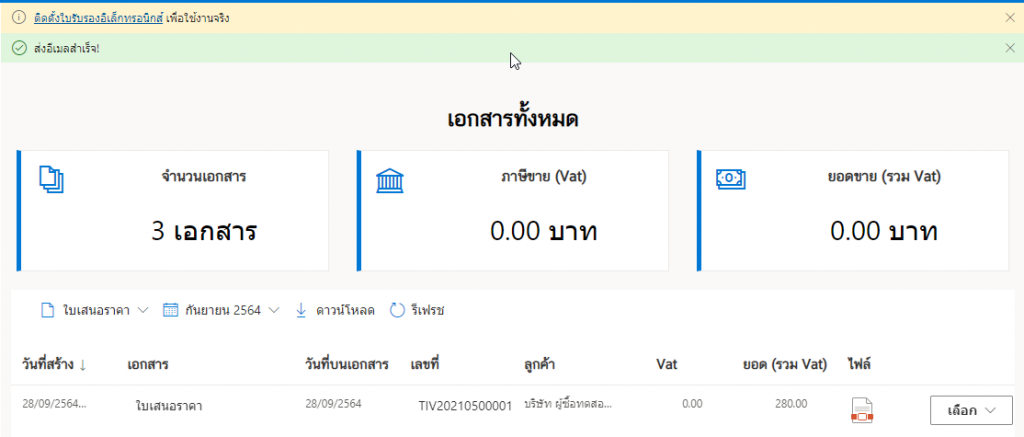
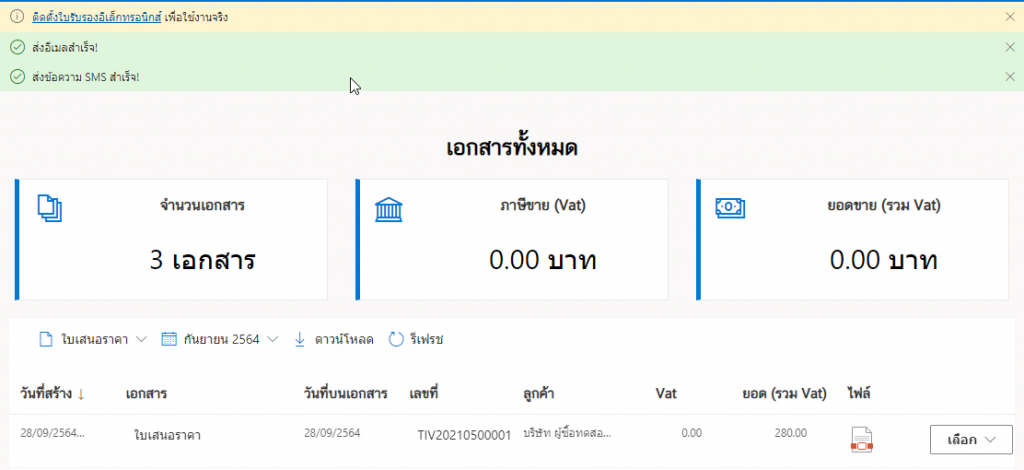
When the file has been sent to the destination email successfully. The system will prompt as ส่งอีเมลสำเร็จ (Email sent!).
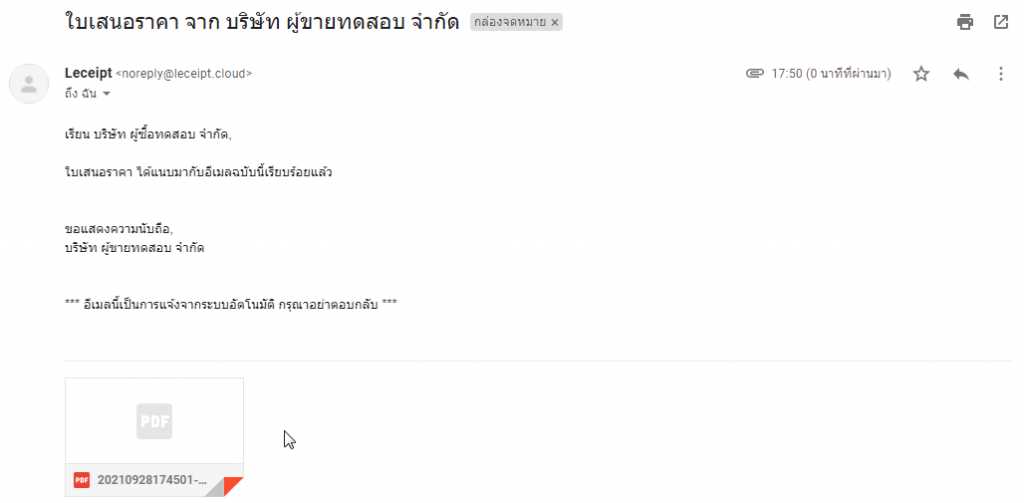
 />
/>When the recipient has opened the e-mail containing the file will be displayed in the form as shown in the figure.
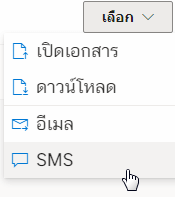
9. Send SMS.
Our system can also send the ใบเสนอราคา (Quotation) ทfile via SMS. At เลือก (Select) and click on SMS.
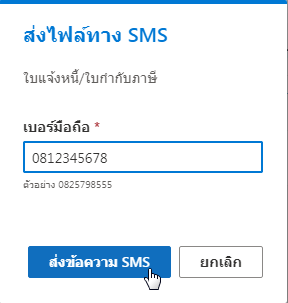
Then the system will pop-up, enter the mobile phone number of the number you want to send, then click ส่งข้อความ SMS (Send SMS).
Once the SMS has been sent successfully, a message will appear ส่งข้อความ SMS สำเร็จ! (The SMS sent!)
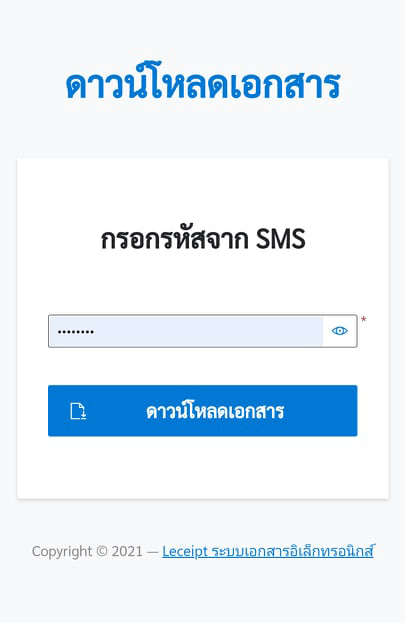
Let’s look at the part of the destination of the person receiving the SMS. When opening the mobile phone, a message will appear as shown in the picture.

When you click on the link The system will show up as shown in the figure. Then enter the code sent by SMS.
Click the เปิดไฟล์ (Open) button. which should also install an application for opening PDFs (if you don’t have one).
Preview PDF files using the “Adobe Acrobat Reader: PDF Viewer, Editor & Creator” application.