How to genarate an e-Tax Invoice & e-Receipt to connect from TRCloud
This section we will describe how to genearte the e-Tax Invoice & e-Receipt to connect from TRCloud.
About TRCloud
TRCloud is an online accounting program in the form of a web application. which was developed by T.R. Siampan Co., Ltd. which is a Thai company
See more https://www.trcloud.co.
Leceipt’s system also provides services to connect to TRCloud ‘s system for generating e-Tax Invoice & e-Receipt documents such as
- Invoice/ Receipt
- Invoice/ Abbreviated Tax Invoice
- Receipt
- Invoice/Tax Invoice
- Delivery Order/Tax Invoice
- Tax Invoice
It comes out as both PDF and XML files, save your time for filling the document form to generate the e-Tax Invoice & e-Receipt files.
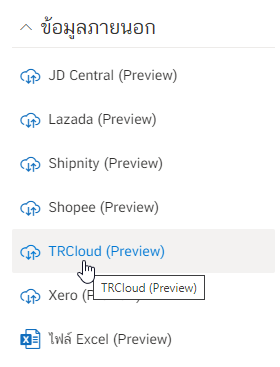
1. Connecting to TRCloud
Click on the ข้อมูลภายนอก (External data) on the left hand side.
When entering, enter various information for connection as shown in the picture.
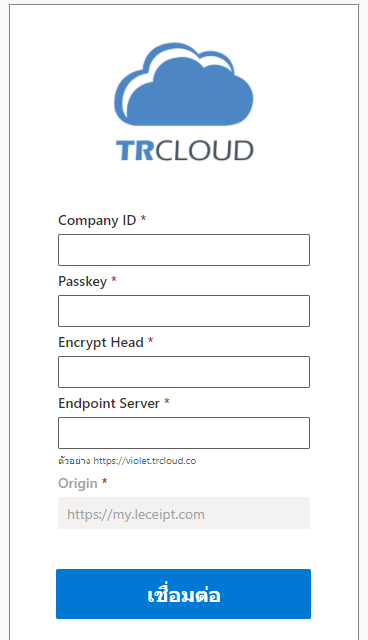
For connecting to TRCloud, you will need to bring the information to fill in the picture above. which has the following steps
1.1 Log-in to the url of TRCloud you are using. (In the example, use https://violet.trcloud.co which depends on the user).
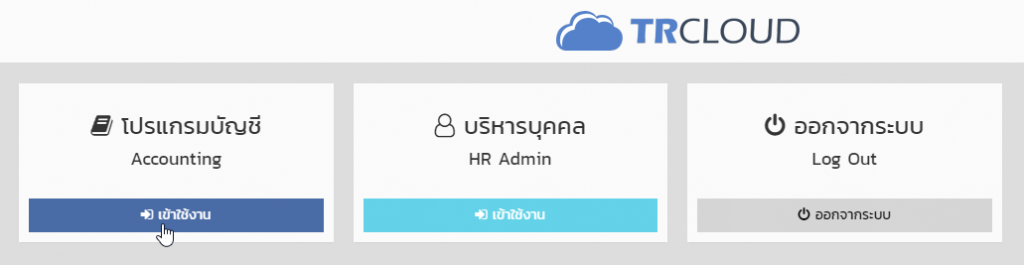
1.2 Once logged in, you will see the system page, select เข้าใช้งาน.
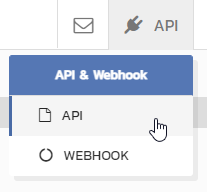
1.3 Then you will see the “API” button on the top right.
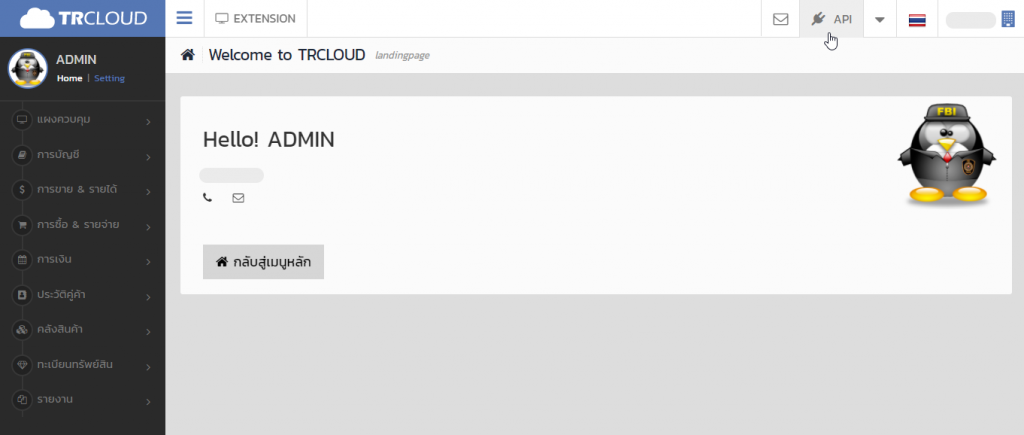
Click to select API
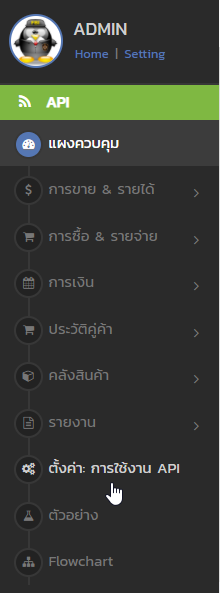
1.4 จwill see the system page as shown below You will see that there is a menu on the left to choose from ตั้งค่า : การใช้งาน API.
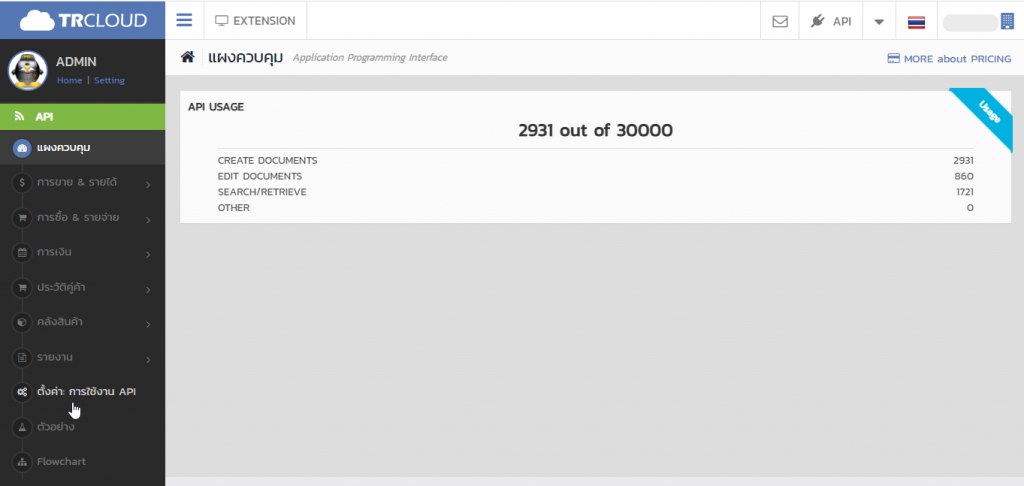
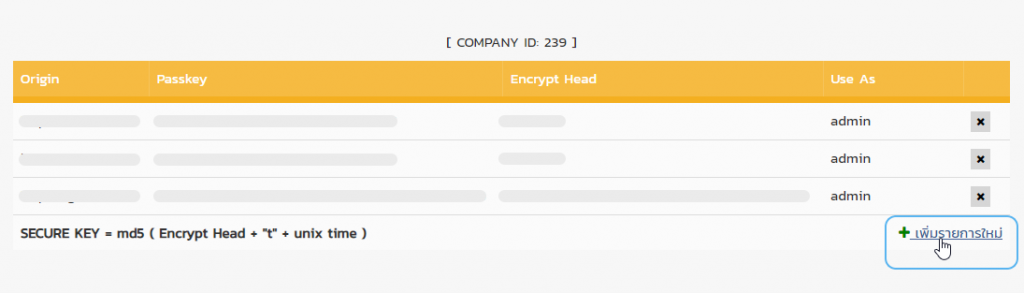
1.5 Then you will see various information as shown in the picture.

But those data Still unable to fill out the information to connect, click on เพิ่มรายการใหม่.
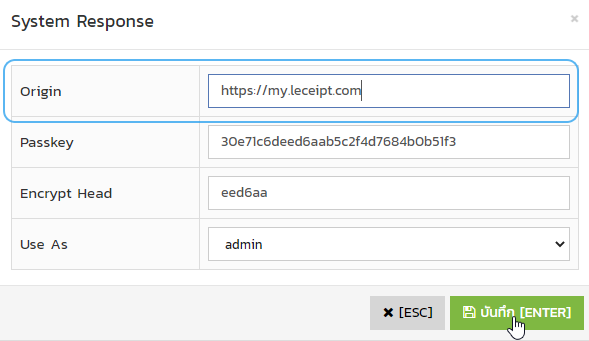
1.6 Will be asked to fill in information, which will show Passkey and Encrypt Head, which the system will automatically provide.
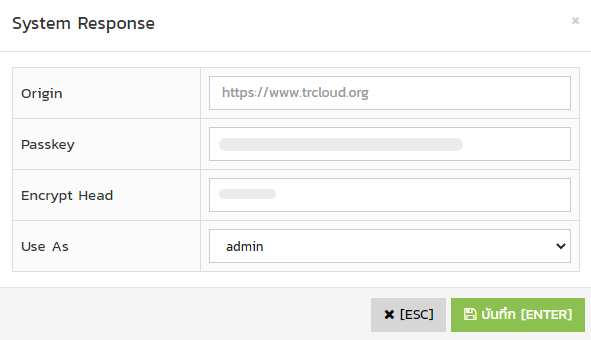
The information you want to fill out is Origin to enter “https://my.leceipt.com” and save it as shown in the picture.
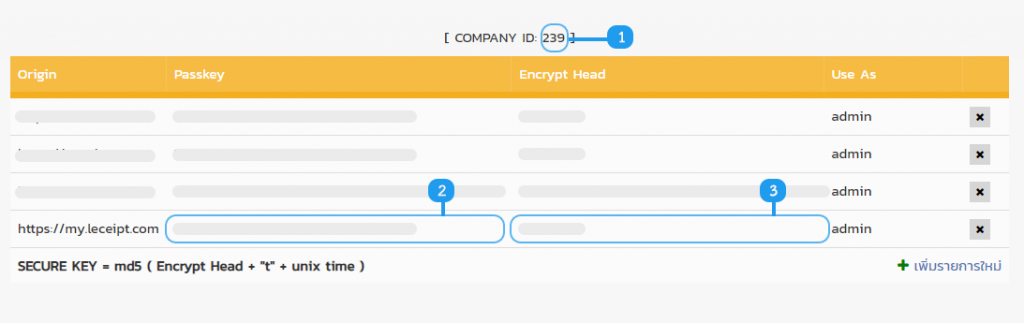
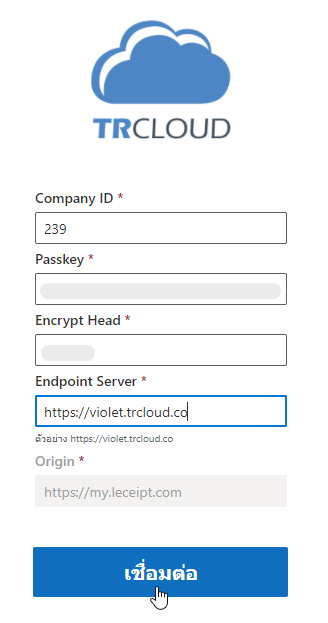
1.7 เWe will get the information to be filled in. At the connection page of the Leceipt system by following the numbers as shown in the picture
- 1. Company ID
- 2. Passkey
- 3. Encrypt Head
1.6 But the remaining part is “Endpoint Server” on the left-hand side menu, select that แล้วเลือก ใบกำกับภาษี.
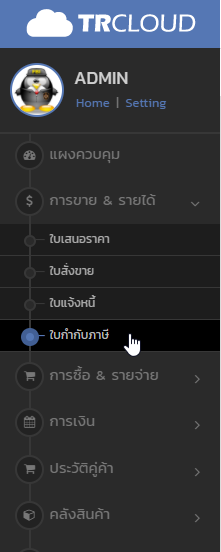
Then at the system page, select ค้นหาใบกำกับภาษี.
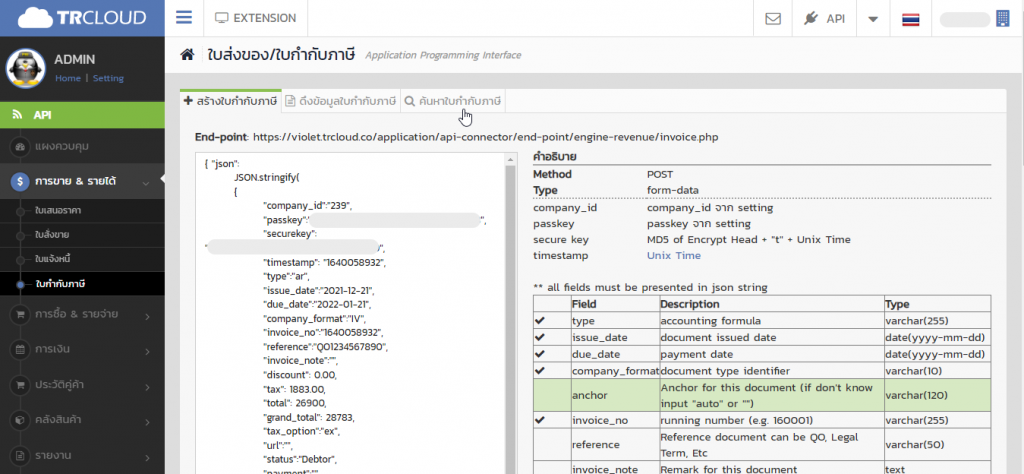
Copy the front url eg in the example https://violet.trcloud.co as in the picture.
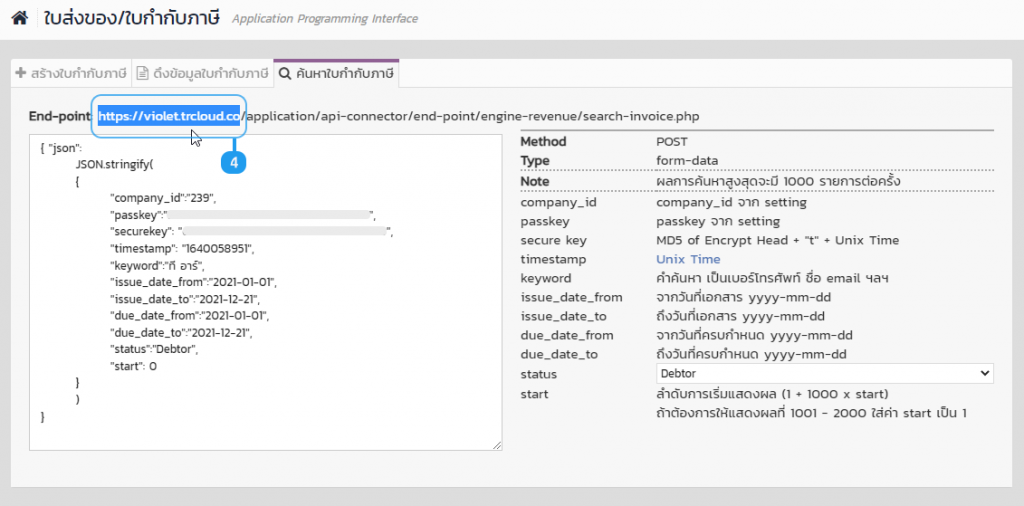
1.9 Take the information obtained from clause “1.7” and your url as in the example in clause 1.8 as in the example picture below.
2.Filter options to view and search documents.
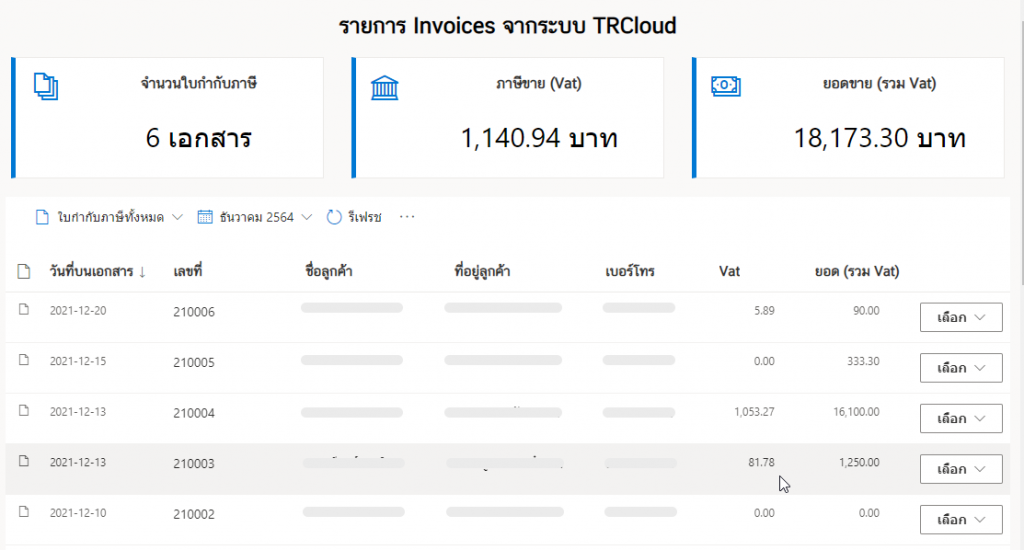
The system will extract the information as shown in the figure below.
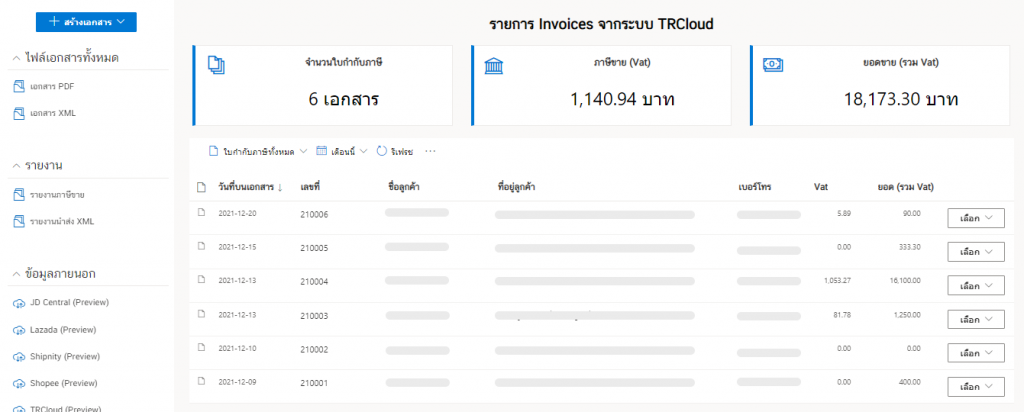
We can choose to view various items from the TRCloud system by selecting the display options as shown below. which can retrieve information of ใบกำกับภาษีทั้งหมด (All e-Tax). and ดูรายการเอกสารจากเดือน (Monthly documents).
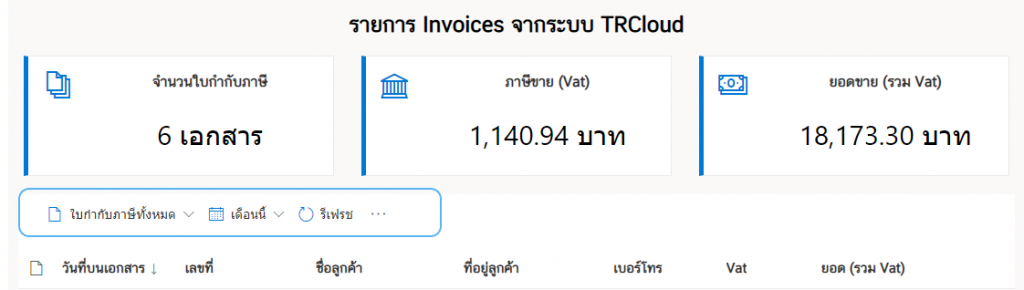
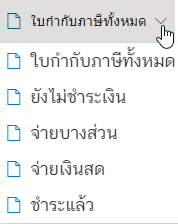
At ใบกำกับภาษีทั้งหมด (All e-Tax) select follows :
- All e-Tax
- Not paid
- Pay part
- Pay cash
- Paid
As below.
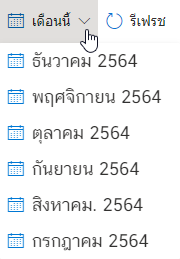
At ดูรายการเอกสารจากเดือน (Monthly documents) will be shown as shown in the figure.
3. Generating e-Tax Invoice & e-Receipt from order list.
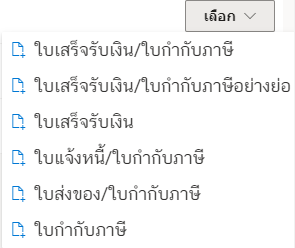
Click on the เลือก (Select), which shows nmenu for generate the e-Tax Invoice & e-Receipt documents.
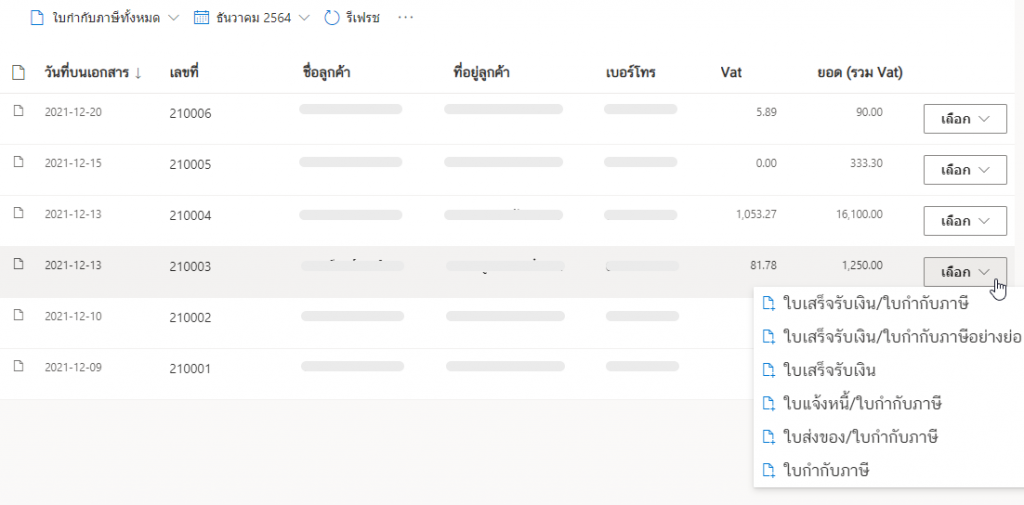
You can generate the e-Tax Invoice & e-Receipt from your order lists as follows:
- Invoice/ Receipt
- Invoice/ Abbreviated Tax Invoice
- Receipt
- Invoice/Tax Invoice
- Delivery Order/Tax Invoice
- Tax Invoice
As below.
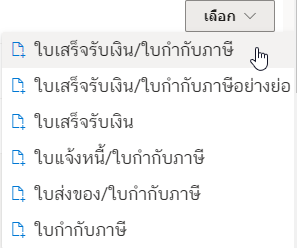
In the example we will show how to generate the “Invoice/Receipt” files.
The same method for generating e-Tax Invoice & other e-Receipt.
4. Generating e-Tax Invoice & e-Receipt, “Invoice/ Receipt”
To choose the ใบเสร็จรับเงิน/ใบกำกับภาษี (Invoice/Receipt) as below.
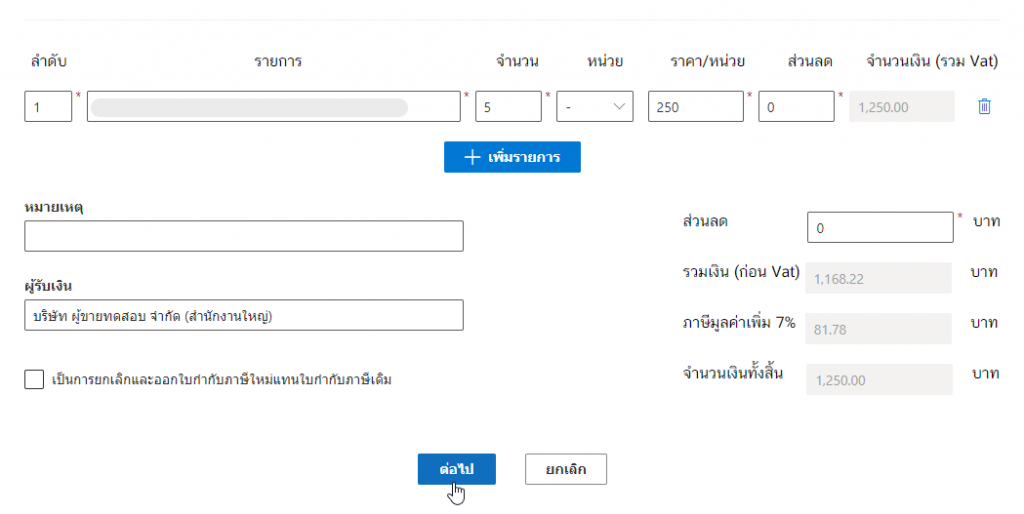
which the system will take you to the document creation page and bring the information in the order list from the TRCloud system to fill in automatically It is very convenient for users to create e-Tax Invoice & e-Receipt documents.
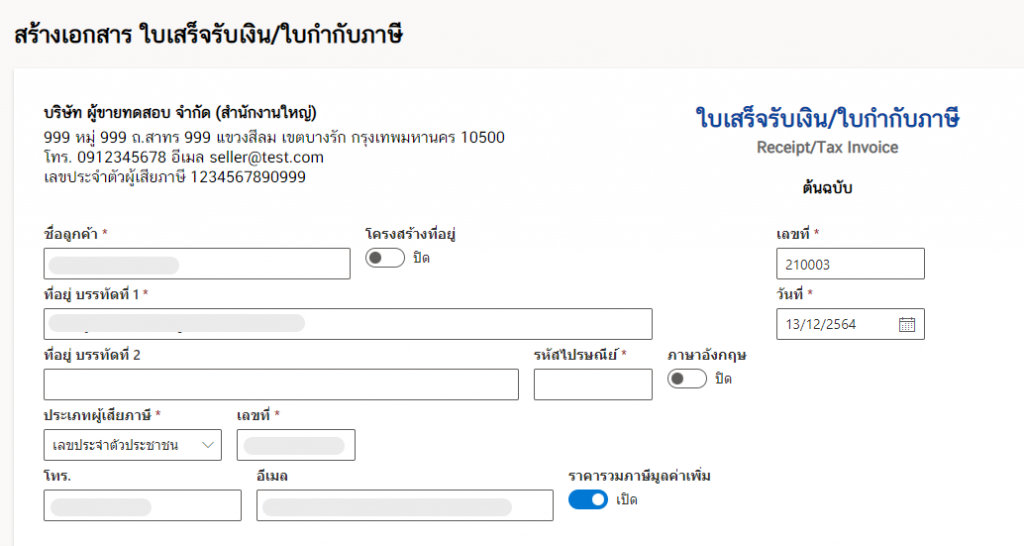
It is recommended to fill out all the areas marked with *.
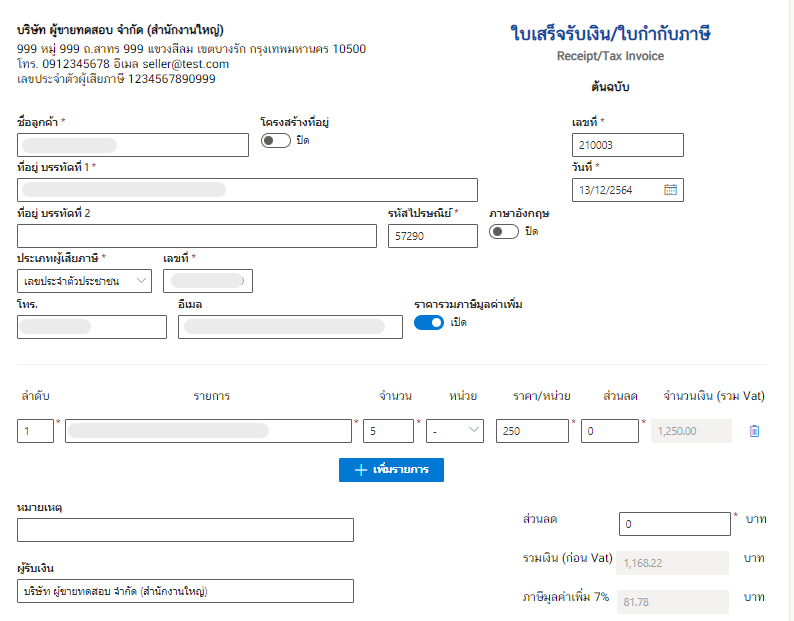
Once the details of the document have been checked, click on ต่อไป (Next).
Then the system will process the process to wait a moment as shown in the picture.
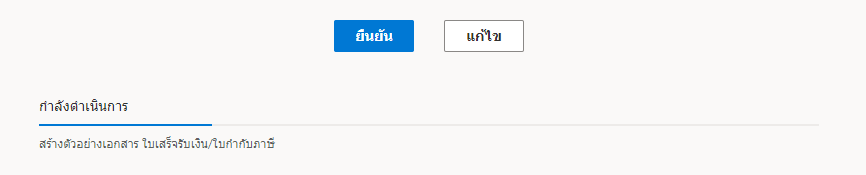
Click on the ยืนยัน (Confirm) for generating.

5. Completed document.
Then we will get a file of the completed document as shown in the picture.
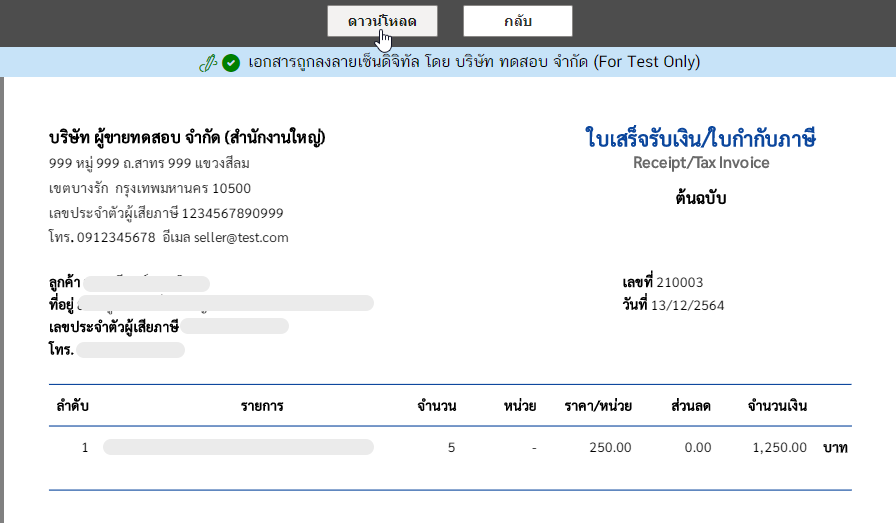
6. Openning the document.
At the เลือก (Select), and then click the เปิดเอกสาร (Open).
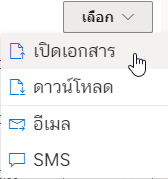
The document as below.
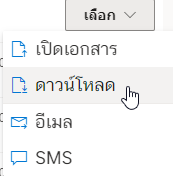
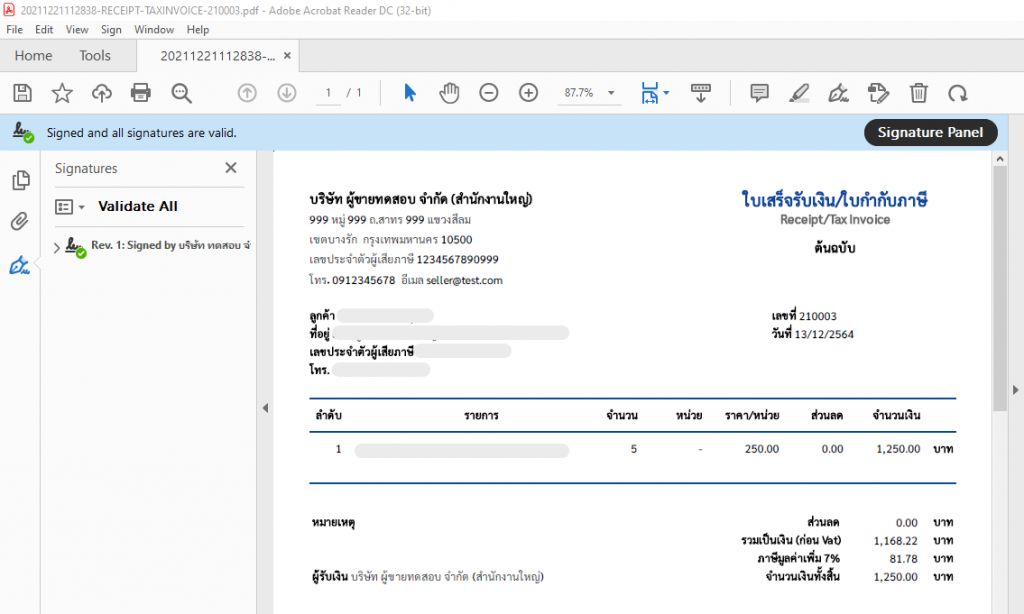
7. Downloading.
Click on the ดาวน์โหลด (Download).
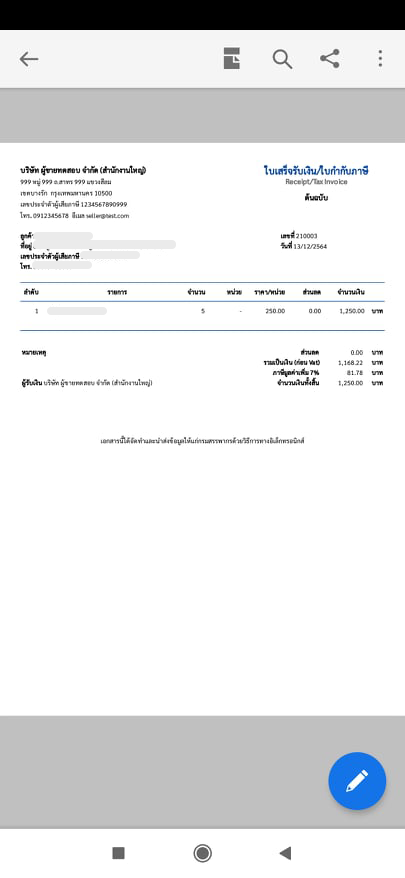
And when you open the file (Adobe Acrobat Reader DC is recommended) you’ll see the digitally signed document.
8. Emailing.
We will describe as follows.
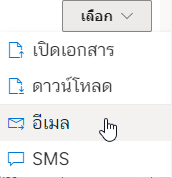
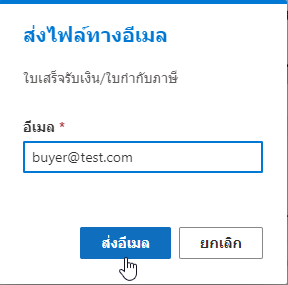
In a pop-up box, enter the email address you want to send the file, And click on ส่งอีเมล (Send Email).
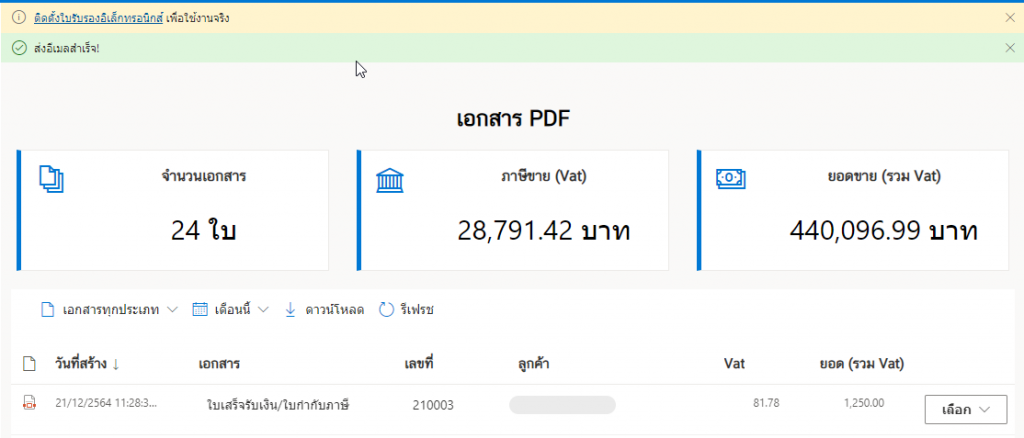
When the file has been sent to the destination email successfully. The system will prompt as ส่งอีเมลสำเร็จ (Email sent!).
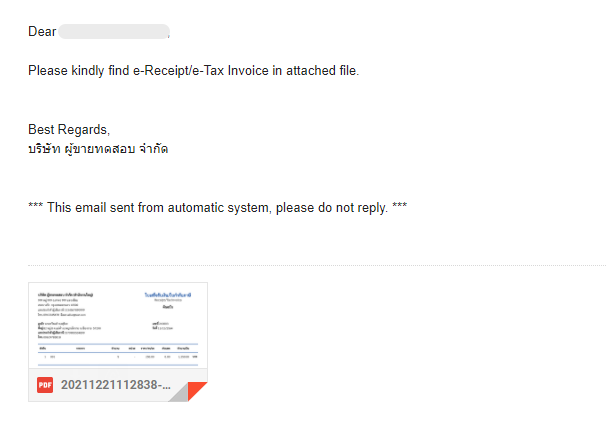
When the recipient has opened the e-mail containing the file will be displayed in the form as shown in the figure.
9. Send SMS.
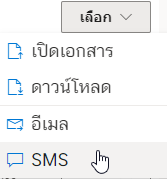
Our system can also send the file via SMS. By choosing the เลือก (Select) and click on the SMS
In a pop-up box, enter the email address you want to send the file, And click on ส่งข้อความ SMS (Send SMS).
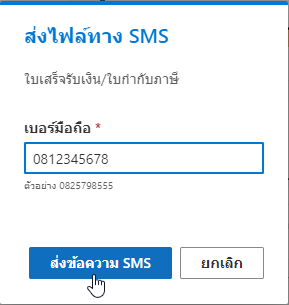
Once the SMS has been sent successfully, a message will appear ส่งข้อความ SMS สำเร็จ! (The SMS sent!).

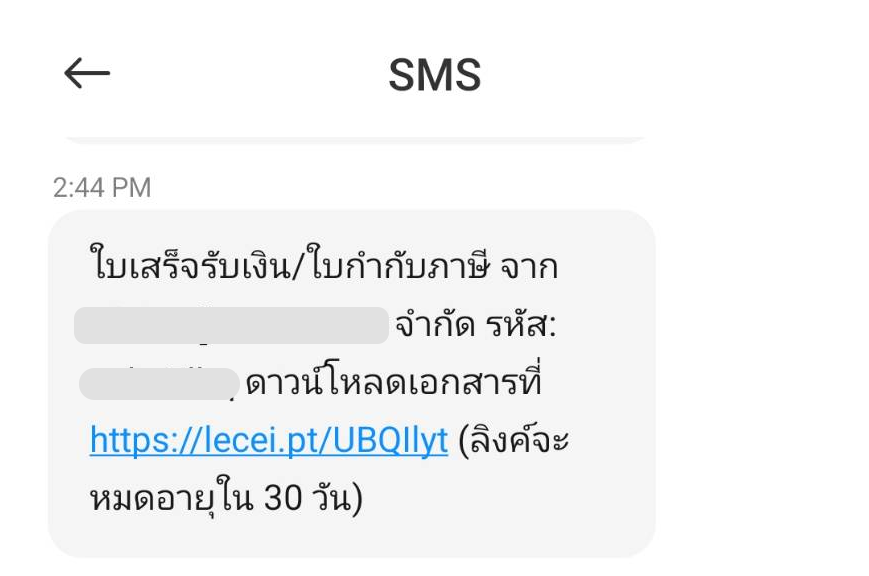
Let’s look at the part of the destination of the person receiving the SMS. When opening the mobile phone, a message will appear as shown in the picture.
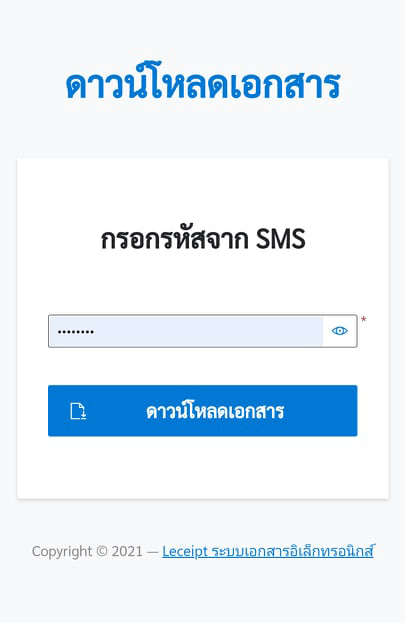
When you click on the link The system will show up as shown in the figure. Then enter the code sent by SMS.
Click the เปิดไฟล์ (Open) button. which should also install an application for opening PDF (if you don’t have one).
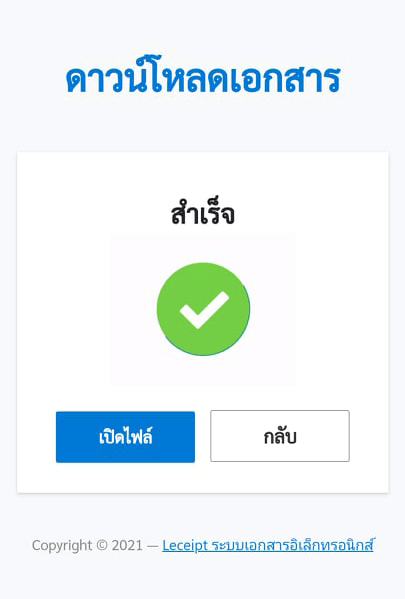
Preview PDF files using the “Adobe Acrobat Reader: PDF Viewer, Editor & Creator” application.
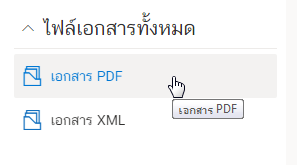
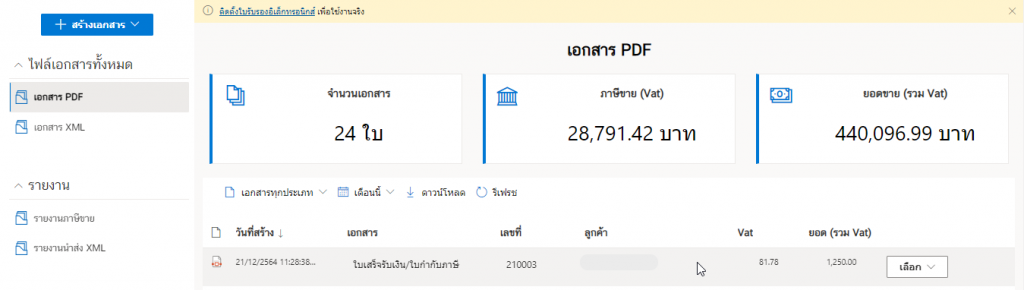
10. ไฟล์ PDF ของเอกสาร e-Tax Invoice & e-Receipt จากข้อมูล Invoice ที่สร้างเสร็จแล้ว
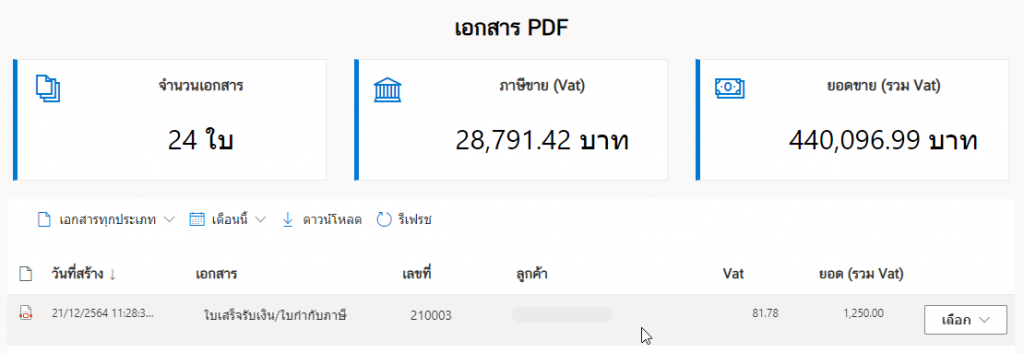
Click on the เอกสาร PDF (PDF documents), which the system shows e-Tax PDF files.
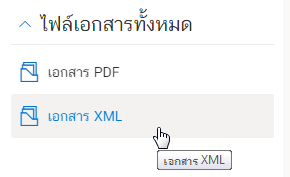
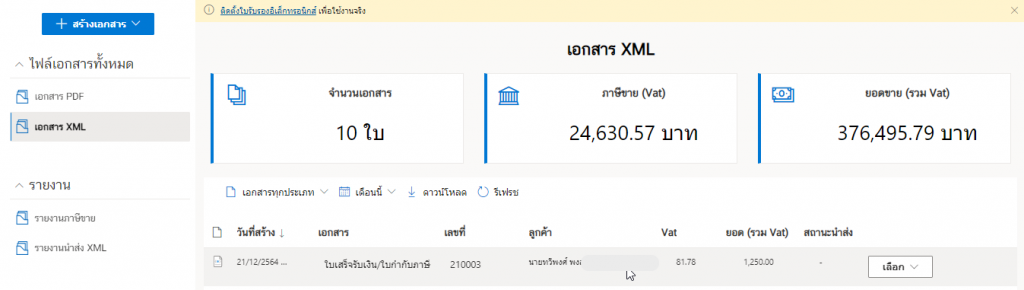
11. ไฟล์ XML ของเอกสาร e-Tax Invoice & e-Receipt จากข้อมูล Invoice ที่สร้างเสร็จแล้ว
Click on the เอกสาร XML (XML documents), which the system shows e-Tax XML files.