How to genarate an e-Tax Invoice & e-Receipt to connect from Shopee
This section we will describe how to genearte the e-Tax Invoice & e-Receipt to connect from Shopee.
About Shopee
Shopee is a well-known and large shopping online system in ASEAN, including Taiwan. It is a very famous C2C (buying-selling between consumer and consumer) platform, Shopee has a head office located in Singapore.
See more at https://shopee.co.th/
Leceipt’s system also provides services to connect to Shopee’s system for generating e-Tax Invoice & e-Receipt documents such as
- Invoice/ Receipt
- Invoice/ Abbreviated Tax Invoice
- Receipt
- Invoice/Tax Invoice
- Delivery Order/Tax Invoice
- Tax Invoice
It comes out as both PDF and XML files, save your time for filling the document form to generate the e-Tax Invoice & e-Receipt files.
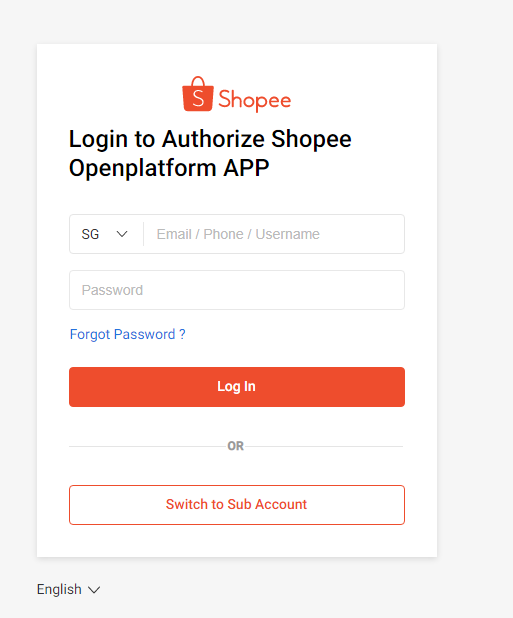
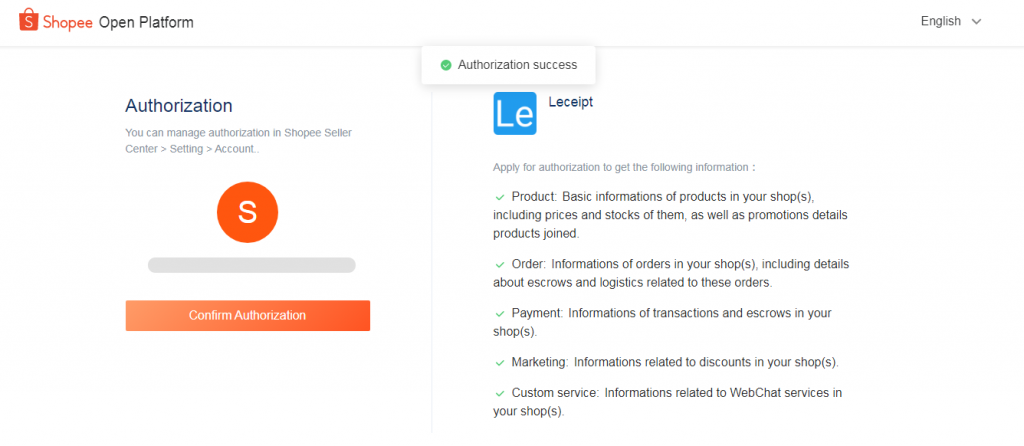
1. Connecting to Shopee.
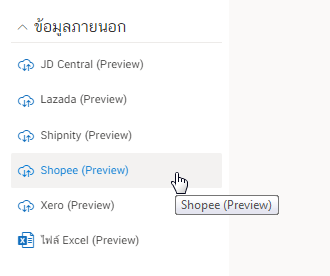
Click on the ข้อมูลภายนอก (External data) on the left hand side.
Then the system will come to the connection page. Click on the เชื่อมต่อ (Connect)
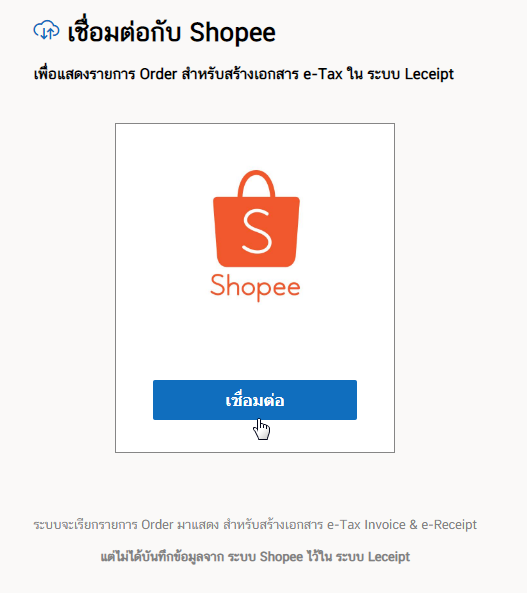
The page as shown in the picture.
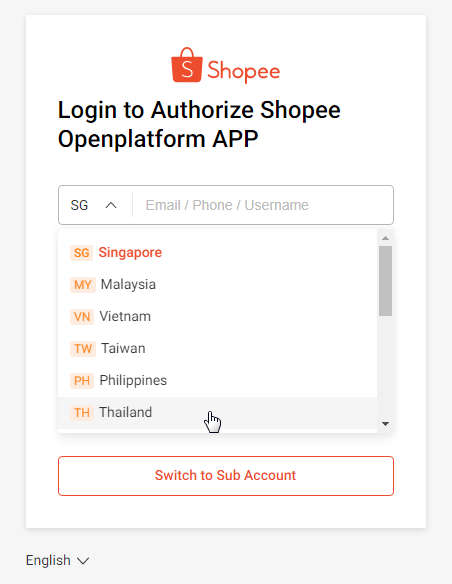
Select Thailand.
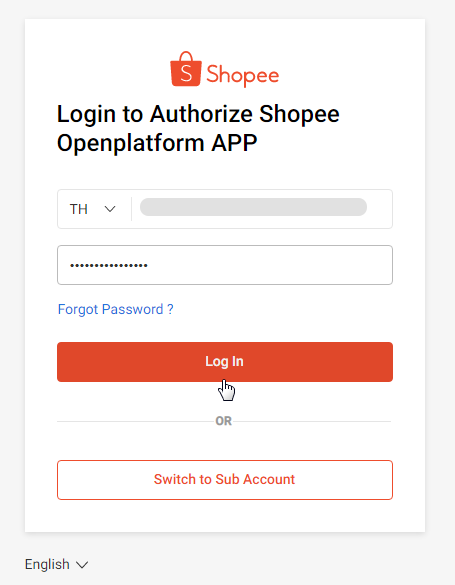
Input the Username and Password. Then click on Log in.
At the page click onConfirm Authorization.
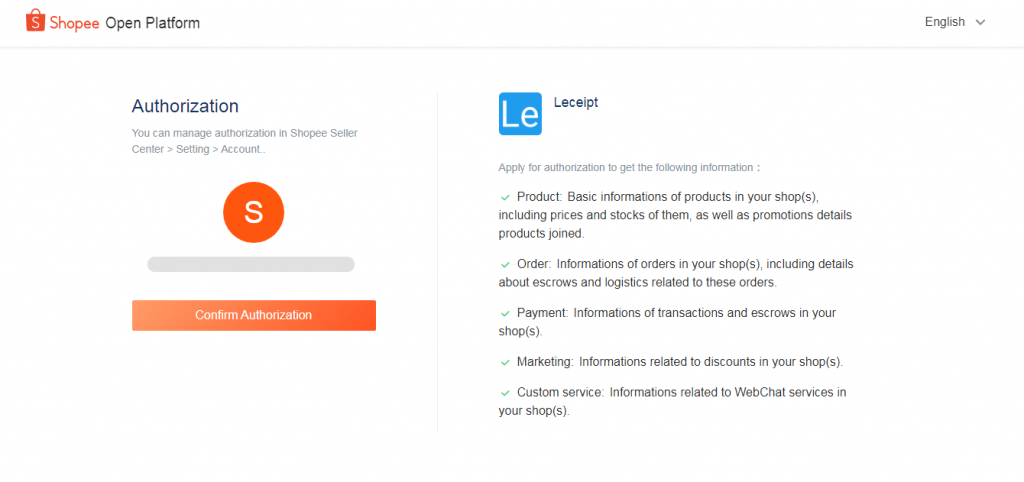
After that you will see the Authorization Success.
2. Filter options to view and search documents.
รายการออเดอร์ จากระบบ Shopee (Order lists from Shopee) will be extracted as shown as below.
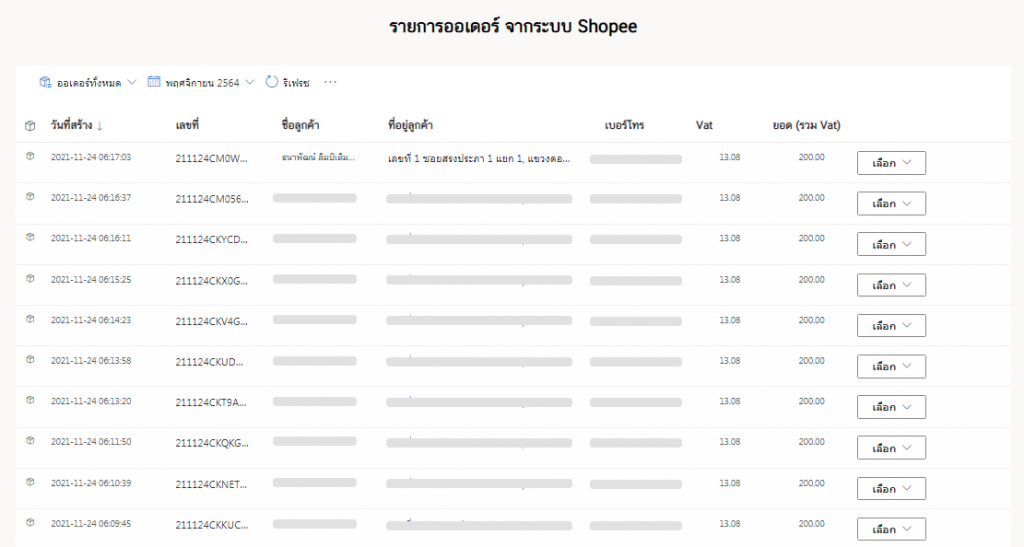
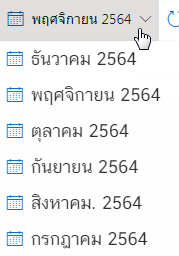
We can choose to view a list of orders from the Shopee system by selecting the display options as shown below. You can browse the ตามสถานะออเดอร์ (Order lists status) and ดูรายการออเดอร์จากเดือน (Monthly Report of Order List).

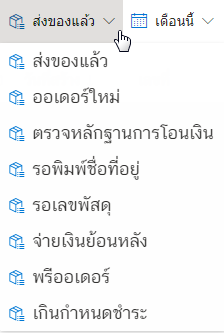
ที่ ตัวเลือกการเรียกดูรายการออเดอร์จาก สถานะออเดอร์ จะมีเมนูให้เลือกดังนี้
- ส่งของแล้ว (Sent)
- ออเดอร์ใหม่ (New order list)
- ตรวจหลักฐานการโอนเงิน (Check proof of transfer)
- รอพิมพ์ชื่อที่อยู่ (Wait for the name of the address)
- รอเลขพัสดุ (Waiting for parcel number)
- จ่ายเงินย้อนหลัง (Pay back)
- พรีออเดอร์ (Pre-order)
- เกินกำหนดชำระ (Past due)
As below.
As ดูรายการออเดอร์จากเดือน (Monthly Report of Order List)) will show as below.
3. Generating e-Tax Invoice & e-Receipt from order list.
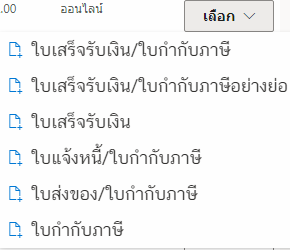
Click on the เลือก (Select), which shows nmenu for generate the e-Tax Invoice & e-Receipt documents.
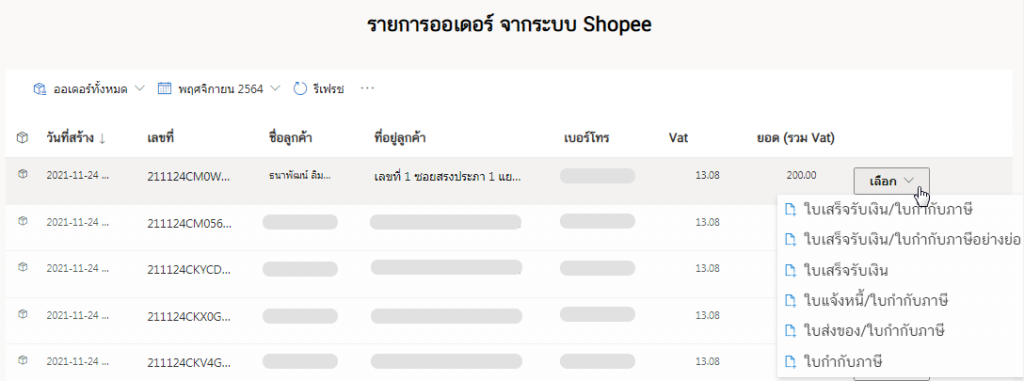
You can generate the e-Tax Invoice & e-Receipt from your order lists as follows:
- Invoice/ Receipt
- Invoice/ Abbreviated Tax Invoice
- Receipt
- Invoice/Tax Invoice
- Delivery Order/Tax Invoice
- Tax Invoice
As below.
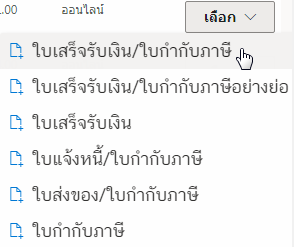
In the example we will show how to generate the “Invoice/Receipt” files.
The same method for generating e-Tax Invoice & other e-Receipt.
4. Generating e-Tax Invoice & e-Receipt, “Invoice/ Receipt”
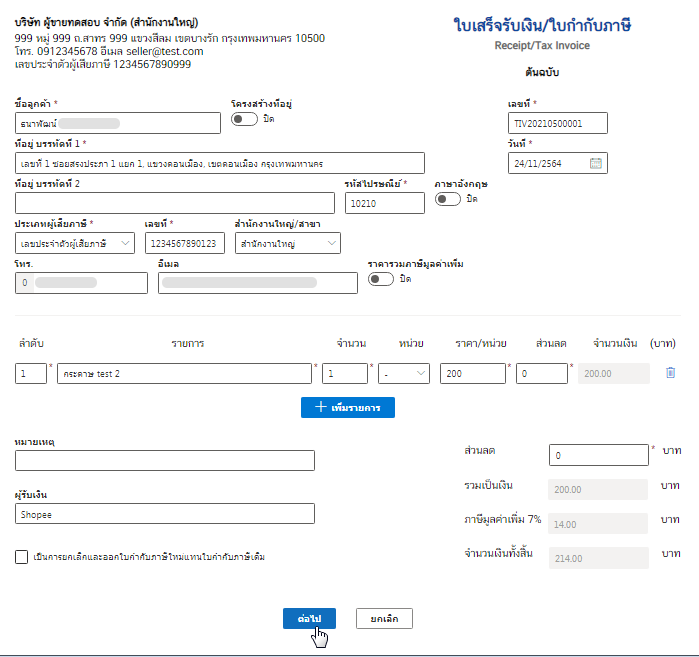
To choose the ใบเสร็จรับเงิน/ใบกำกับภาษี (Invoice/Receipt) as below.
The system will take you to the document creation page and bring the information in the order list from the JD Central system to fill in automatically It is very convenient for users to create e-Tax Invoice & e-Receipt documents.
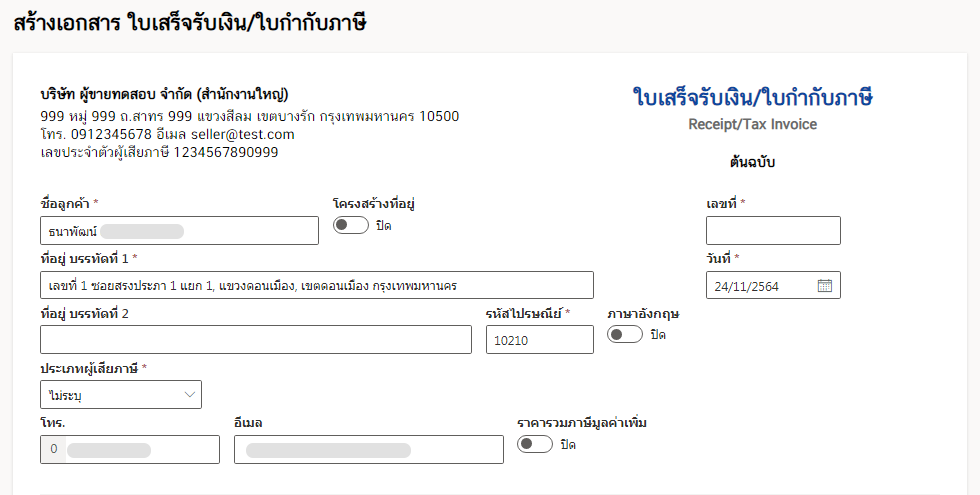
please check and fill out the information completely. Then click on the ต่อไป (Next).

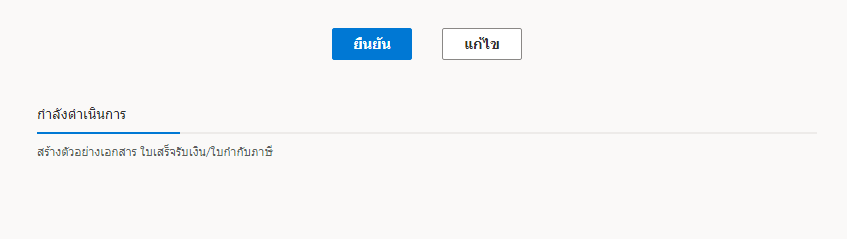
Then the system will process the process to wait a moment as shown in the picture.
Click on the ยืนยัน (Confirm) for generating.
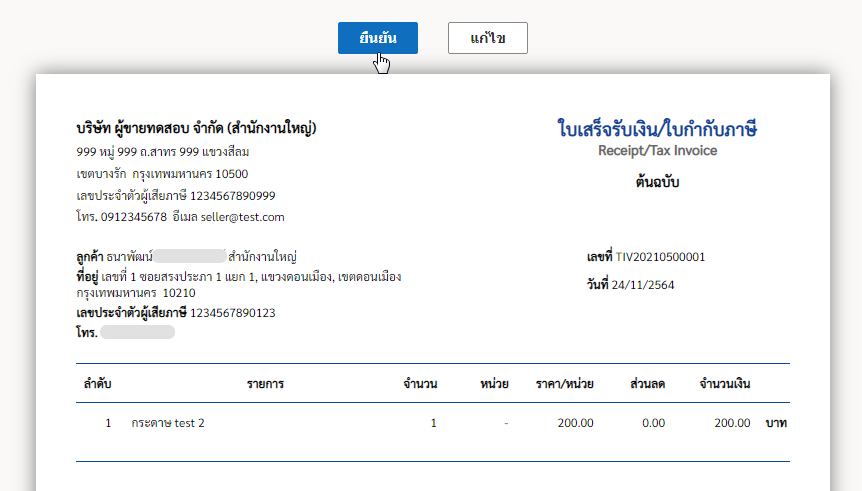
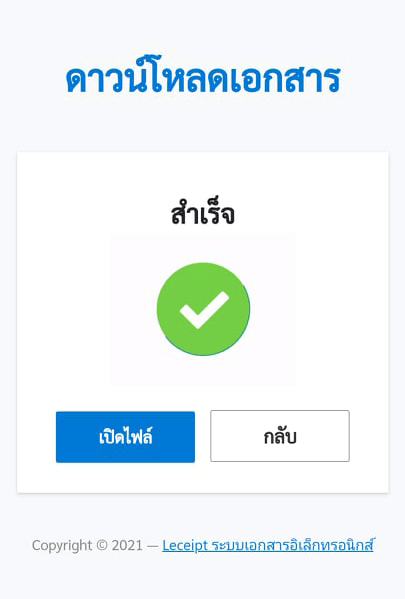
5. Completed document.
Then we will get a file of the completed document as shown in the picture.
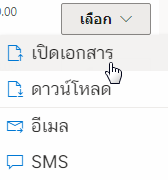
6. Openning the document.
At the เลือก (Select), and then click the เปิดเอกสาร (Open).
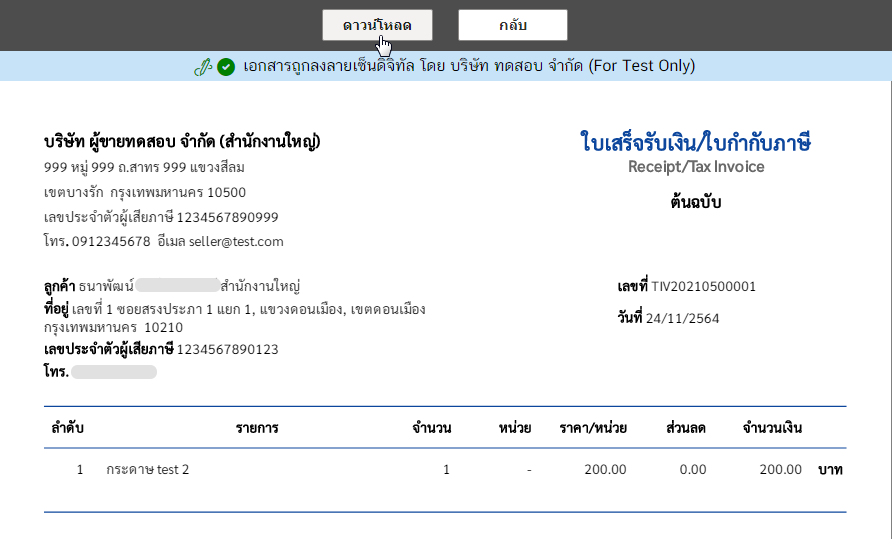
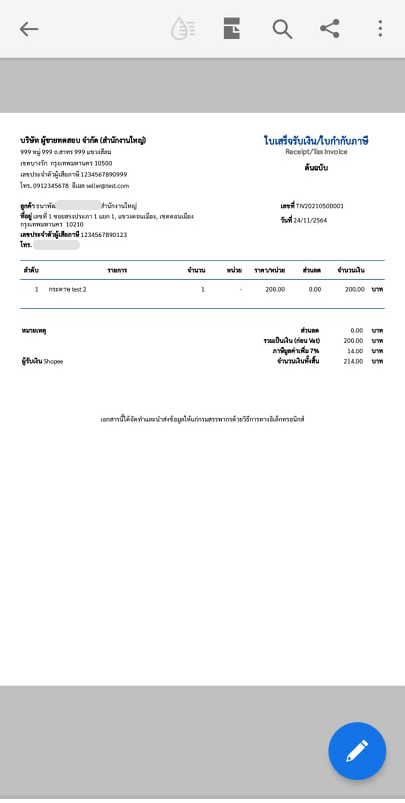
The document as below.
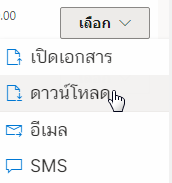
7. Downloading.
Click on the ดาวน์โหลด (Download).
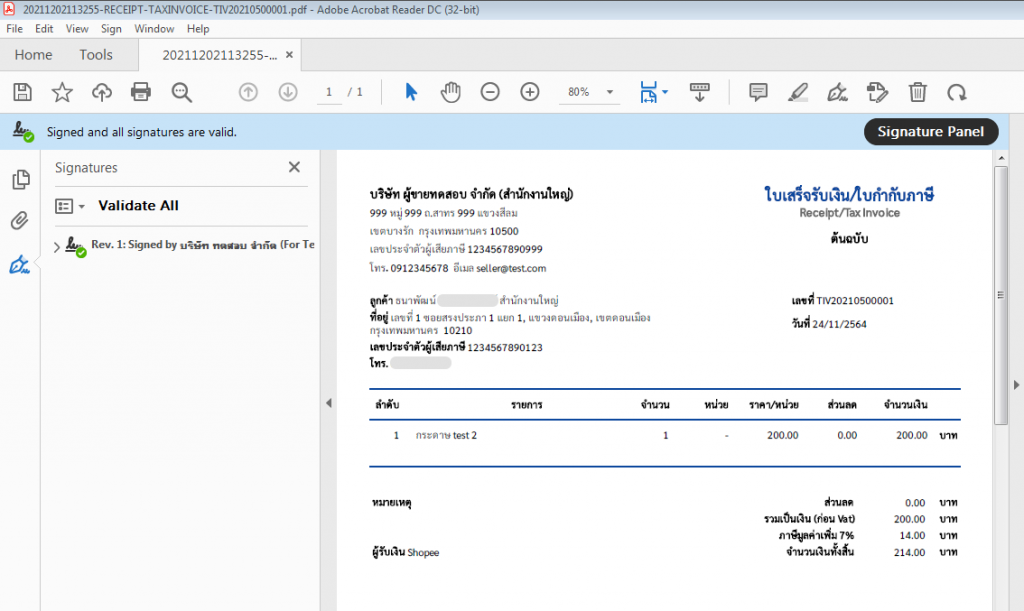
And when you open the file (Adobe Acrobat Reader DC is recommended) you’ll see the digitally signed document.
8. Emailing.
We will describe as follows.
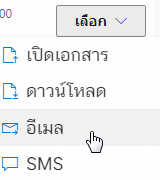
In a pop-up box, enter the email address you want to send the file, And click on ส่งอีเมล (Send Email).

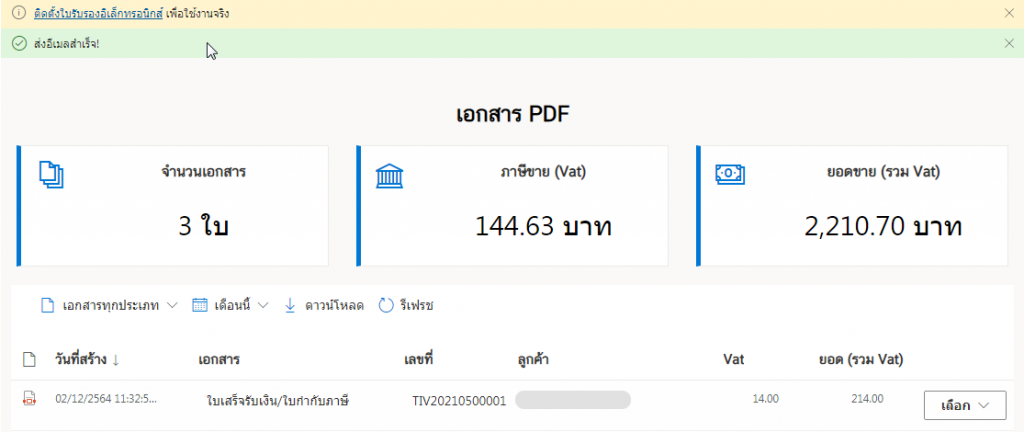
When the file has been sent to the destination email successfully. The system will prompt as ส่งอีเมลสำเร็จ (Email sent!).

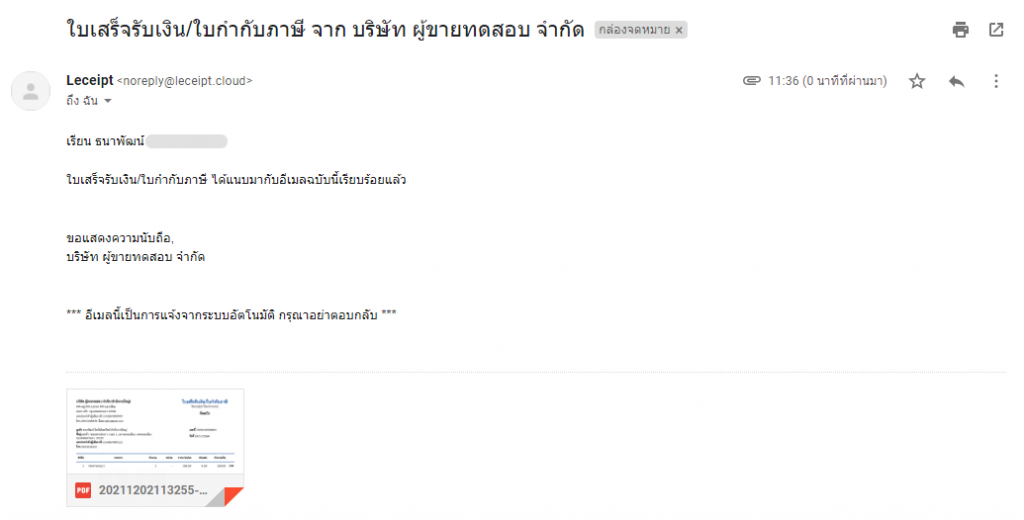
When the recipient has opened the e-mail containing the file will be displayed in the form as shown in the figure.
When the recipient has opened the email that has been sent, the document file will be displayed as shown in the figure.
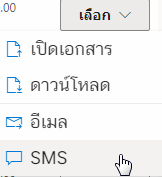
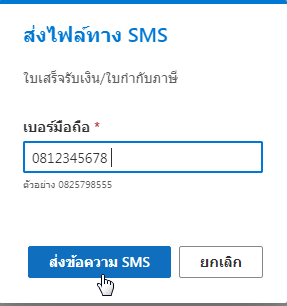
9. Send SMS.
Our system can also send the file via SMS. By choosing the เลือก (Select) and click on the SMS
In a pop-up box, enter the email address you want to send the file, And click on ส่งข้อความ SMS (Send SMS).
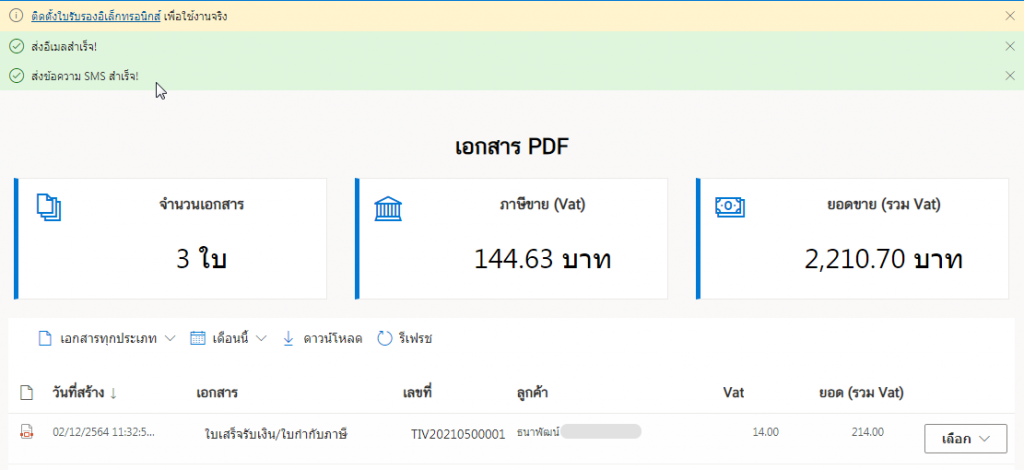
Once the SMS has been sent successfully, a message will appear ส่งข้อความ SMS สำเร็จ! (The SMS sent!).
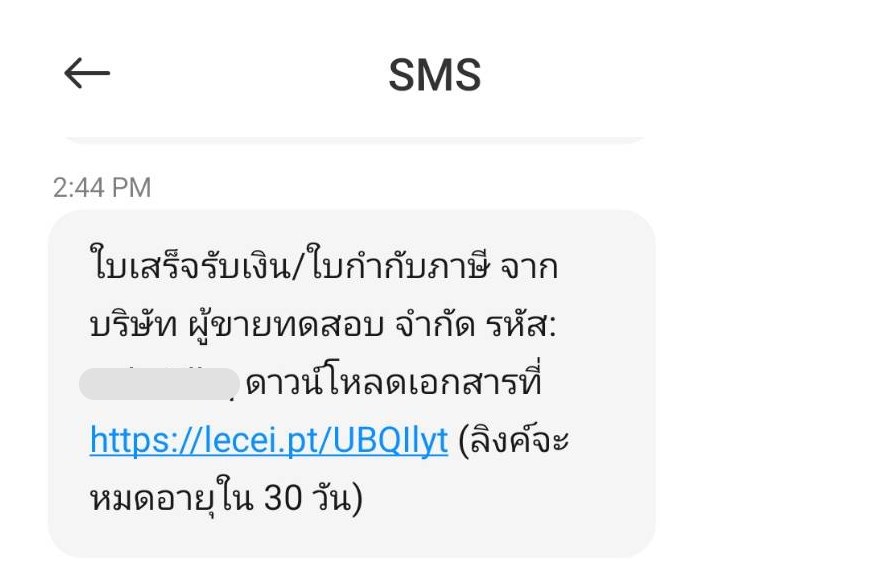
Let’s look at the part of the destination of the person receiving the SMS. When opening the mobile phone, a message will appear as shown in the picture.
When you click on the link The system will show up as shown in the figure. Then enter the code sent by SMS.
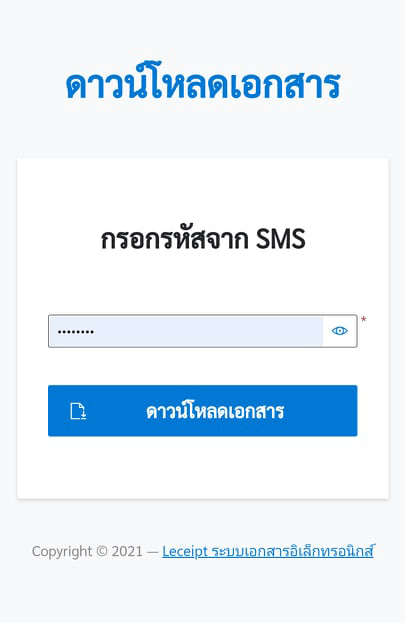
Click the เปิดไฟล์ (Open) button. which should also install an application for opening PDF (if you don’t have one).
Preview PDF files using the “Adobe Acrobat Reader: PDF Viewer, Editor & Creator” application.
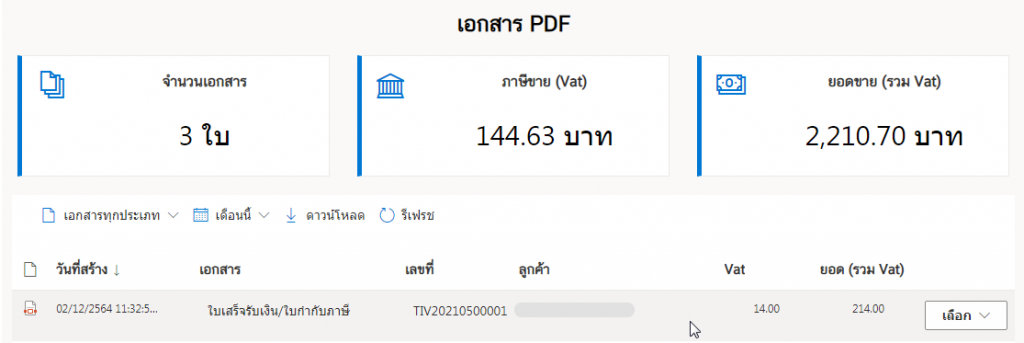
10. PDF file of e-Tax Invoice & e-Receipt
Click on the เอกสาร PDF (PDF documents), which the system shows e-Tax PDF files.
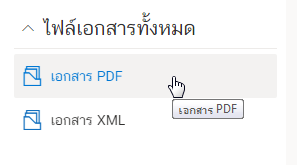
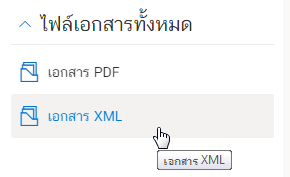
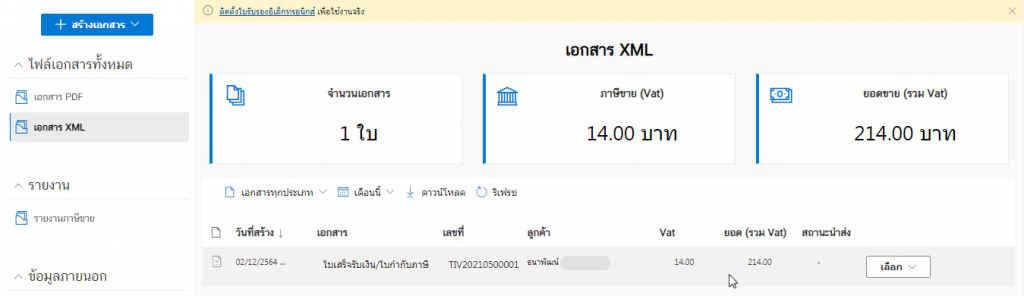
11. XML file of e-Tax Invoice & e-Receipt
Click on the เอกสาร XML (XML documents), which the system shows e-Tax XML files.