How to create a Receipt
After signing up and creating your company information, we will continue to walk you through the steps for generating a receipt with the following steps.
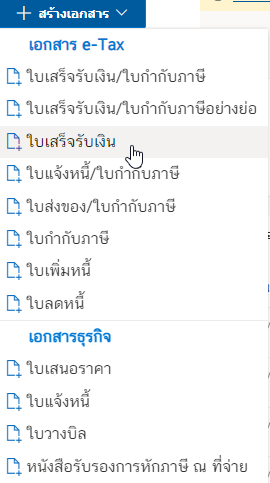
1. Start creating the document.
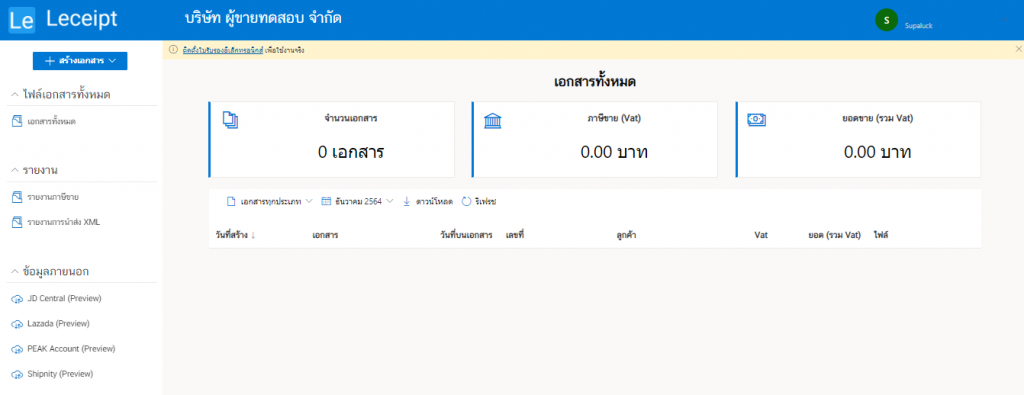
After registering and creating your seller’s company information, the system will take you to a page that looks like the picture.
and select ใบเสร็จรับเงิน (receipt)
2. Buyer’s information
Enter the name of your client’s company or business for this section. Do not leave blank as in the example image.

Entering your customer’s address in the fields, เลขที่ (Number). Enter the location number of the address. (This field cannot be blank), but other address information such as group numbers or village names to be filled in the ที่อยู่ (Address) box. Including the ถนน (Street).

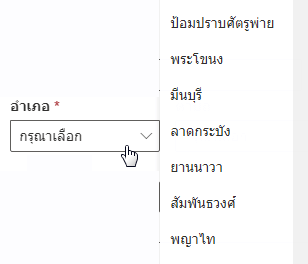
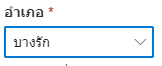
To input the อำเภอ/เขต (District) this section are mandatory by doing the same after being selected as the preferred province.
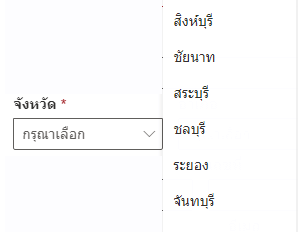
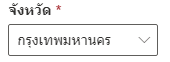
Choose Bangkok and then you can click to select อำเภอ/เขต (Sub-district).
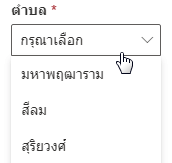
Then click to select the ตำบล/แขวง (Sub-district).
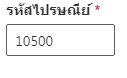
Entering a postal code can be done as shown below (This section must not be left blank).
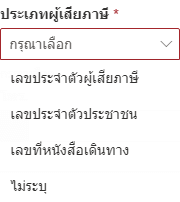
Enter the types of taxpayers as shown in the picture (this section must not be blank) as shown in the picture.
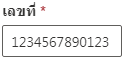
After that, fill in the 13-digit taxpayer number (this section must not be blank) as shown in the picture.
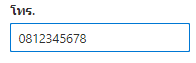
To enter a phone number, as below.
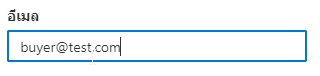
Enter your customer’s email address as shown in the image.
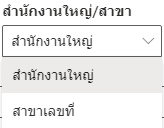
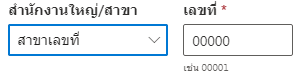
Then select an office as shown in the picture.
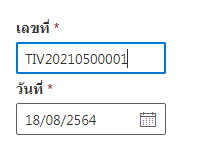
When filling out the address information, from the picture below, you will notice a form to fill in on the right hand side which will have เลขที่ (Number) และ วันที่ (Date).
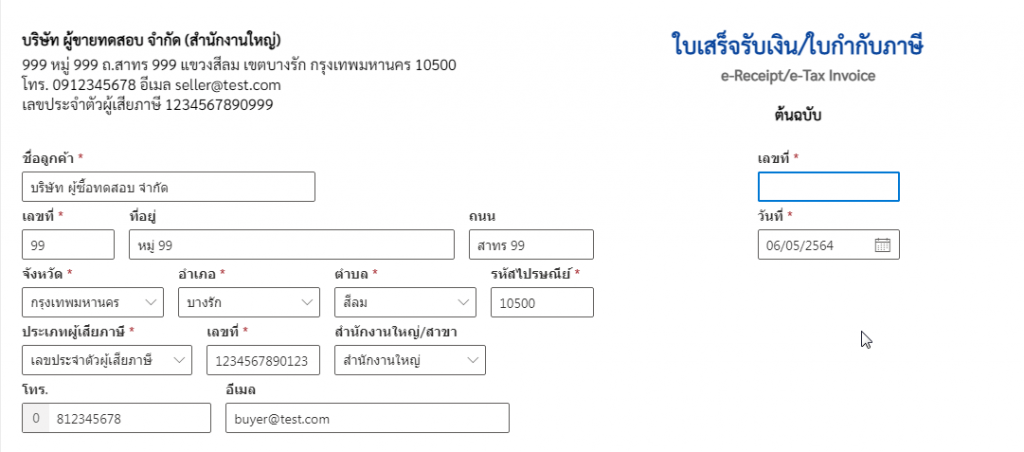
Entering เลขที่ (Number) which is the document number that you have customized as in the example picture (This section must not be blank) and click to select the desired date.
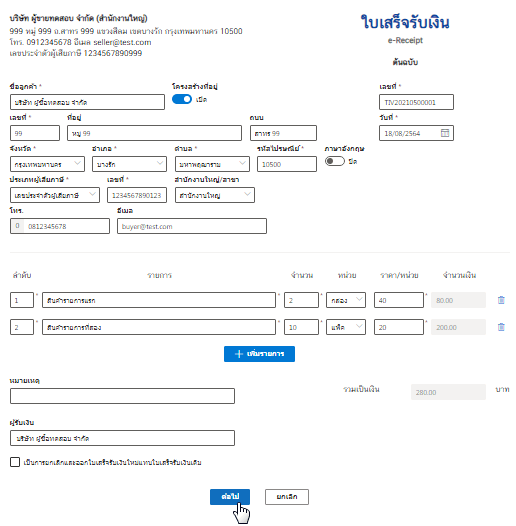
3. Product list and price calculation.
Next is the part that fills in information and calculates the products that your customers order.

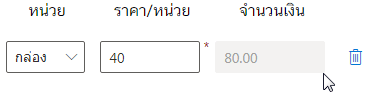
When filling in the list of various products by specifying ลำดับ (Number) and รายการสินค้า (Order list) and entering the number of products ordered.

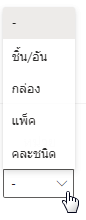
later make a selection หน่วย (Unit of product).
At ราคาสินค้า (Product price), then enter and when you click on the gray area in the amount section, you will find that the system has calculated the money of the product price.
To add a product list, press the เพิ่มรายการ (Add) button.

After adding a product list, it will be as shown in the picture.

For the blue trash can on the far right is a button to delete that product. If you want to delete that product, click on the mark.
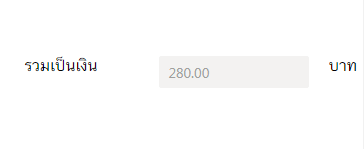
And you will see total price as below.
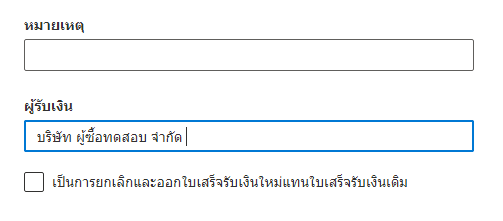
The last part of the form to fill out is below, there will be a note box and the name of the payee, this section can be filled or left blank.
When everything is done, click on ต่อไป (Next)
Then the system will process the process to wait a moment.
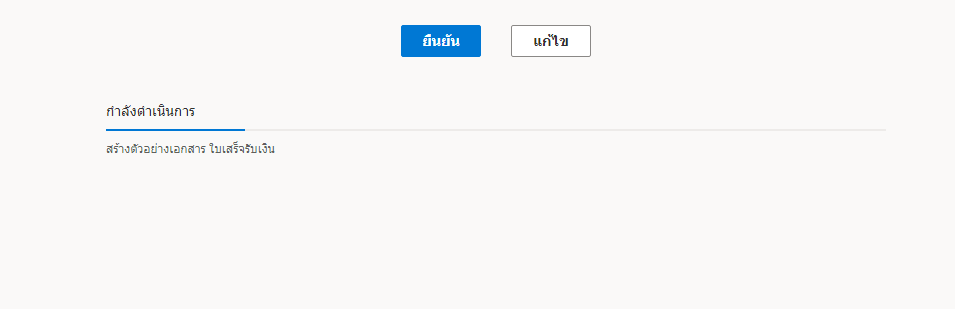
When the system finishes processing, it will show the preview. And click on the ยืนยัน (Confirm), for corfirm.
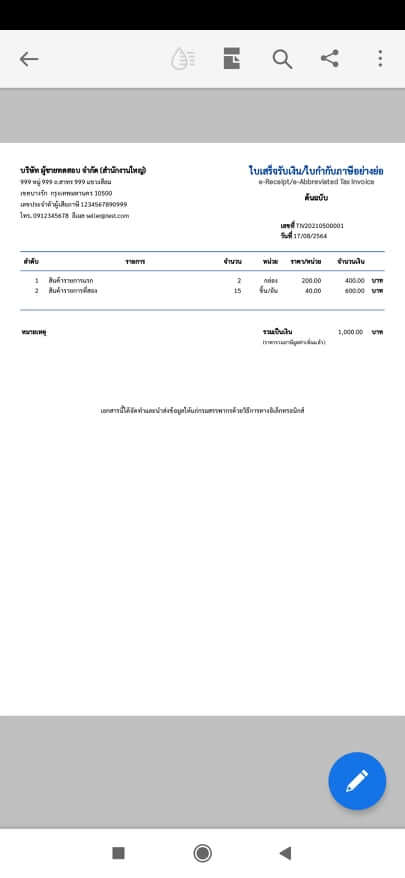
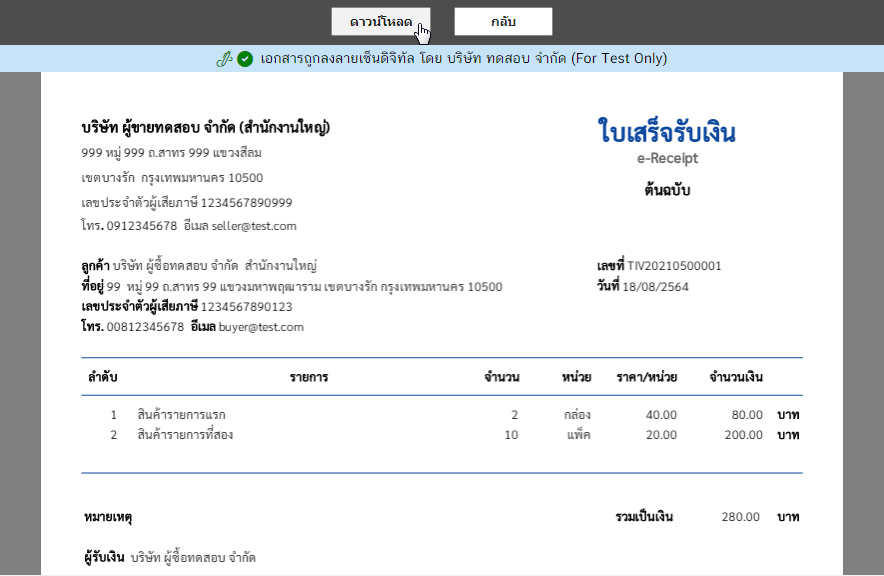
Completed document
Then we will get a file of the completed document as shown in the picture.

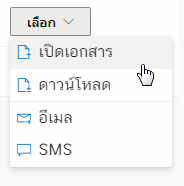
5. Opening the document
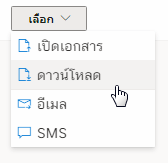
Click on เลือก, then click on เปิดเอกสาร (Opening the document)
Then it will show the document details of the document which has a digital signature and can be downloaded to use
6. Downloading.
จากเมนู เลือก ให้คลิกที่ ดาวน์โหลด ระบบจะดาวน์โหลดไฟล์ ใบเสร็จรับเงิน
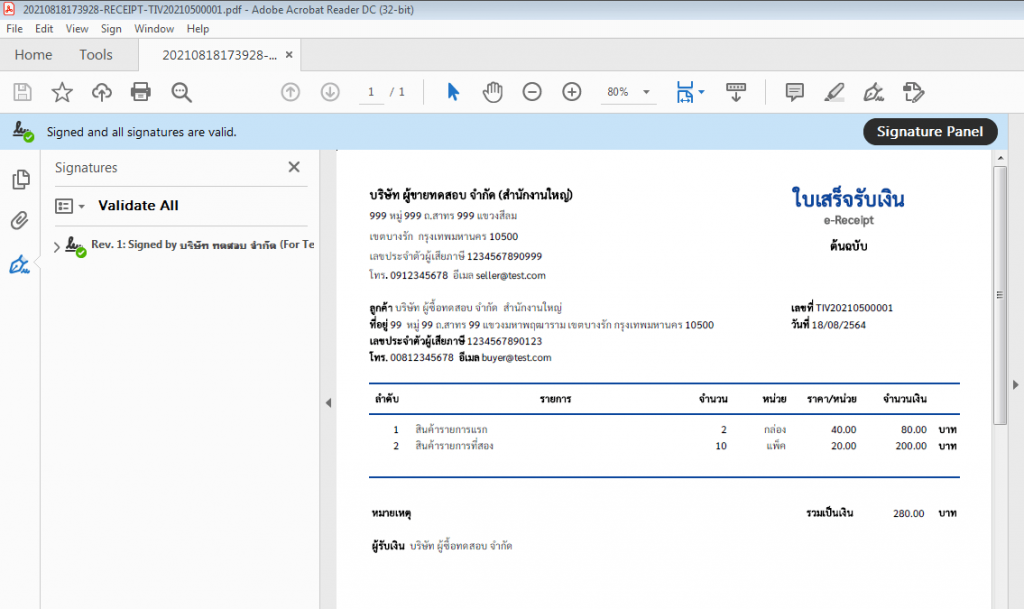
และเมื่อเปิดไฟล์ (แนะนำให้ใช้ Adobe Acrobat Reader DC) จะเห็นเอกสารซึ่งมีลายเซ็นดิจิทัลพร้อมมาให้ด้วย
7. การส่งอีเมล
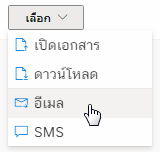
ระบบของเรารองรับการส่งไฟล์ ใบเสร็จรับเงิน ผ่านอีเมล โดยที่เมนู เลือก แล้วเลือกให้คลิกที่ อีเมล
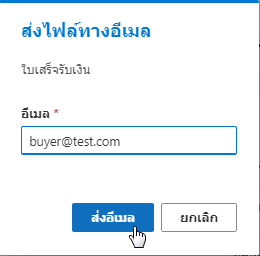
แล้วขึ้นกล่อง Pop-up ให้กรอกอีเมลปลายทางที่ต้องการส่งไฟล์ ใบเสร็จรับเงิน/ใบกำกับภาษีอย่างย่อ แล้วคลิกที่ ส่งอีเมล
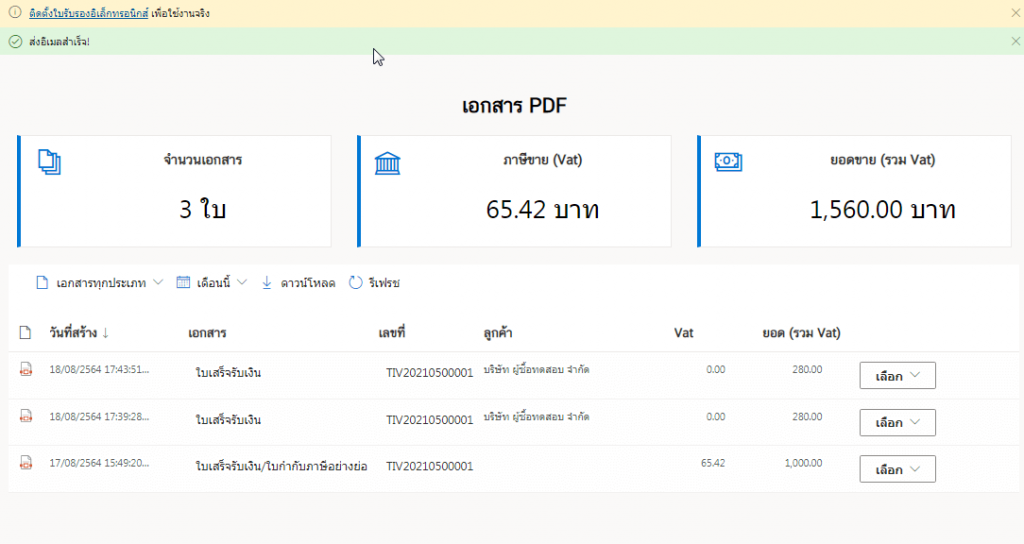
เมื่อไฟล์ได้ถูกส่งไปยังอีเมลปลายทางเรียบร้อย ระบบจะขึ้นแจ้งว่า ส่งอีเมลสำเร็จ ดังรูป
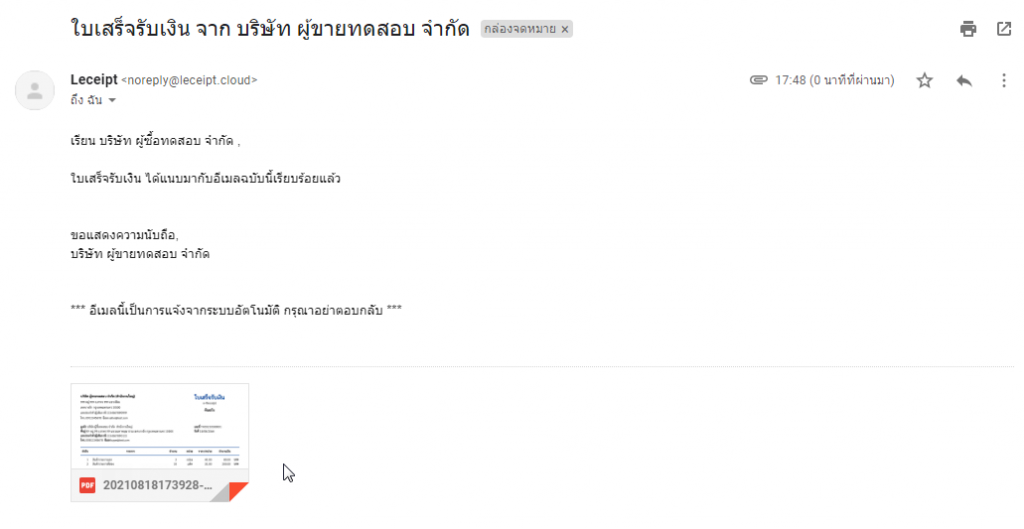
เมื่อผู้รับได้เปิดอีเมลที่มีการส่งไฟล์ ใบเสร็จรับเงิน จะแสดงในลักษณะดังรูป
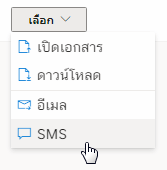
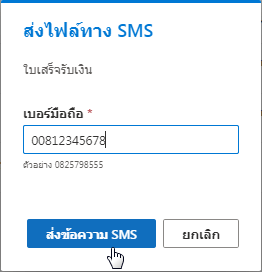
8. การส่ง SMS
ระบบของเรายังสามารถส่งไฟล์ ใบเสร็จรับเงิน ทาง SMS ได้อีกด้วย โดยที่เมนู เลือก แล้วเลือกที่ SMS
จากนั้นระบบจะขึ้น Pop-up ให้ใส่เบอร์โทรมือถือของหมายเลขปลายทางที่ต้องการส่ง แล้วคลิกที่ ส่งข้อความ SMS
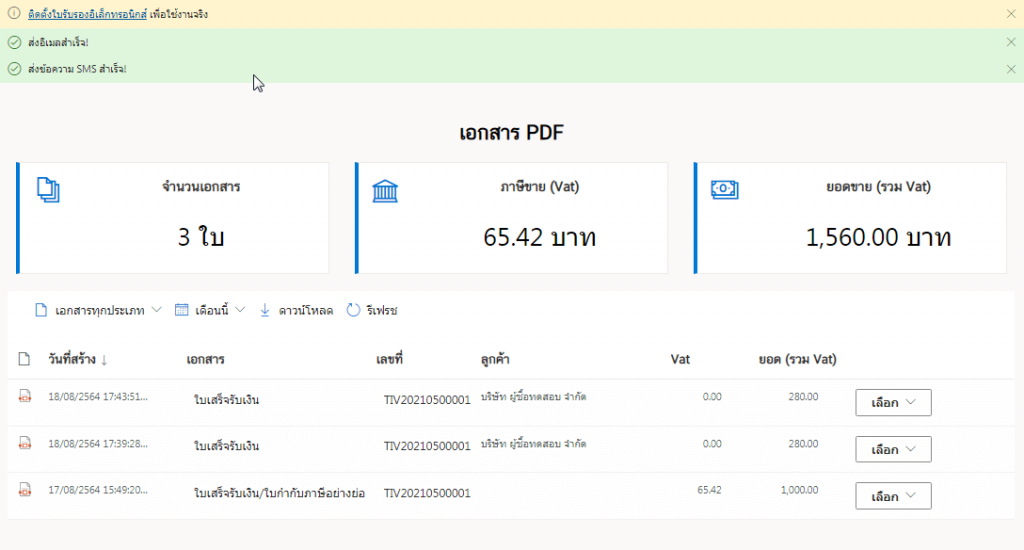
เมื่อระบบส่ง SMS สำเร็จแล้วจะขึ้นข้อความแจ้ง ส่งข้อความ SMS สำเร็จ! ดังรูป
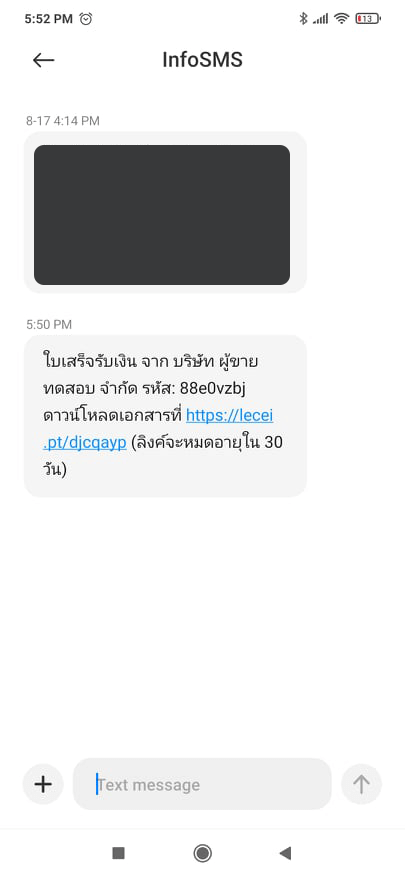
มาดูที่ส่วนของปลายทางของผู้ที่ได้รับ SMS โดยเมื่อเปิดมือถือขึ้นมาจะพบข้อความแจ้งขึ้นมาดังรูป
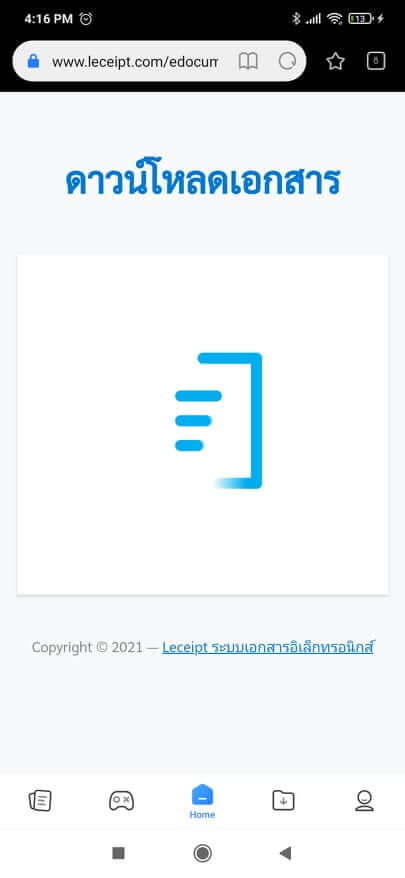
เมื่อกดคลิกที่ลิงค์ ระบบจะขึ้นให้ดังรูป แล้วให้ใส่รหัสที่ส่งมาจาก SMS

เมื่อกรอกรหัสเรียบร้อยแล้วระบบจะทำการดาวน์โหลดไฟล์ ใบเสร็จรับเงิน/ใบกำกับภาษีอย่างย่อ ดังรูปต่อไปนี้
คลิกปุ่ม เปิดไฟล์ ซึ่งควรลง Application สำหรับเปิด PDF ไว้ด้วย (หากยังไม่มี)
เปิดดูไฟล์ PDF จากตัวอย่างได้ใช้แอปพลิเคชัน “Adobe Acrobat Reader: PDF Viewer, Editor & Creator”