How to Create e-Tax Invoice & e-Receipt Documents from Microsoft Dynamics 365 Business Central
This section describes creating e-Tax Invoice & e-Receipt documents that connect to the Microsoft Dynamics 365 Business Central system.
Get to know Microsoft Dynamics 365 Business Central

Microsoft Dynamics 365 Business Central is an ERP system that integrates with Microsoft Office, suitable for mid-level businesses and above.
More information can be found at https://dynamics.microsoft.com/en-us/business-central/overview/
The system of Leceipt also has a service to connect to the system of Microsoft Dynamics 365 Sales (CRM) for creating e-Tax Invoice & e-Receipt documents as follows.
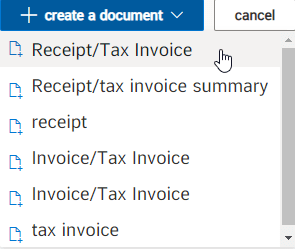
- e-Receipt/e-Tax Invoice
- e-Receipt/e-Abbreviated Tax Invoice
- e-Receipt
- e-Invoice/e-Tax Invoice
- e-Delivery Invoice/e-Tax Invoice
- e-Tax Invoice
It comes out as both PDF and XML files, which eliminates the need to fill out time to create new e-Tax Invoice & e-Receipt documents.
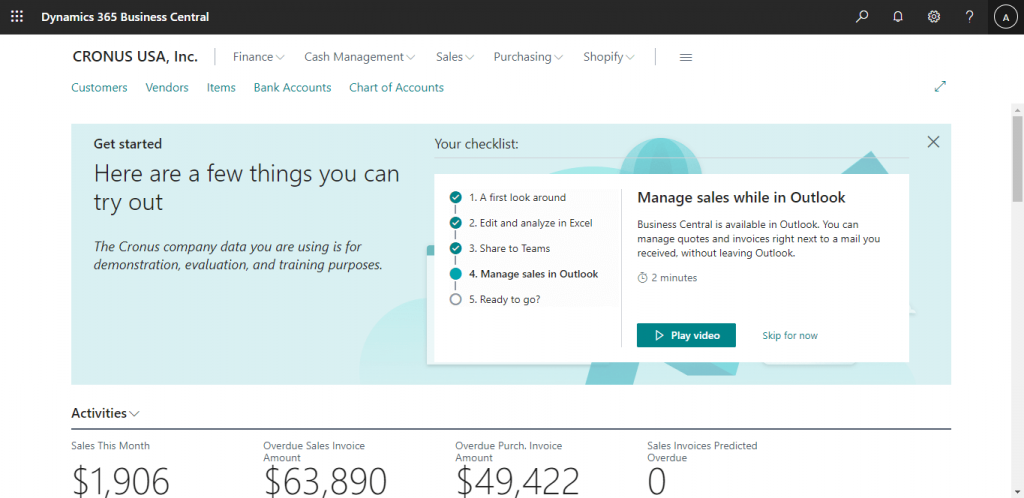
1. View Microsoft Dynamics 365 Business Central system invoice data.
Log-in to Microsoft Dynamics 365 Business Central and you will see the main page of the system as shown.
2. Connecting to Microsoft Dynamics 365 Business Central
First, go to the topic “External Data (Paid)”. It’s in the left-hand menu bar as shown, and then click on Microsoft Dynamics 365 Business Central . After logging in to the Leceipt program is completed.
After logging in to the Leceipt program is completed.
First, go to the topic "External Data (Paid)" which is in the left-hand menu bar as shown in the picture, then click Microsoft Dynamics 365 Business Central .

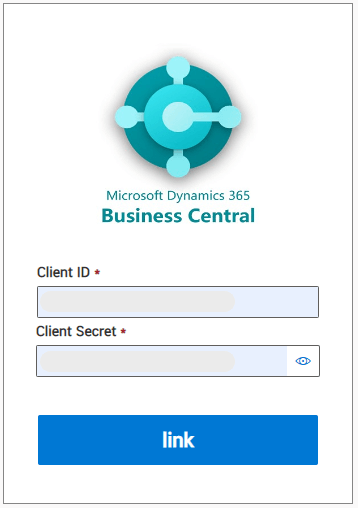
To connect to Microsoft Dynamics 365 Business Central , we provide Client ID and Client Secret and click “Link”.
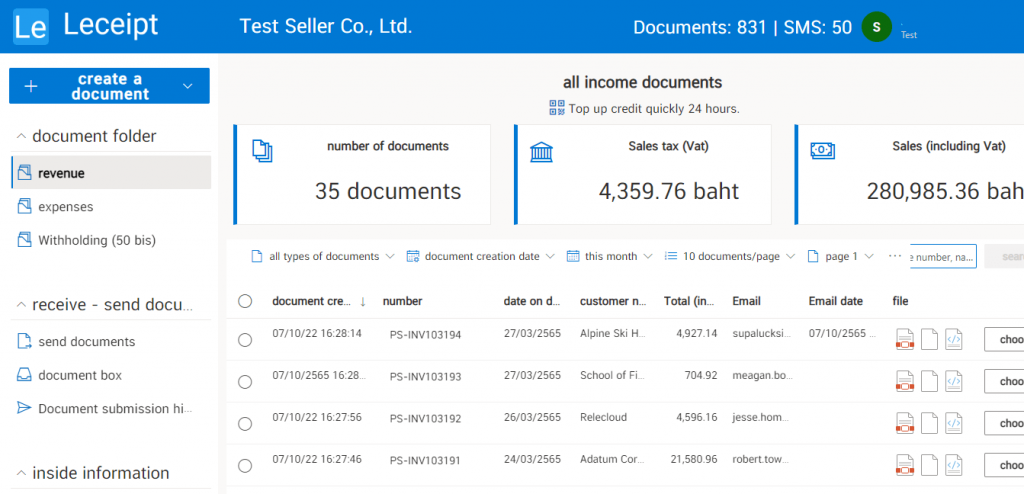
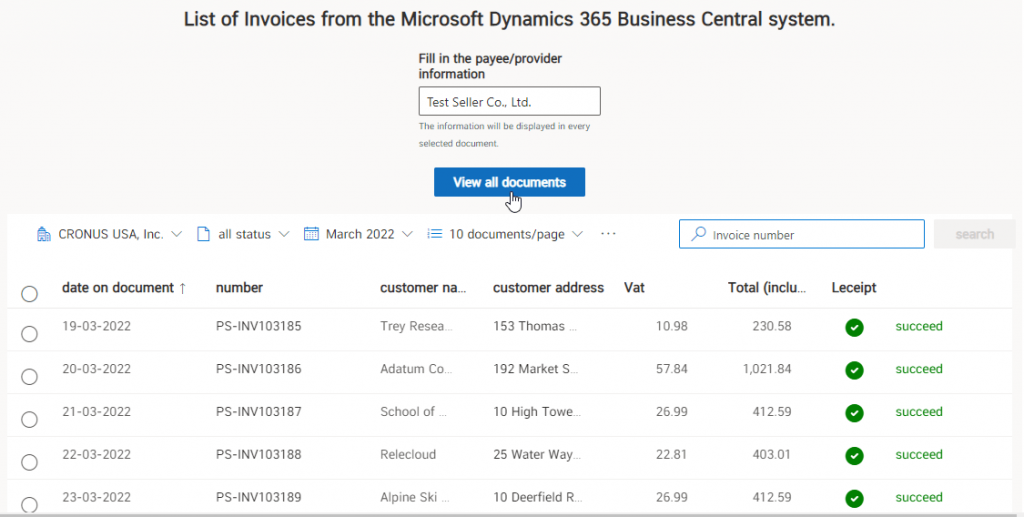
This will display all documents connected from Microsoft Dynamics 365 Business Central to be used to create e-Tax Invoice & e-Receipt documents.
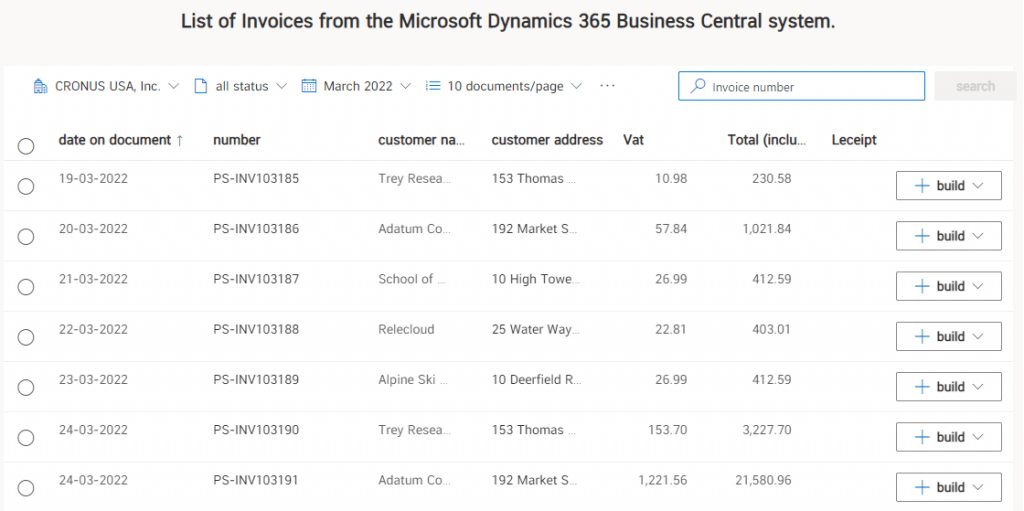
3. Filtering menu of document status, months and display of amount of data per page.
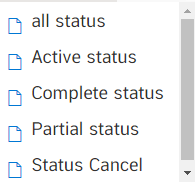
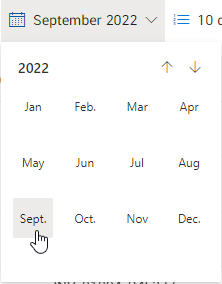
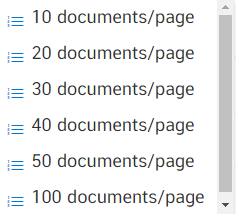
We can choose to view various items from Microsoft Dynamics 365 Business Central by selecting the display options as shown below. You can browse the list of orders all status monthly number of documents/page and search box.

At the status of the document, chooseall status to show as shown in the figure.

At monthly will be shown as shown in the figure.

Shows the number of documents per page that are available to choose from, as shown in the figure.

and type invoice number or name in the search box on the right hand side.
which will show all the information.
4. Creating e-Tax Invoice & e-Receipt documents according to the required files.
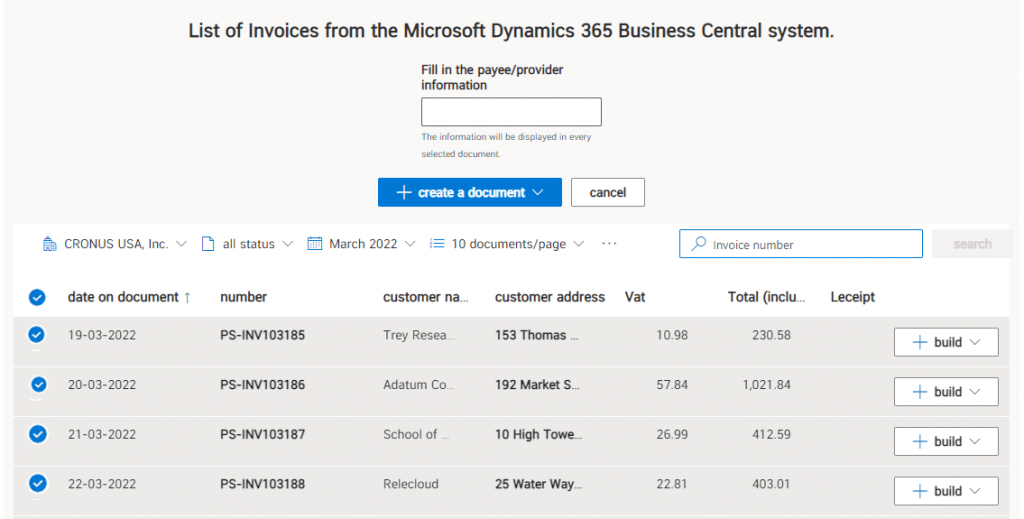
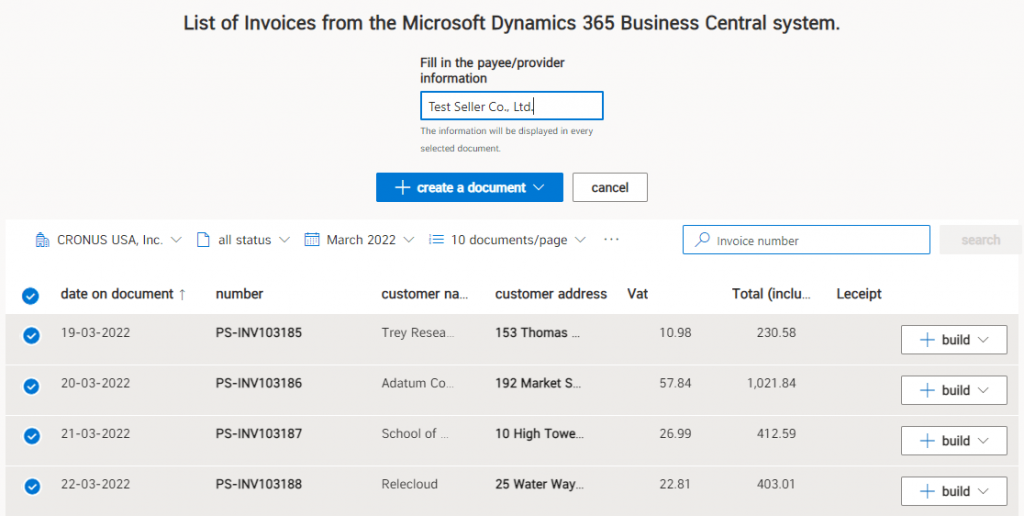
Click on the in fron of creation date .
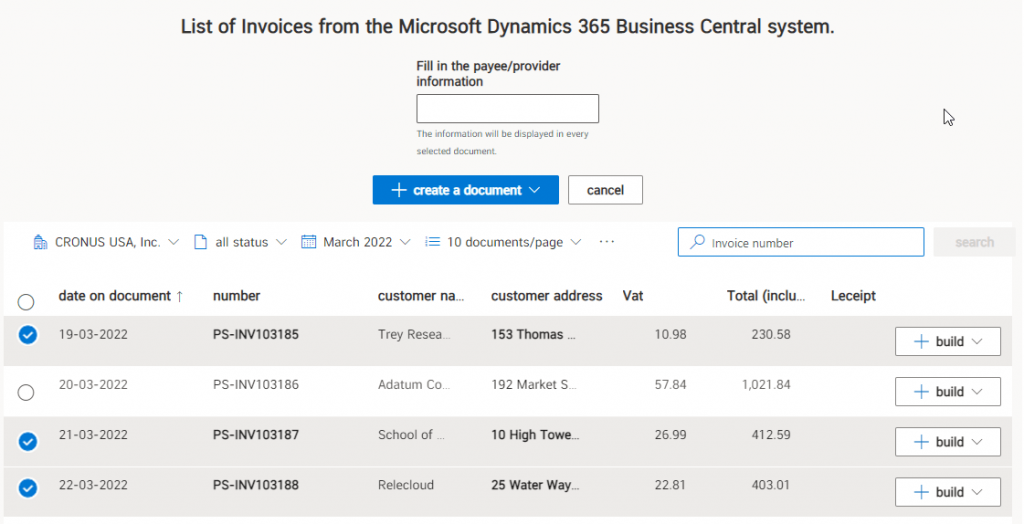
and fill out the information Payee/Provider .
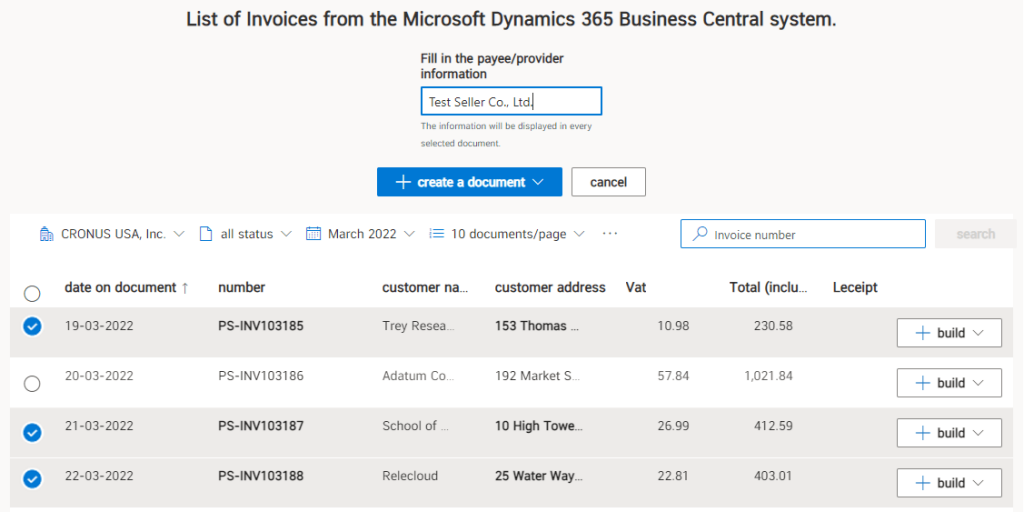
And then click Create a Document.
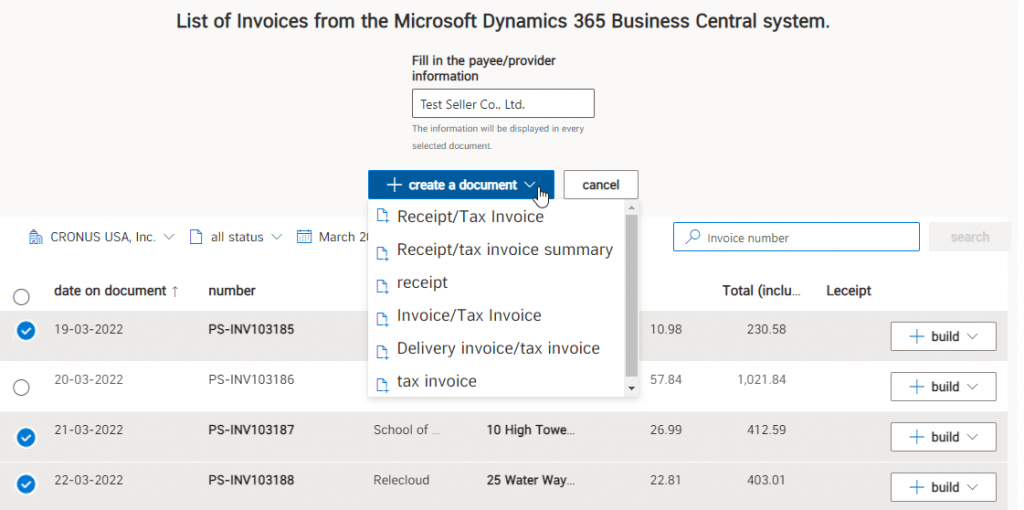
Choose an e-Tax Invoice & e-Receipt that you want to create. In this example we choose e-Tax Invoice & e-Receipt.
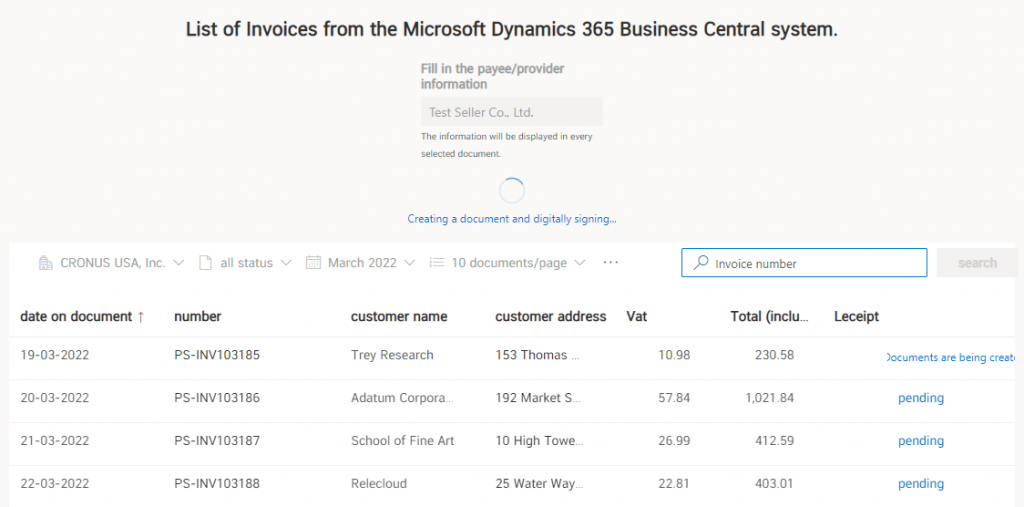
The system will create a document and digitally sign it.
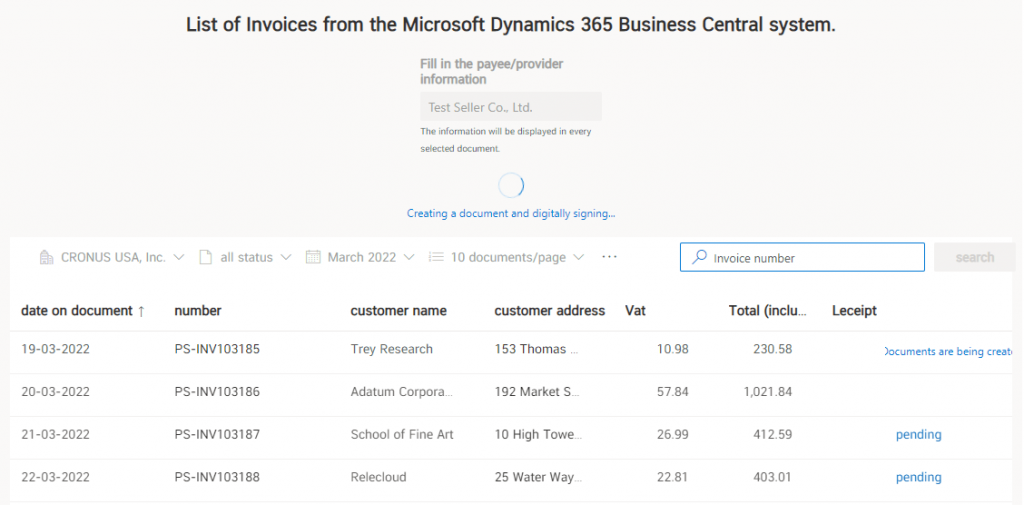
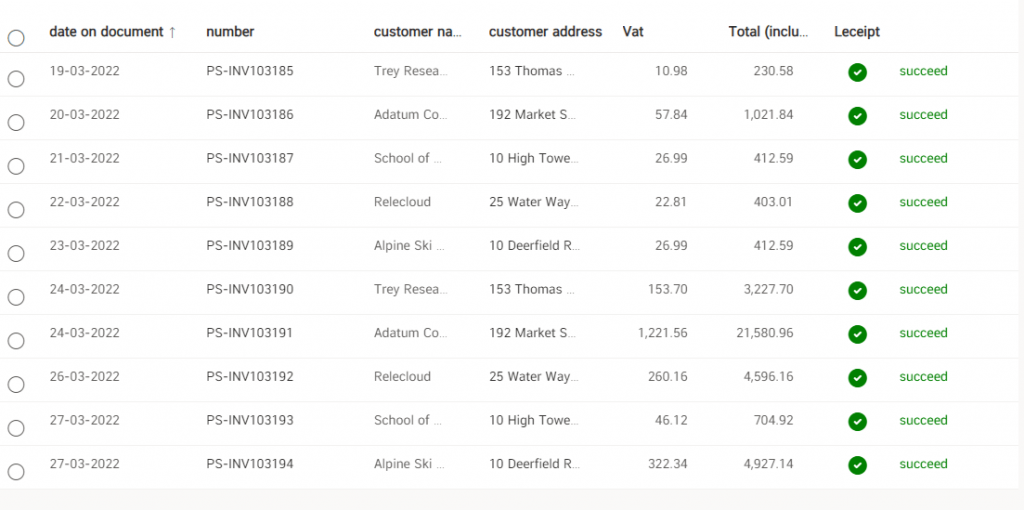
When the document has been created, the status will appear succeed in the right hand side.
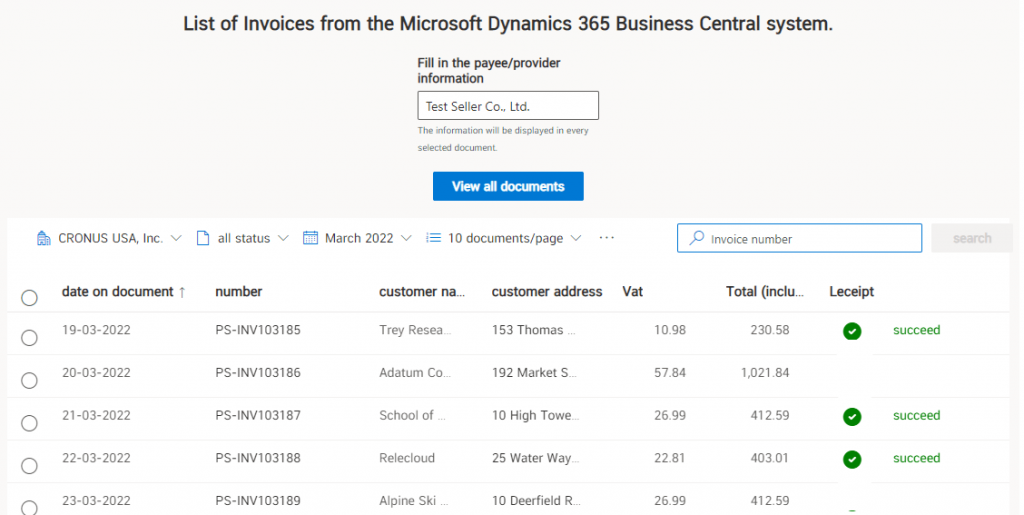
then click on View all documents .

Which will receive e-Tax Invoice & e-Receipt documents which are PDF (for sending to customers), images (sending via LINE) and XML (sending to the Revenue Department).
5. Document Creation e-Tax Invoice & e-Receipt Select All Files.
Click on the in fron of creation date .
and fill out the information Payee/Provider .
And then click Create a Document.
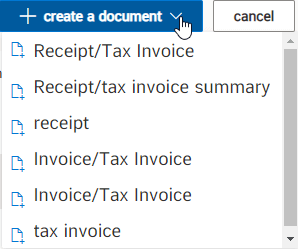
Choose an e-Tax Invoice & e-Receipt that you want to create. In this example we choose e-Tax Invoice & e-Receipt.
The system will create a document and digitally sign it.
When the document has been created, the status will appear succeed in the right hand side.
then click on View all documents .
Which will receive e-Tax Invoice & e-Receipt documents which are PDF (for sending to customers), images (sending via LINE) and XML (sending to the Revenue Department).
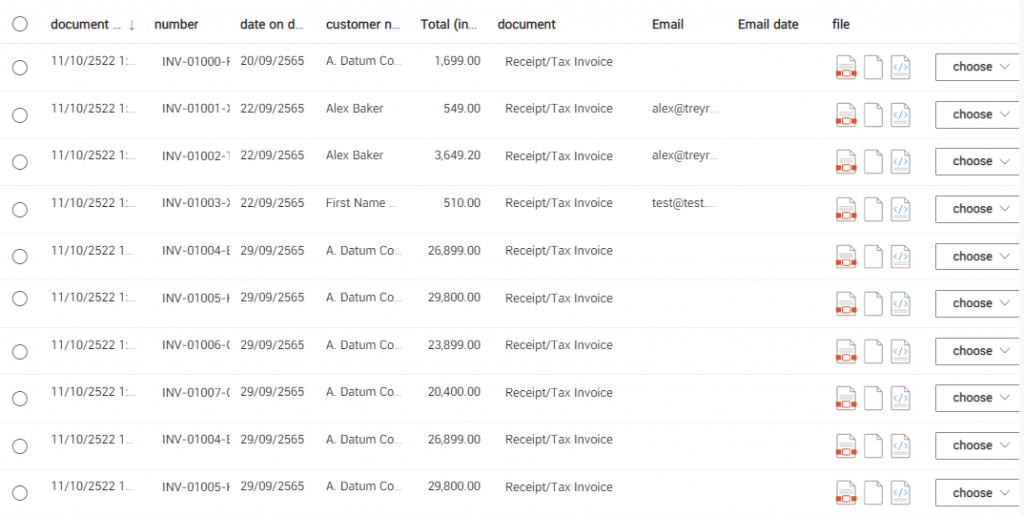
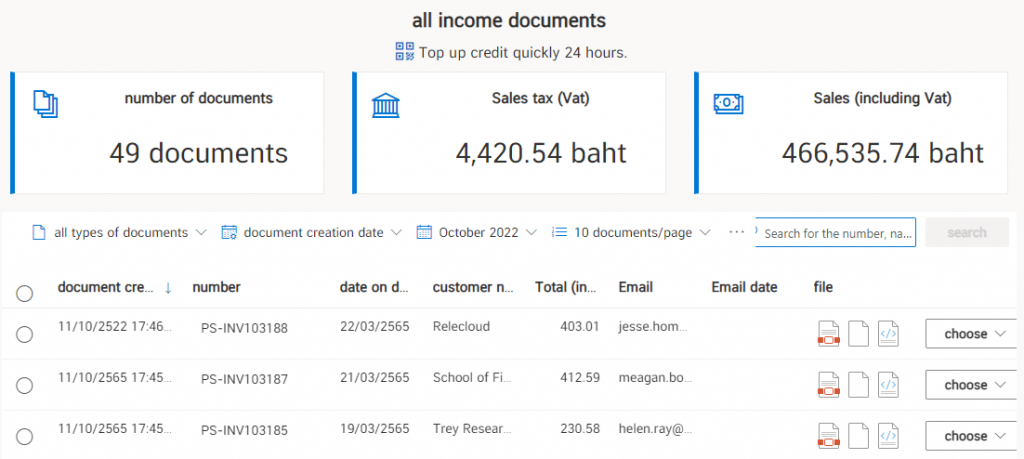
6. Completed documents.
Completed documents Whether it is an e-Tax Invoice & e-Receipt document as required (according to item 4) or a document e-Tax Invoice & e-Receipt, select all files (according to item 5.), there are formats Use as follows.
- Document opening (PDF and XML files supported).
- Download (PDF and XML files supported).
- Emailing (PDF files supported).
- Sending files via SMS (PDF files supported).
As shown below which shows the completed e-Tax Invoice & e-Receipt file.
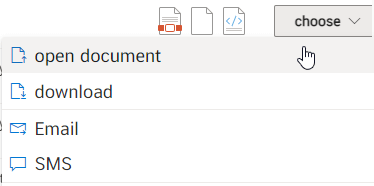
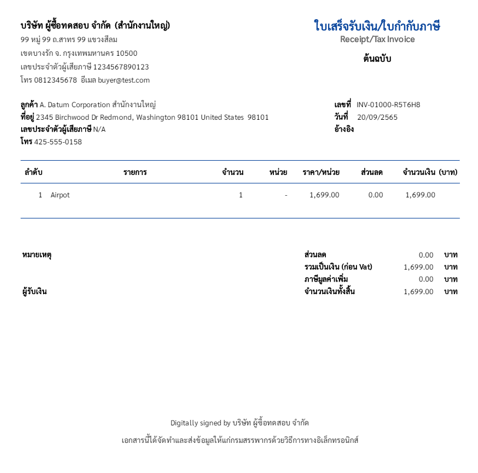
7. Opening Documents
For opening documents, we will explain in PDF and XML files.
Openning PDF which has 2 types:
Select Icon “PDF” as shown in the picture.

or when clicking on the Choose, and click on Open document.
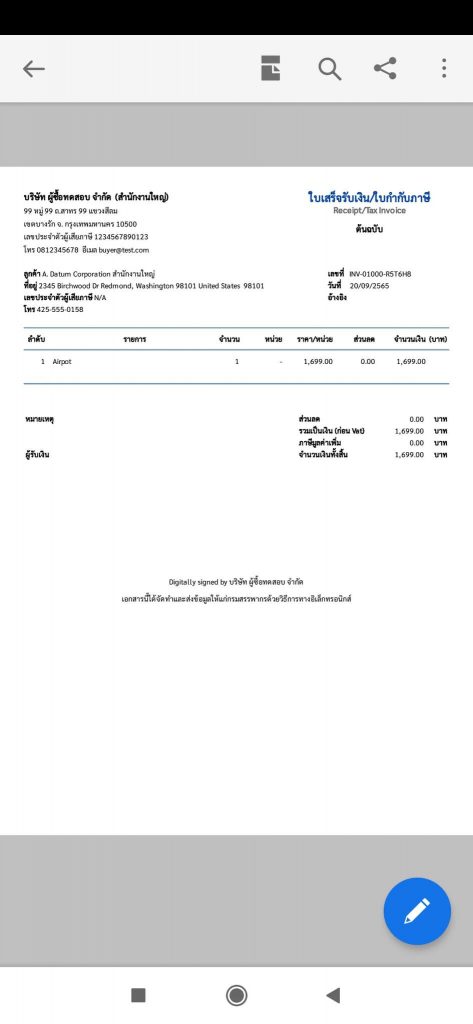
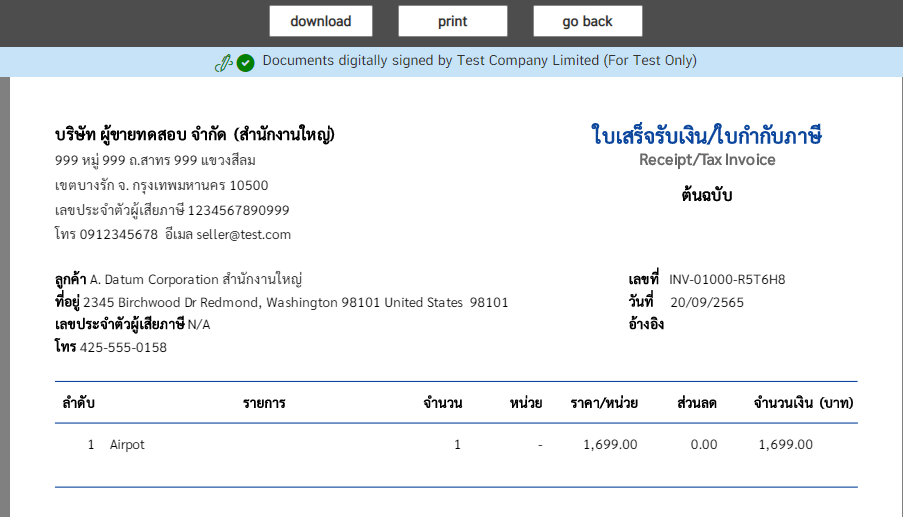
When the document is opened, it will be displayed as shown in the figure. (You can download the document by clicking the “Download” button) and clicking “Print” for printing in paper format.
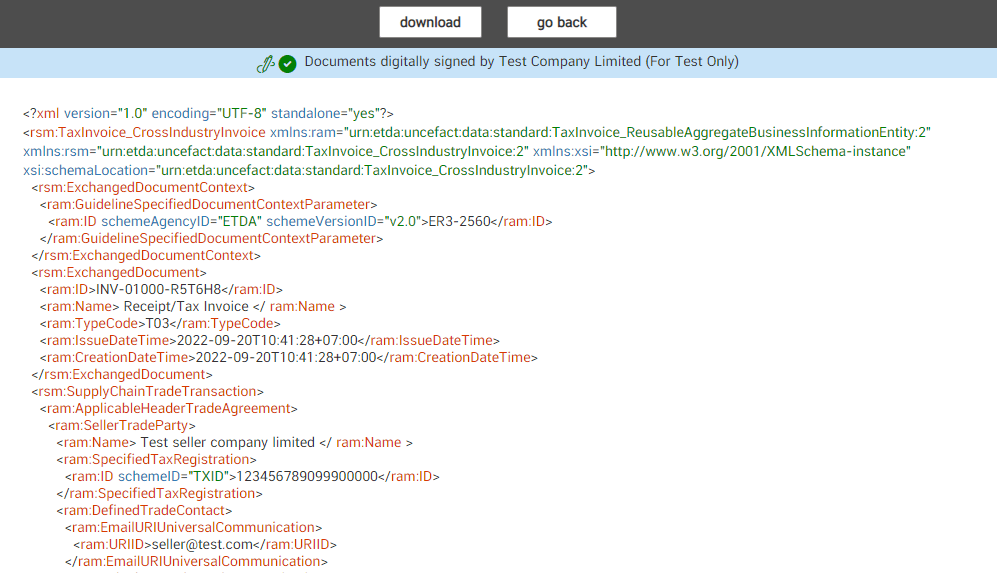
Openning XML
Select Icon “XML” as shown in the picture.

Which shows the details as shown in the figure Can download files to submit to the Revenue Department.
For image files, click on the icon as shown.

Which will prompt you to download the document When opening the downloaded document, details are shown as shown in the picture.
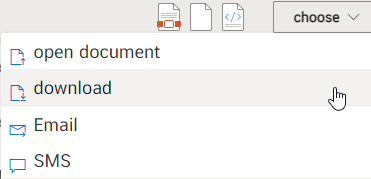
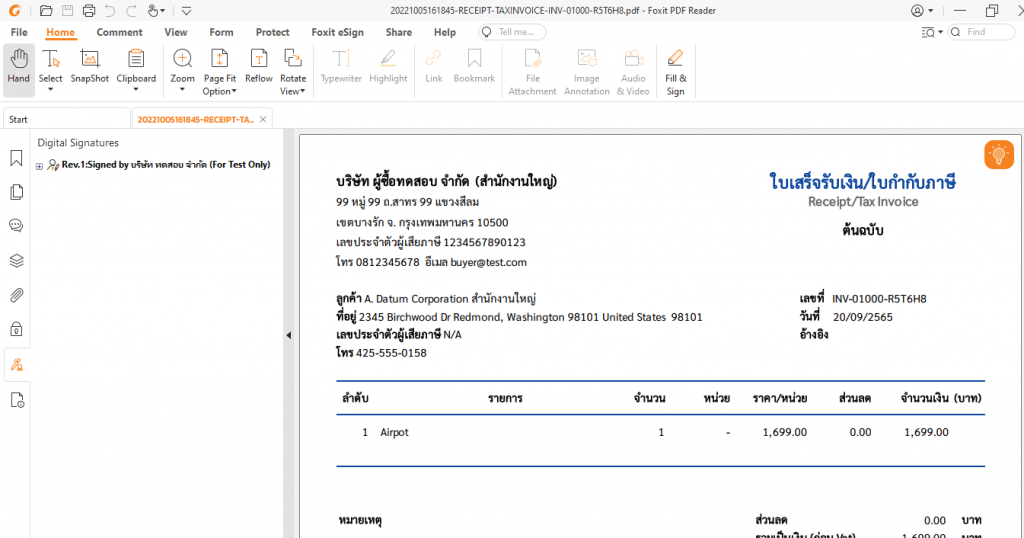
8. Downloading
Which here is to click Download.
which here is to download a PDF file, click on Choose then click Download .
When you open a PDF file (Foxit PDF Reader is recommended to open the document), you will see the signed document as shown below.
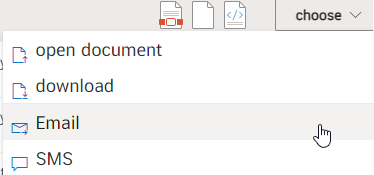
9.Emailing
Click on Choose then click Email .
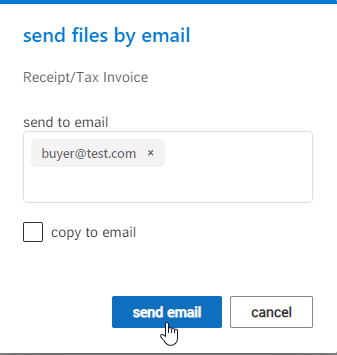
A pop-up will appear, enter your email address and click on “Send Email”.
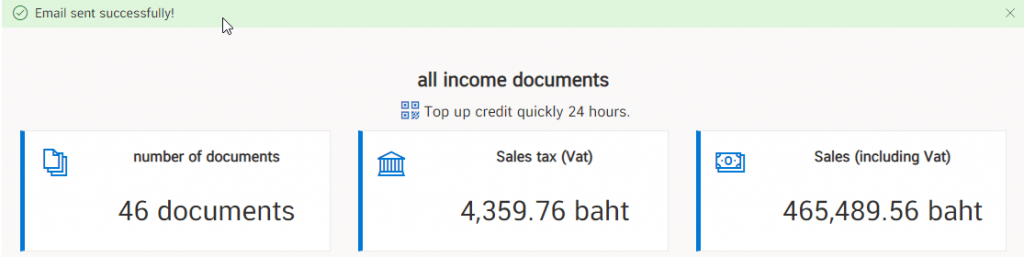
When the file has been sent to the destination email successfully. The system will prompt as “Email sent successfullu!”.
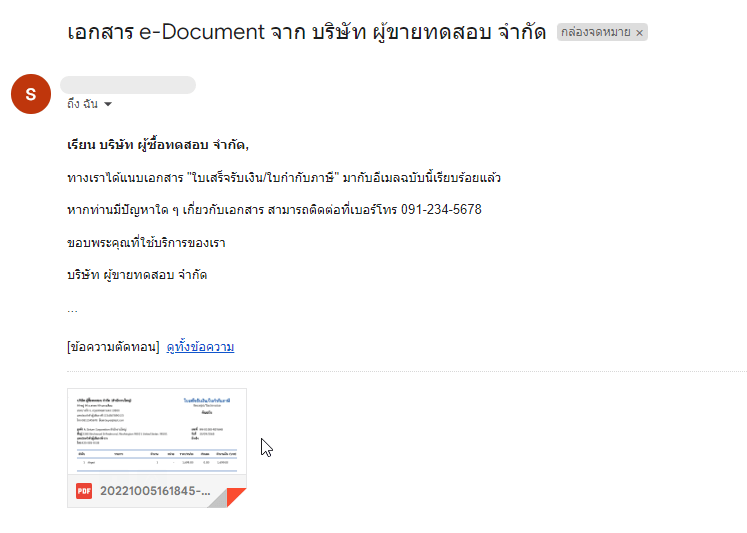
When the recipient has opened the email containing the document file, it will be displayed as shown in the figure.
10. การส่ง SMS
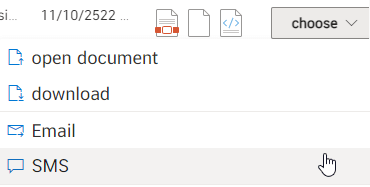
Our system can also send documents via SMS as well by clicking the Choose then click SMS.
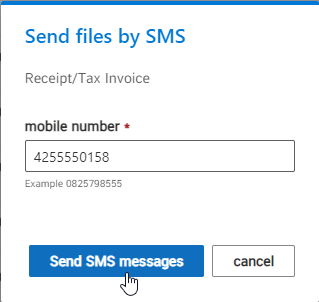
Then the system will pop-up, enter the mobile phone number of the destination number that you want to send and click on “Send SMS Message”.
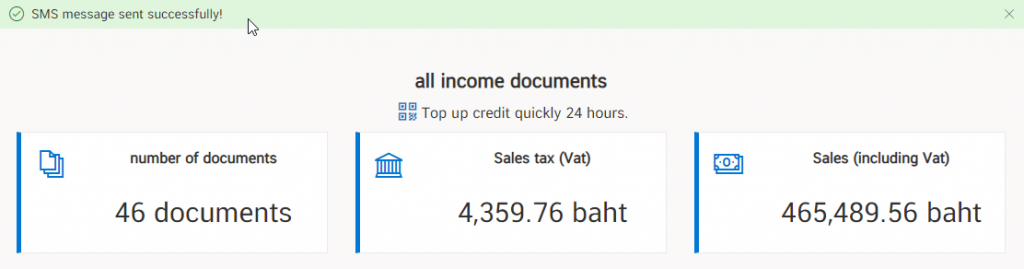
Once the SMS has been sent successfully, a message will appear “SMS message sent successfully!”.
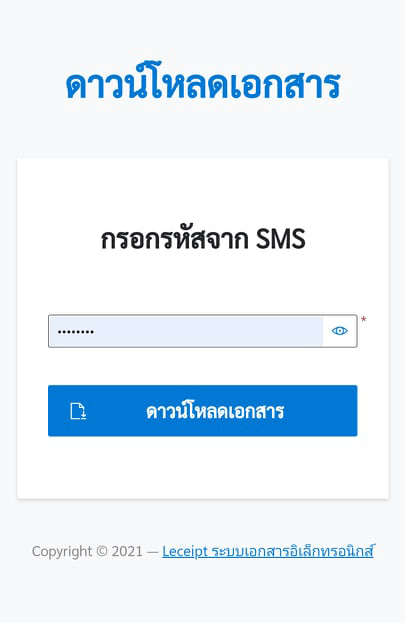
Let’s look at the part of the destination of the person receiving the SMS. When opening the mobile phone, a message will appear as shown in the picture.
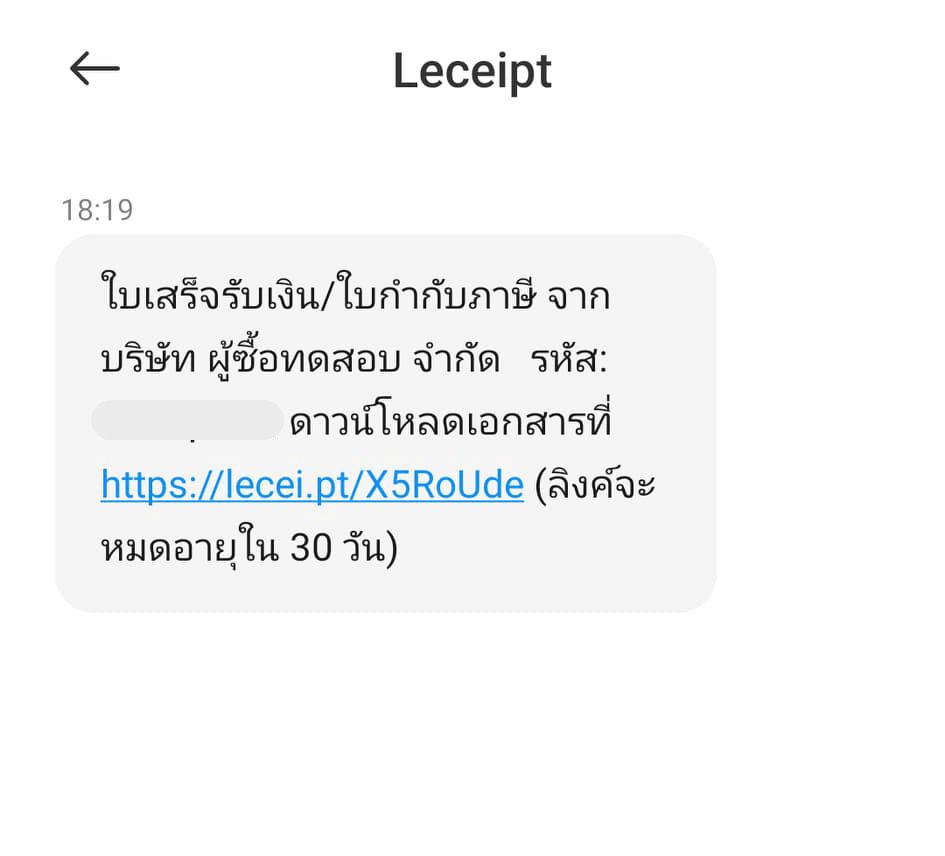
When you click on the link The system will show up as shown in the figure. Then enter the code sent by SMS.
Click open file, which should also install an application for opening PDF (if you don’t have one).
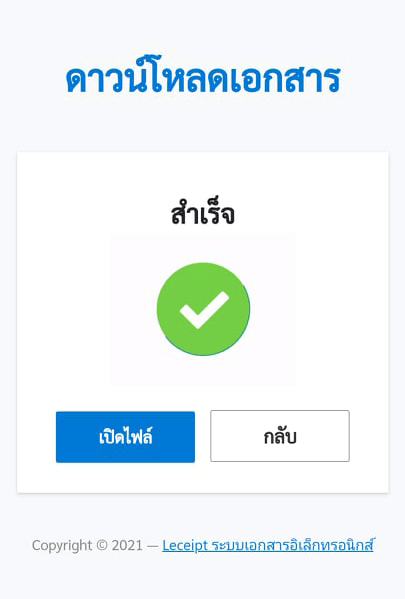
Preview PDF files using the “Adobe Acrobat Reader: PDF Viewer, Editor & Creator” application.