
How to generate a Credit note.
Credit note is a document issued when the information of a receipt/tax invoice is changed. For example, the seller made a mistake in overcalculating the price of the product, which was corrected by creating a credit note to re-list the product price. We will guide you how to create a document.
1. Start creating the document.
After registering and creating your seller’s company information, the system will take you to a page that looks like the picture.
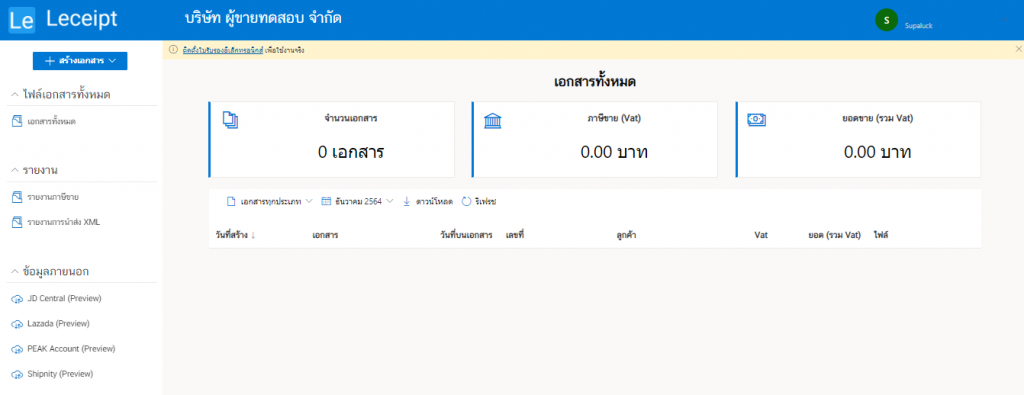
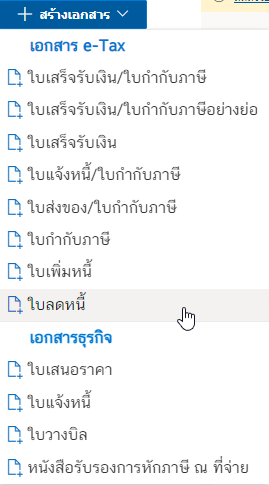
Select ใบลดหนี้ (Credit note).
2. Buyer’s information
2.1 Enter the name of your customer’s company or business for this section. Do not leave blank.

2.2 Entering the address of your customer in the “Number” field, enter the location number of the address. (This field cannot be blank), but other address information such as group numbers or village names To fill in the “address” field, including the name “street”. For the “address” and “street” fields, this section can be spaced as in the example picture.

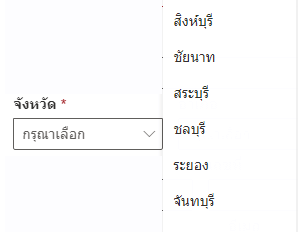
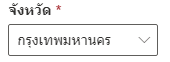
2.3 Entering information จังหวัด (Provice) n this section must not be left blank by the form of the system. You can click to choose which provinces you want as shown in the picture.
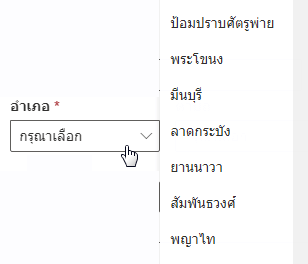
2.4 Entering information อำเภอ/ เขต (District), this section must not be left blank by doing the same after selecting the desired province eg. Select Bangkok and there will be various district information, then you can click to select the อำเภอ/ เขต (District) of the provinces that we have already selected as in the picture.
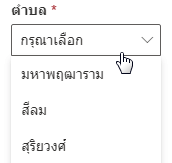
2.5 Subsequently, click to select ตำบล/ แขวง (Sub-district) this section must not be left blank.
2.6
รหัสไปรษณีย์ (Postcode) this section must not be left blank. 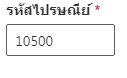
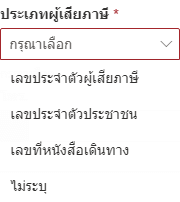
2.7 Choose ประเภทของผู้เสียภาษีแบบต่าง ๆ (Type of Taxplayer) as below.
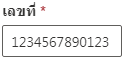
2.8 After that, fill in the 13-digit taxpayer number (this section must not be blank).
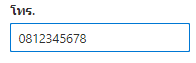
2.9 Input the เบอร์โทรศัพท์ (Telephone number ) as below.
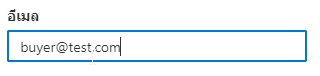
2.10 Input your e-mail address.
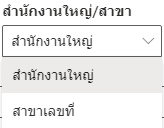
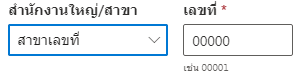
2.11 Then select an office as shown in the picture.
3. Document number and date information.
When filling out the address information, from the picture below, you will notice a form to fill in on the right hand side which will have เลขที่ (Number) และ วันที่ (Date)
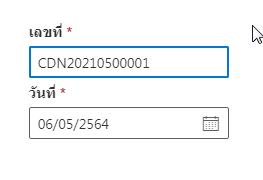
Input the เลขที่ (Number). This section must not be left blank.
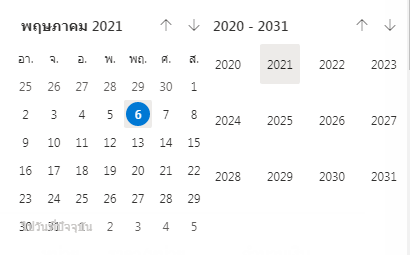
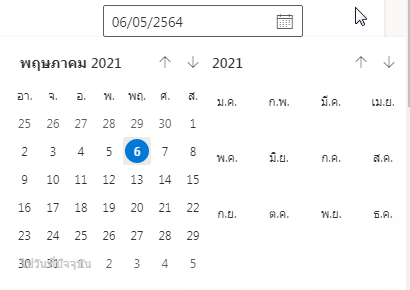
In order to select the year, you can do it by clicking on the year’s number area as shown above, the year’s number will be “2021” when clicked, it will appear as shown below.
4. Product list and price calculation (with changes).
Next is the part that fills in information and calculates the products that your customers order as shown in the picture.

If you want to add a product list, click
เพิ่มรายการ .
.
For the blue trash can on the far right is a button to delete that product. If you want to delete that product, click on the trash can.
n the lower right corner, enter the value of goods and services according to the original tax invoice, for example, the price of any product, the original price is 25 baht per box, with 10 boxes, which means that the original product value is 250 baht, then take this number. Put it in the box area มูลค่าตามใบกำกับภาษีเดิม as “250” as shown in the picture.
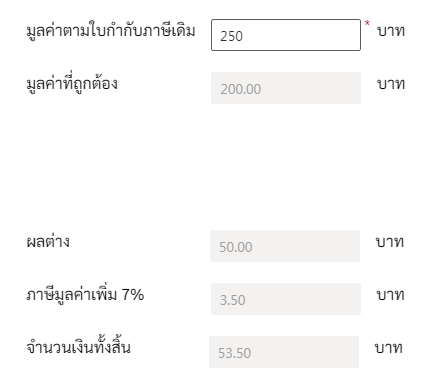
The system will calculat มูลค่าที่ถูกต้อง (Correct value) ผลต่าง (Difference) ภาษีมูลค่าเพิ่ม 7% (Vat 7%) and จำนวนเงินทั้งสิ้น (Total value) give automatically.
5. Other information and save data to create document.
The bottom left part of the document for fields หมายเหตุ (Note) can be filled out or can be left blank.

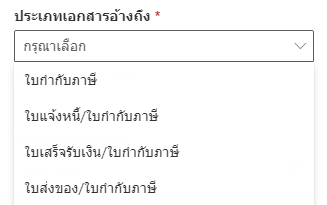
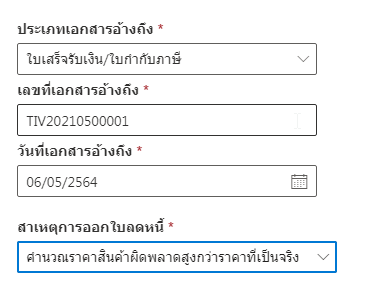
Selection ประเภทเอกสารอ้างถึง (Reference document) You can select from which document the debit memo you want to change the information of the underlying goods and services. here it is selected ใบเสร็จรับเงิน/ใบกำกับภาษี (Receipt/Tax invoice).
For เลขที่เอกสารอ้างอิง (Reference code), enter the document number that we want to change the data. for example product information that has been changed from ใบเสร็จรับเงิน/ใบกำกับภาษี (Receipt/Tax invoice) which there is a number TIV20210500001 to be filled in as in the example

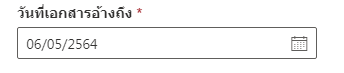
Next is the date of the reference document as shown in the picture.
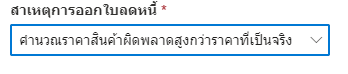
Select the reason for issuing the credit memo. You can choose the reason as shown in the picture.
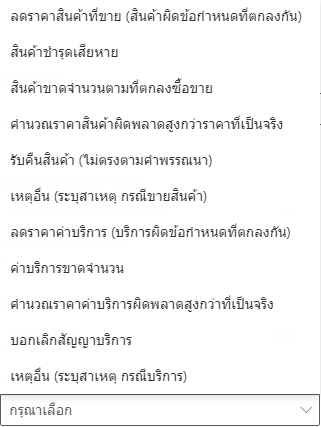
From the first to the 6th one is related to the price of the goods and the 7th-11th is related to the service. Able to choose various reasons which result as shown in the figure.
The completed information will be as shown in the example picture.
When all the information is filled in, select the ต่อไป (Next). 
Then the system will perform the action as shown in the figure.
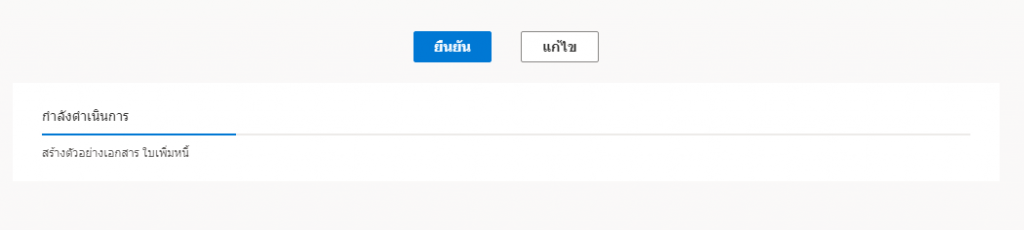
The system will show a preview of the document as shown in the picture.
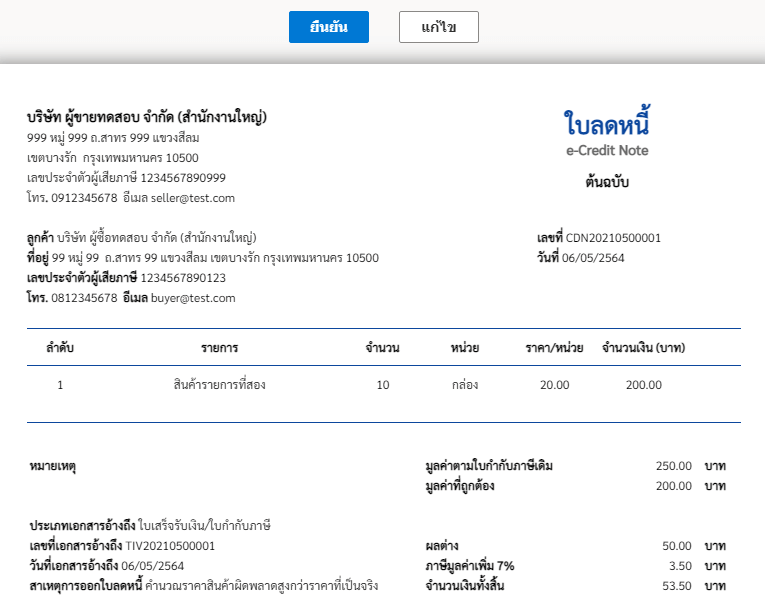
If the information in the document is complete, click the ยืนยัน (Confirm).
The system will process it, please wait a moment.

6. Completed document.
Once done, you will receive a PDF file that can be downloaded and emailed.
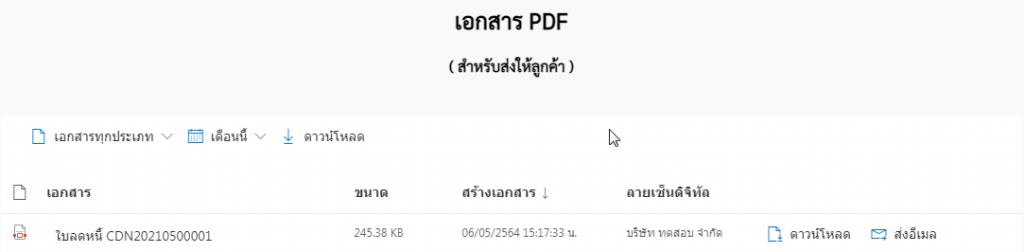
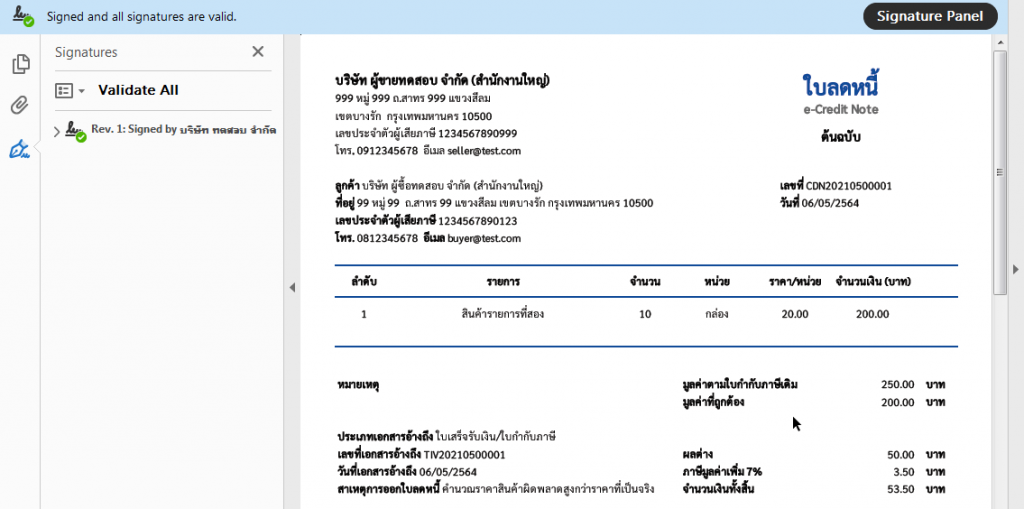
When you click ดาวน์โหลด (Download) and open file.
If select ส่งอีเมล (Send Email) enter the email destination you wish to send.

If you want to download an XML file, you will see a topic on the left menu bar.
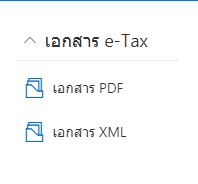
Then you will see the page to download the XML file as shown in the picture.
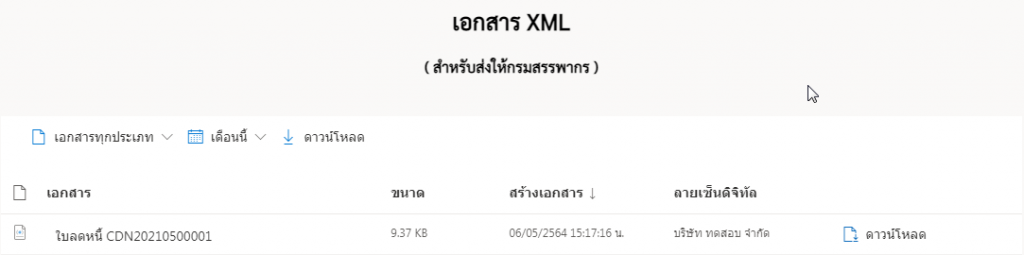
You can click download the XML file.