
How to create Expense Note.
This section explains how to create an expense record document.
1. Enter the expense record menu
After logging in to the Leceipt program, notice the menu on the left hand side, you will find the section “Files” and then click on “Expenses”.
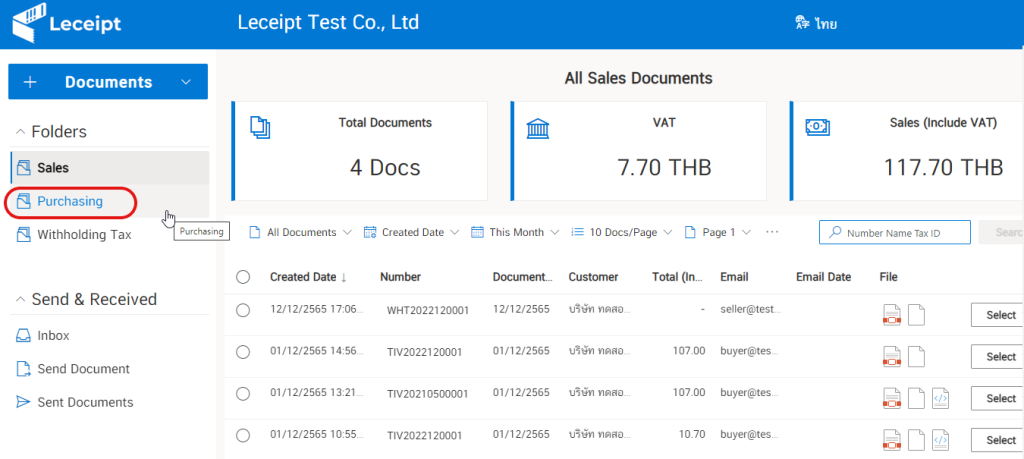
Then click on the button. “Record Expenses”.
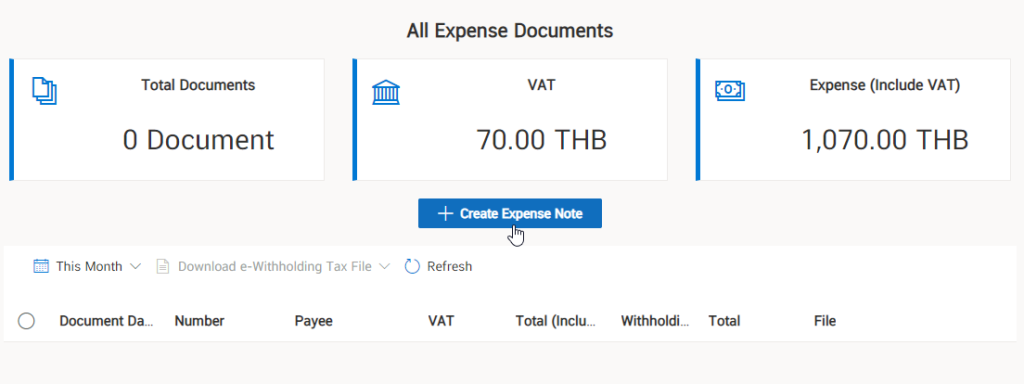
Then you will find a form to fill out various information to create an expense note record document.

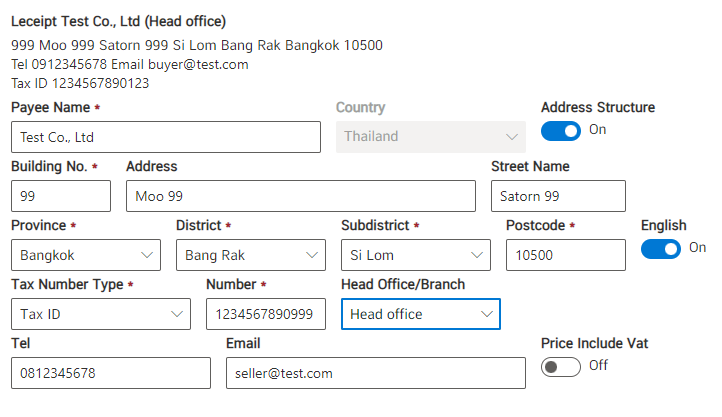
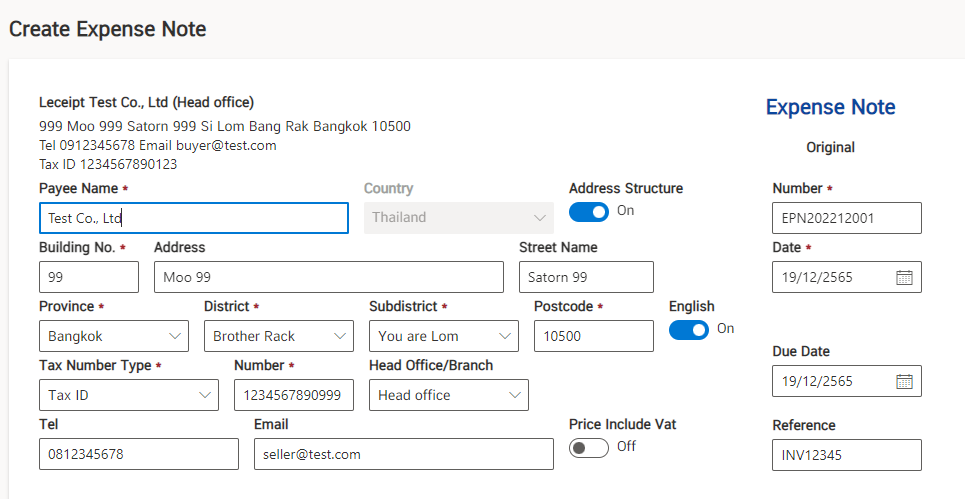
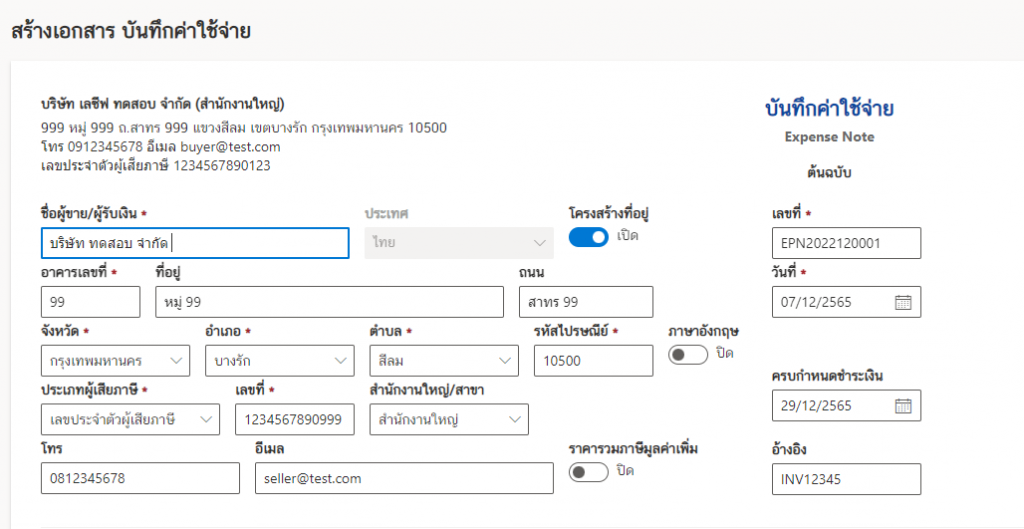
2. Enter seller/payee information
The next part will fill in the information of the seller / payee.
Fill in the name of the seller/payee.

Enter the address of the seller/payee. By clicking “Close” the address structure. Entering address information is free. as shown below.
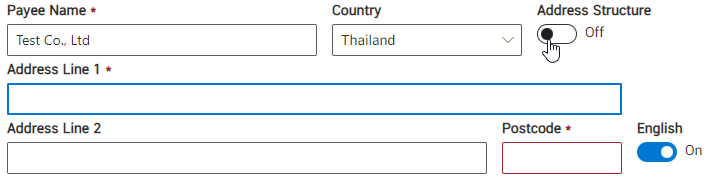
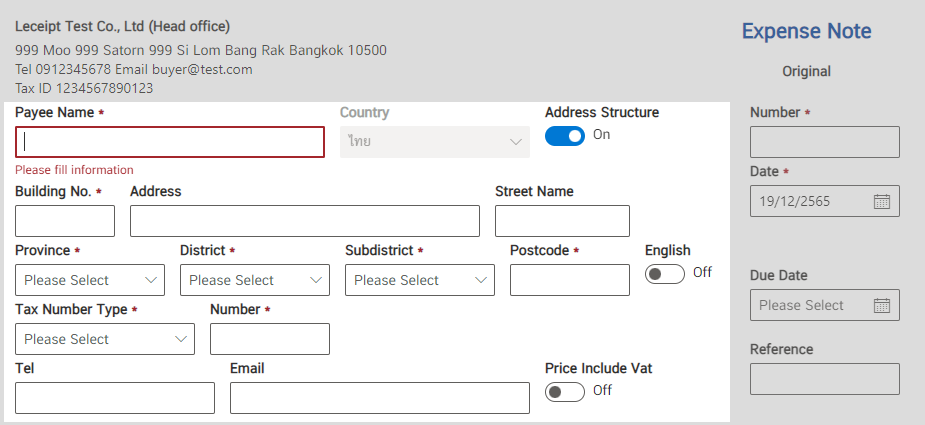
But when clicking “Open”, the address structure There will be a form to fill in the information that is specified. In this example, we will explain the “open” address entry part.
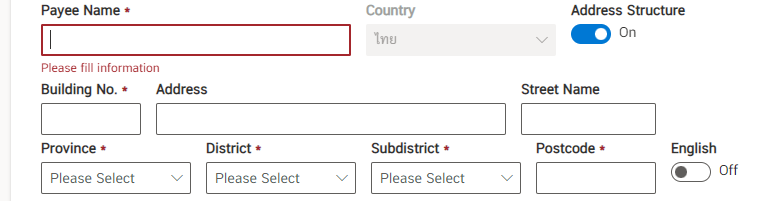
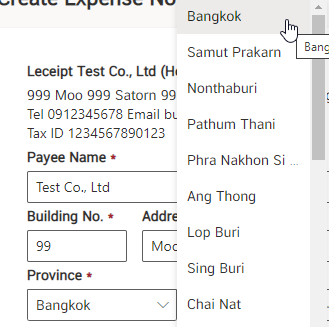
Fill in the information “Building No.”

and then click to select the province.
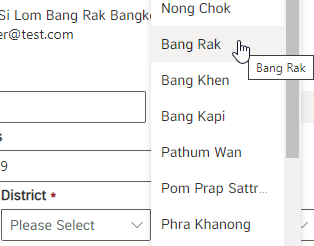
then select District/District.
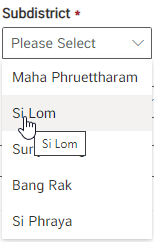
then select Subdistrict/Subdistrict.
and then fill in the postal code.
Then select the type of taxpayer. Which will be available as shown in the picture.

And fill in the taxpayer identification number.
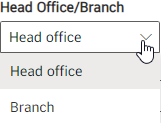
Choose an office or branch.
Enter phone number.
Enter email.

Which filling in the information of the seller / payee as in the picture.
3. Document number, date of document
This fills in the highlighted area.
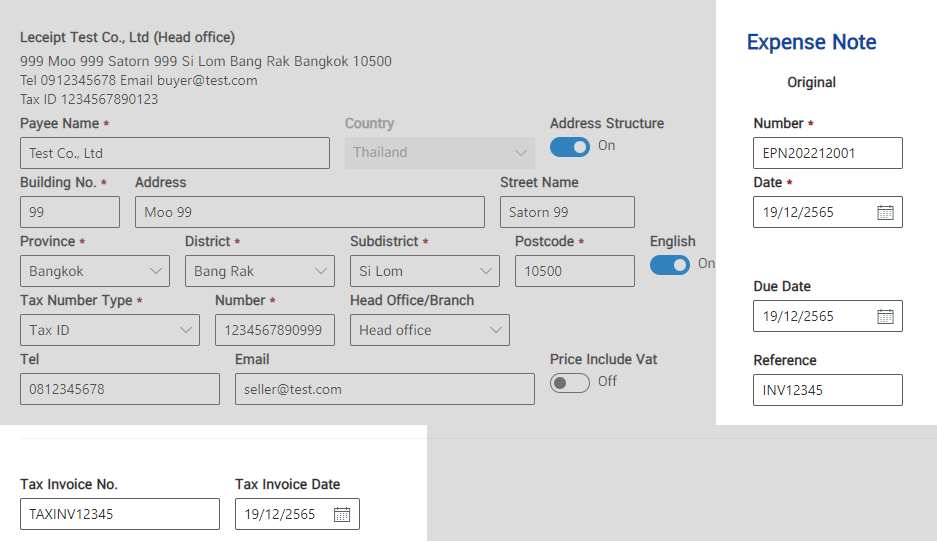
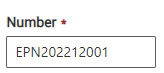
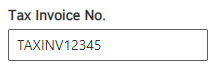
Enter the number information for document creation.
Select the date of creation of the document.
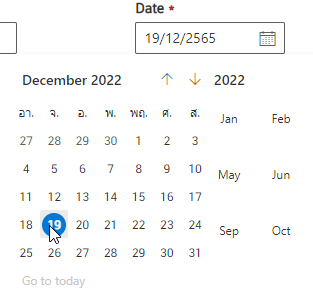
Select the date of creation of the document.
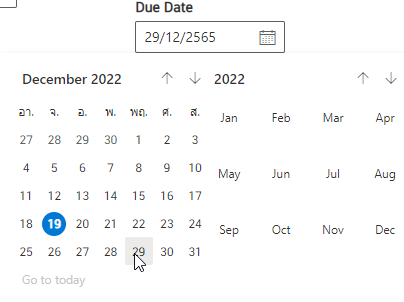
Select payment due date.
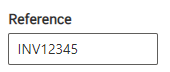
Enter reference number.
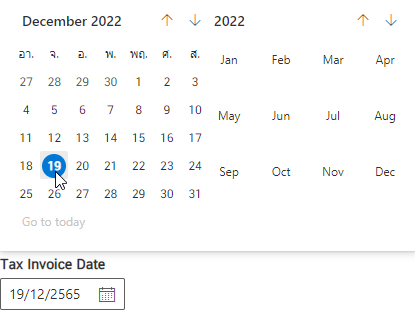
And select the date of the Tax Invoice.
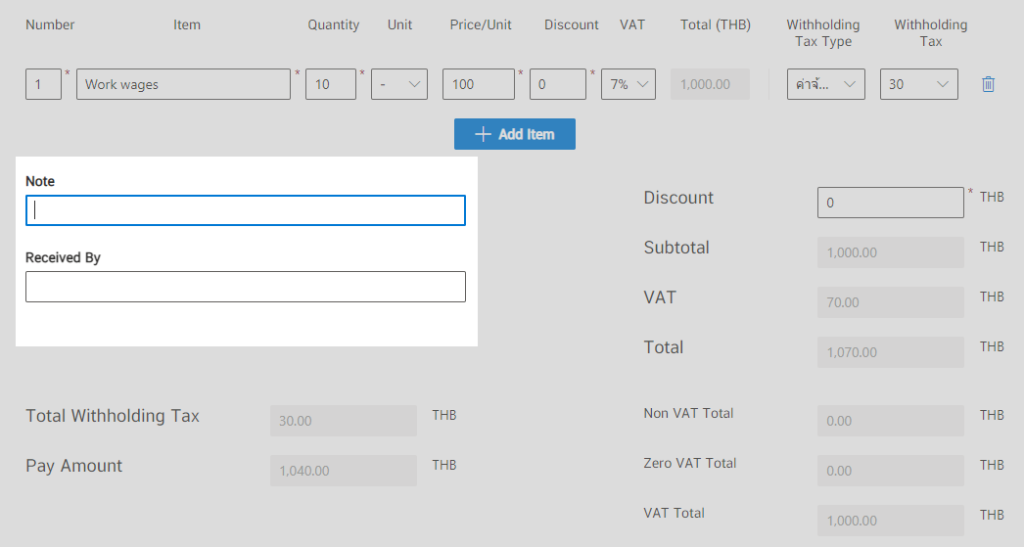
4. Details of goods or services including calculations
Later will fill in the information of the product or service list.
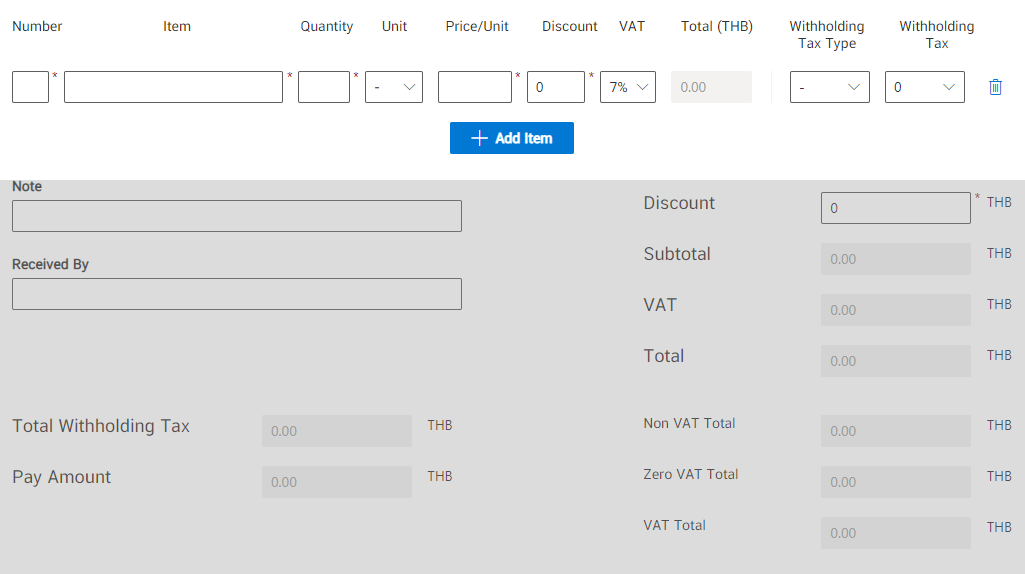
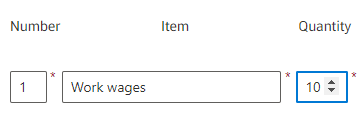
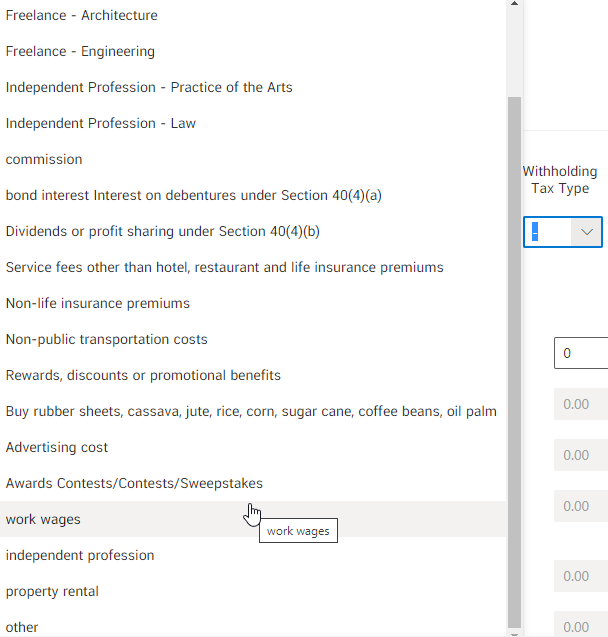
Enter the item number, item name, and quantity.
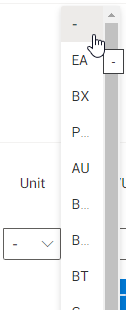
Select the unit, if not available select “-“.
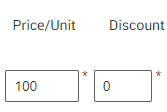
Enter price/unit and discount.
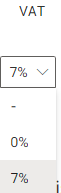
Select Tax (%), available as “-”, “0%” and “7%”.
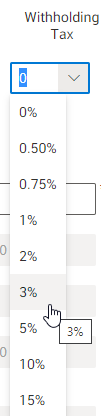
Then choose withholding, which will have many options as shown in the picture.
Choose the deduction.
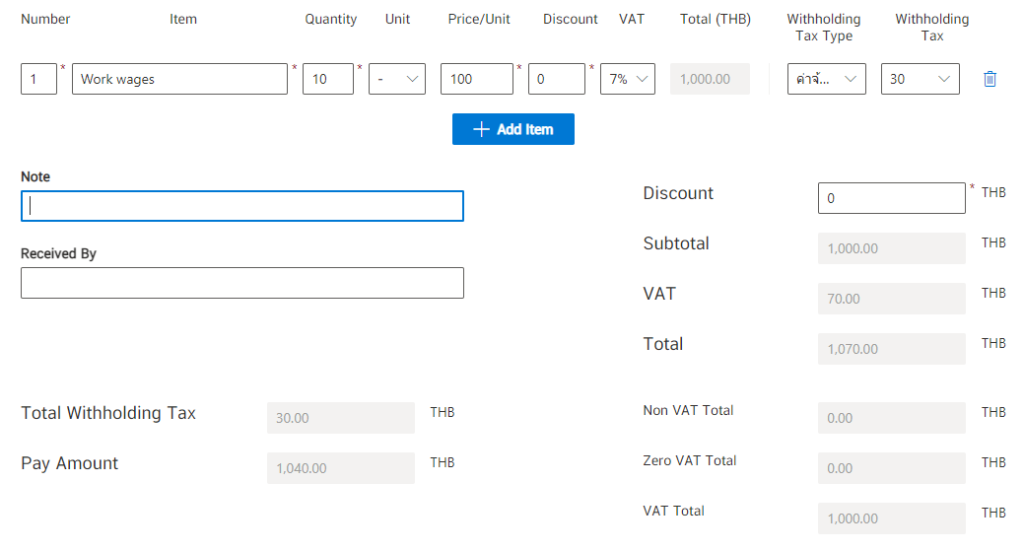
To add an item, click on the button. “Select item” as shown.

Then the system will automatically calculate the values that we fill in the list.
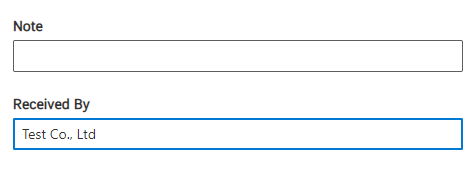
5. Notes and Payees
This section will fill in notes and payees.
Enter a note (if any) and the payee.
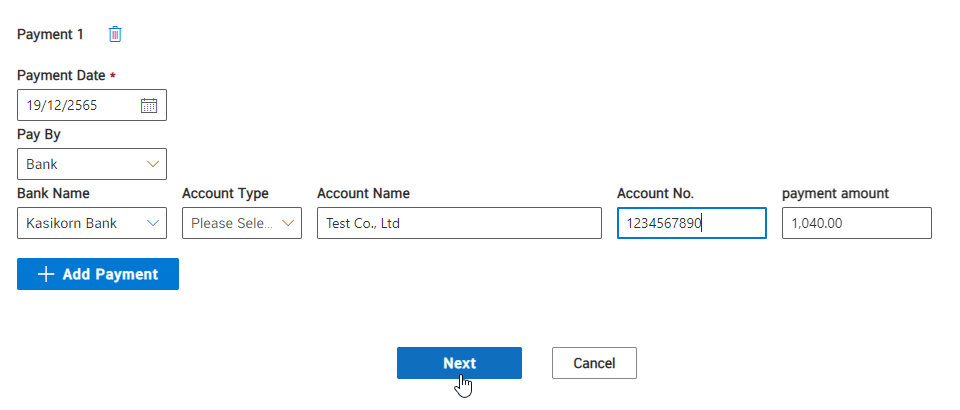
6. Payment methods
Click to open “Payment Methods”.
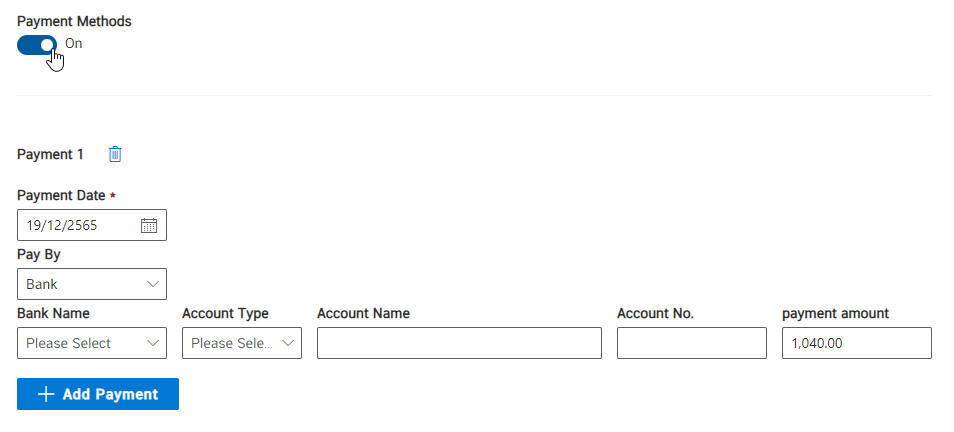
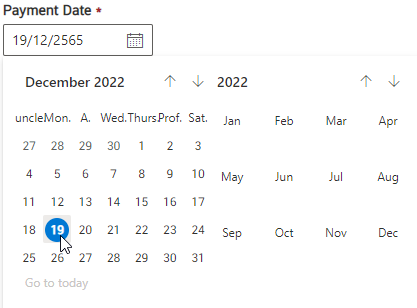
Choose payment date.
choose payment method “Pay by”.
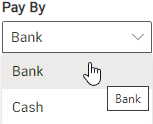
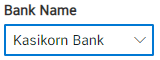
Then choose a bank.
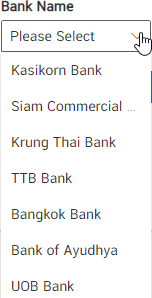
In the example, it has been selected as a Kasikorn Bank.
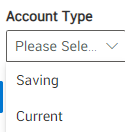
Choose an account type.
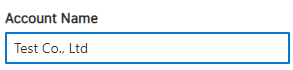
Enter the name of the bank account.
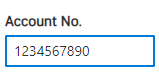
And fill in account number.
When filling out all information Click on the “Next” button.
Then the system will proceed (please wait).
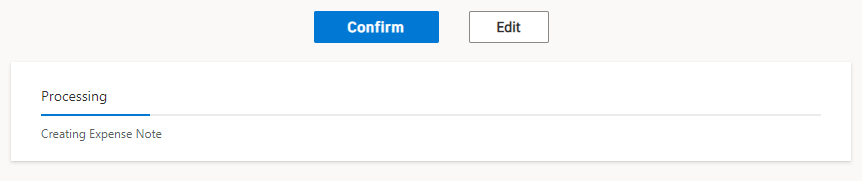
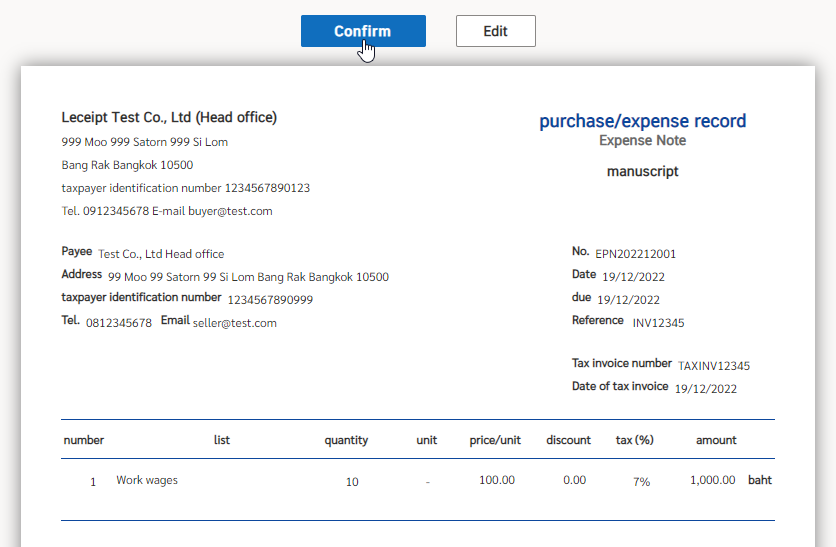
check information and then click on the “Confirm” button.
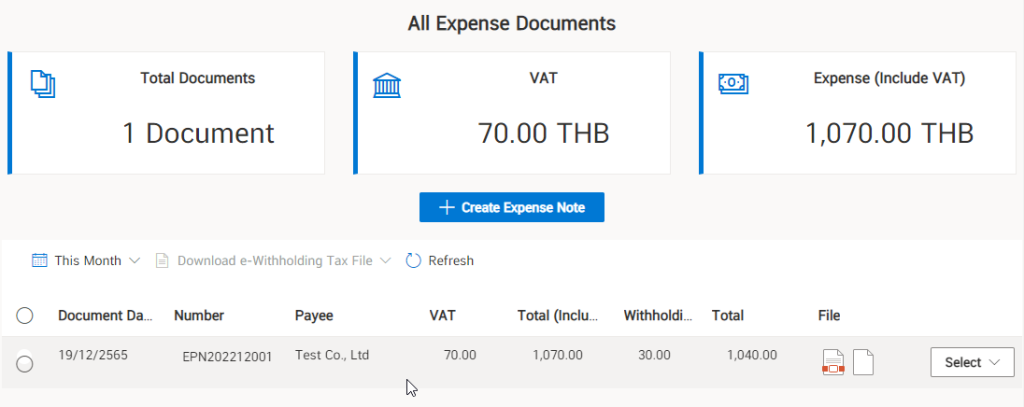
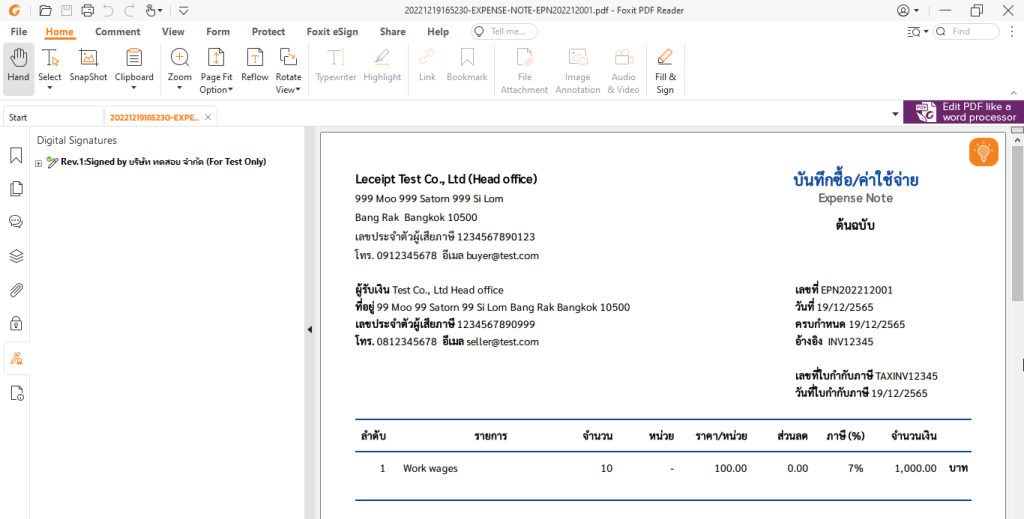
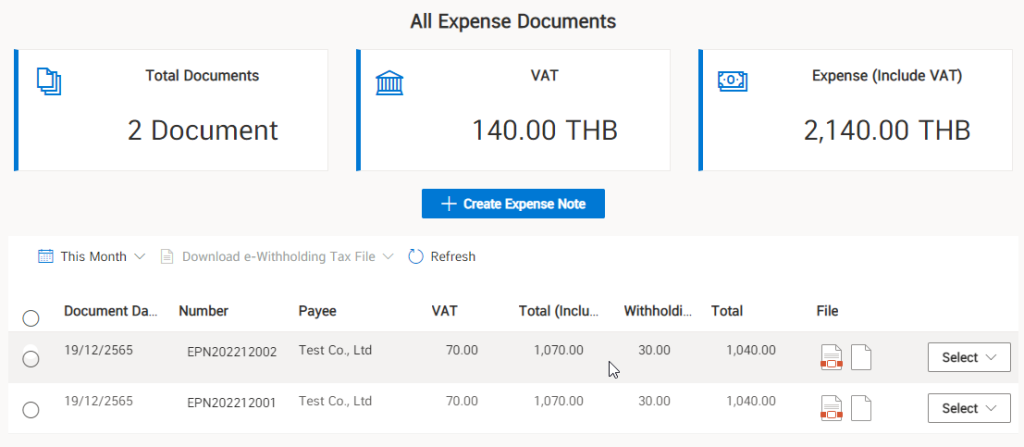
7. Completed documents (explaining PDF files and image files)
The completed document will have a PDF file and an image file.
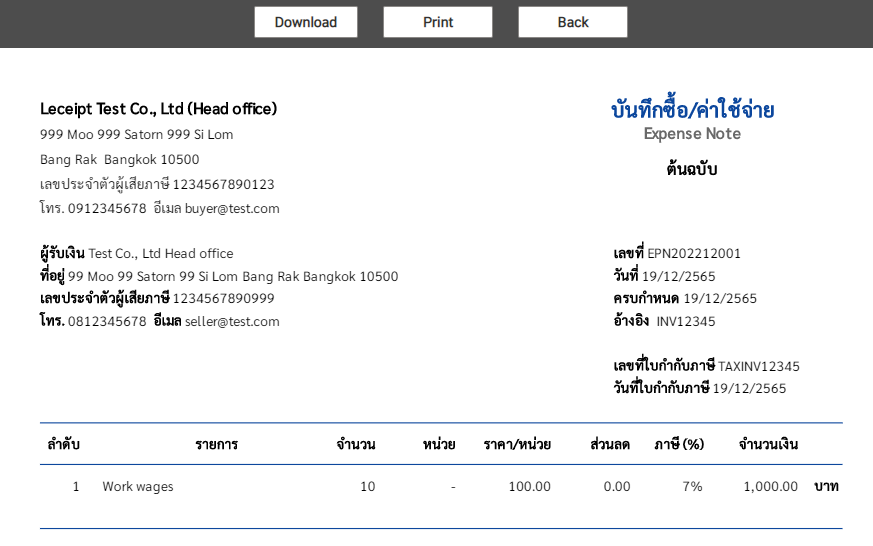
For PDF files, click on the PDF icon as shown.

This will display the details of the document information that has been created. as shown below You can download the PDF file and click on the “Download” button or you can print the document out in paper form by clicking on the “Print” button.
Click on the image file icon. This will download the image file into the device. You can send files through the Line application or other applications that support sending files through images.

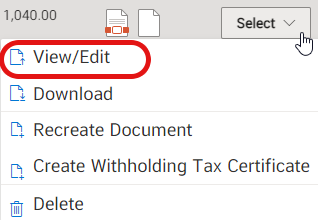
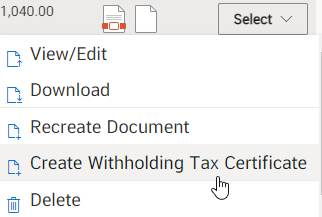
8. View or edit documents
Click on the “Select” button and then click on “View/Edit Document”.
Which can view or edit the information.
9. Download Expense Note
Click on the “Select” button and then click on “Download Expense Record”.
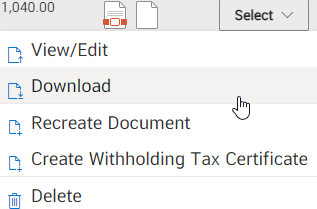
When downloading PDF files to the device, it is recommended to open the Foxit PDF Reader program.
10. Repalce new expense note with the same information
By clicking on the “Select” button and then clicking on “Recreate Document”
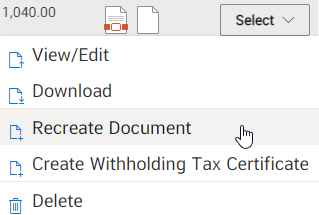
Without having to waste time filling in all new information Just edit some information and create another new expense note.
A new set of expense note file created from the original set.
11. Create withholding certificate
Click on the “Select” button and then click on “Create Withholding Certificate”.
A withholding certificate document form will appear, which contains some information that is automatically filled in or generated. And fill out some additional details.

How to genearte e-Withholding Tax Certificate.