
Adding a contact
This section describes how to add contacts. By creating a document, the user usually enters the information of a “contact person” or “customer to issue a document”.
The advantages of building a contact list
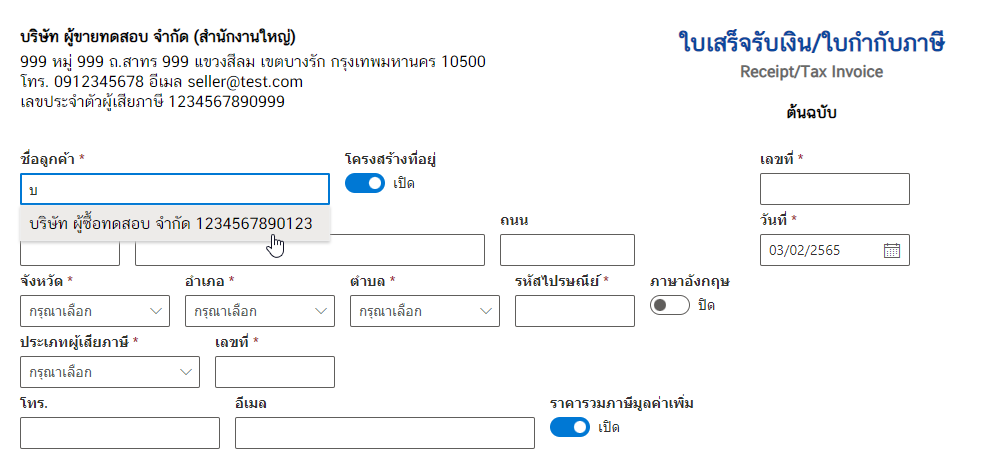
To create documents, the customer or user information must always be entered first. which if creating the contact’s information, which is Customer/Service User Information that we have to issue documents to be more convenient As in the example image below. when entering some data It will show the basic information of the contact. and then click on the information displayed The system will automatically enter the information contained in the system. So you don’t have to waste time typing and filling in information.
For adding contacts there are two options for entering data:
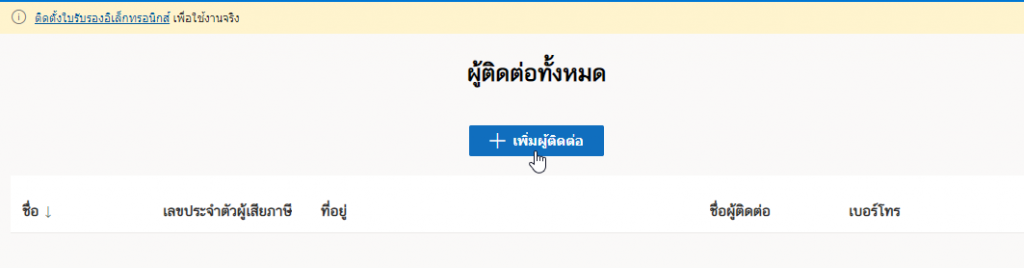
1. Creating a contact list at the “Contacts” menu
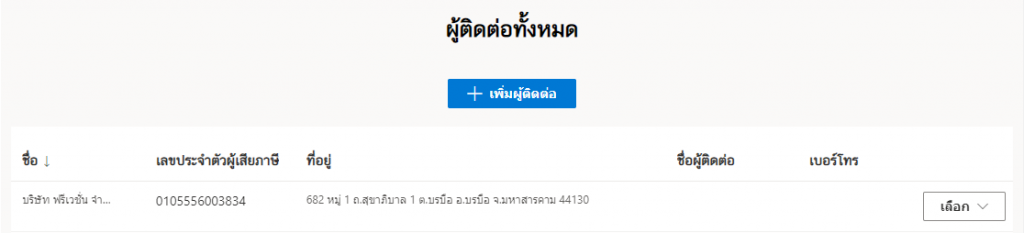
On the left-hand menu you will find a menu ข้อมูลภายใน then click on ผู้ติดต่อ.
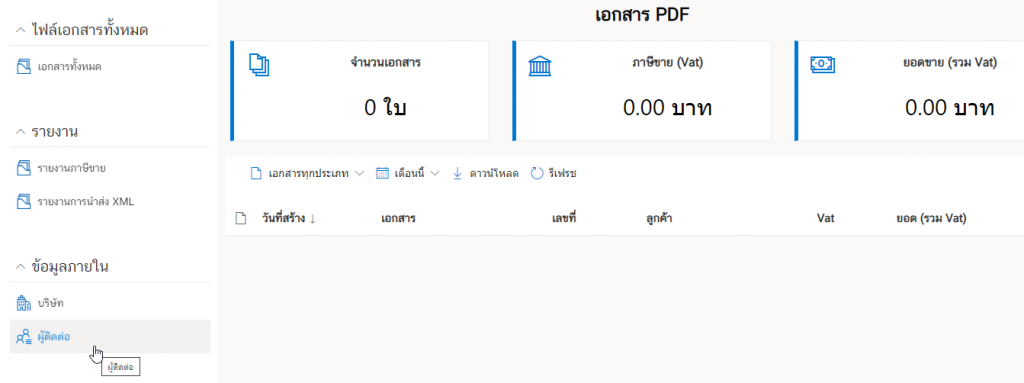
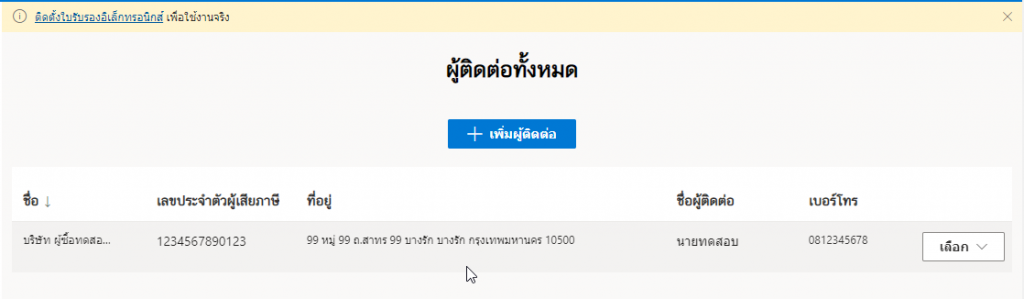
Will show the page as shown.
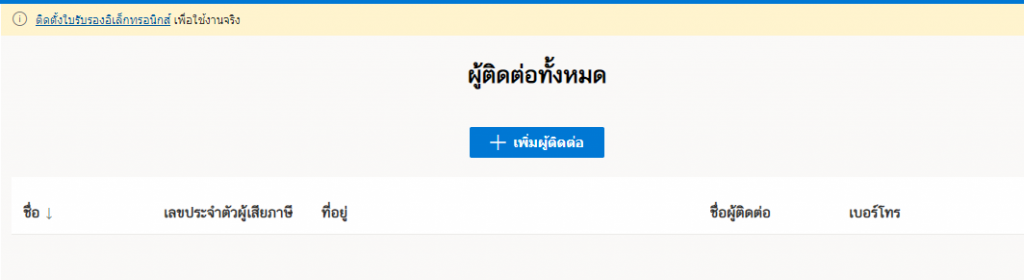
Click on เพิ่มผู้ติดต่อ.
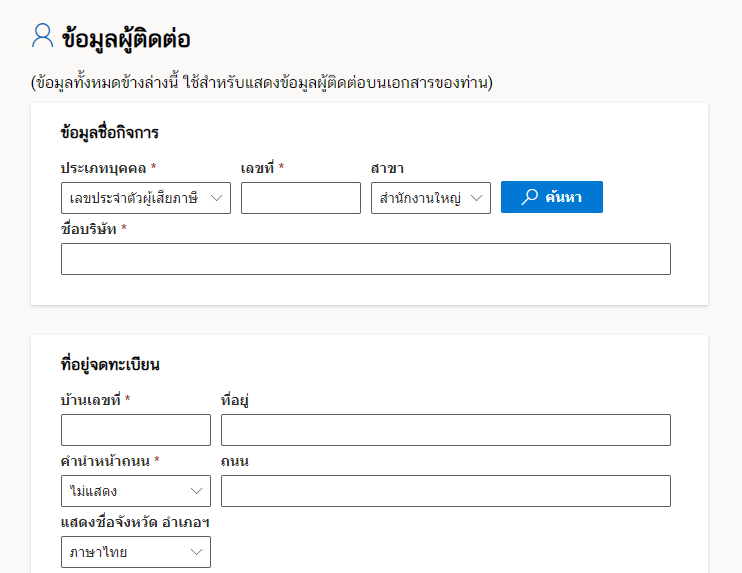
There will be a form to fill in the contact information as in the picture.
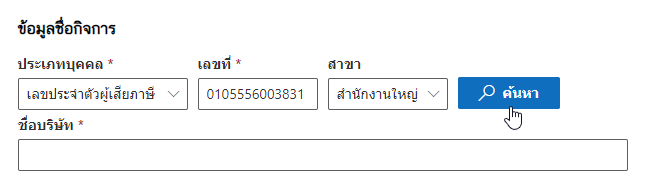
which can search for the taxpayer identification number from the system as well. You can also add contacts to the system. by filling in the taxpayer card number as shown in the picture

and then press search
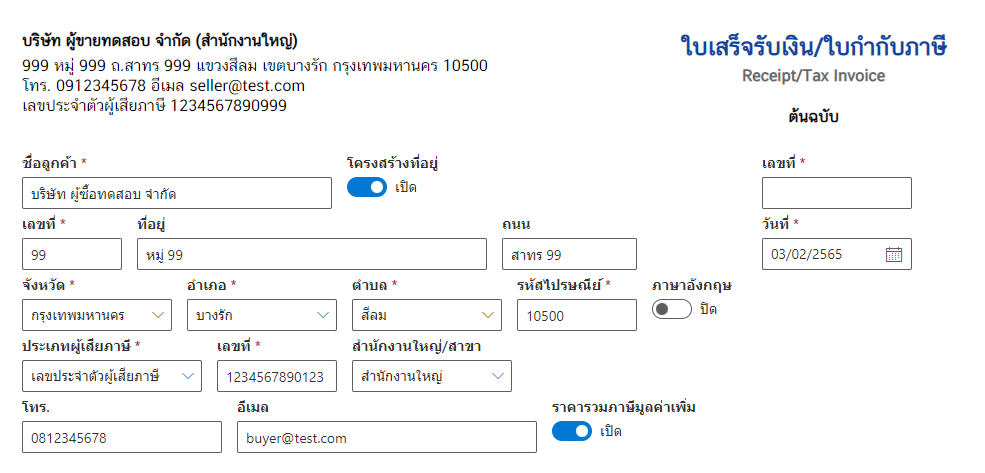
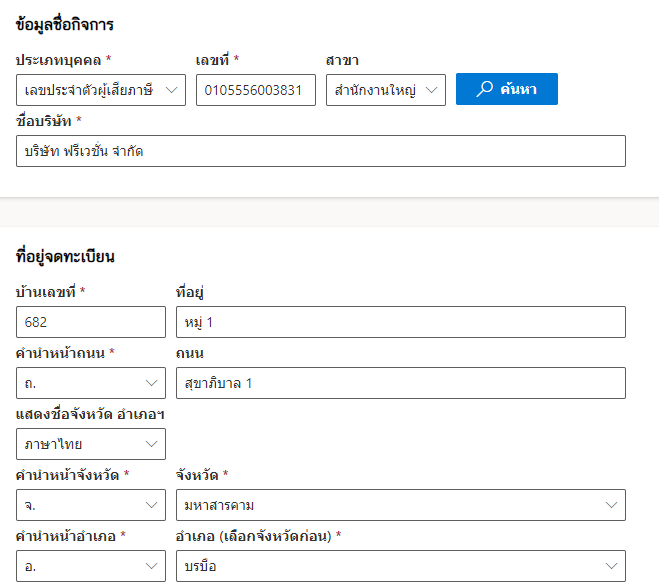
which will show the information as shown in the picture to press the บันทึก (Save).
You will find that the company in the example image has already become a contact list.
Next will be the topics that need to fill in contact information as follows.
1.1 Business name information
This section will have a form to fill out as shown in the picture.
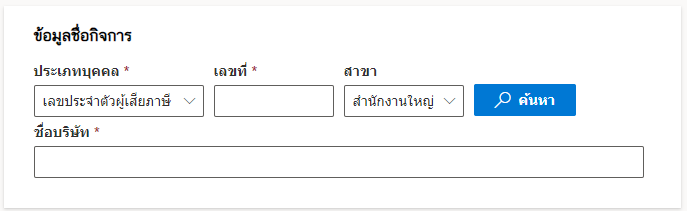
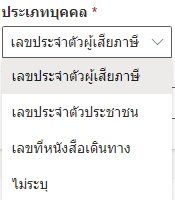
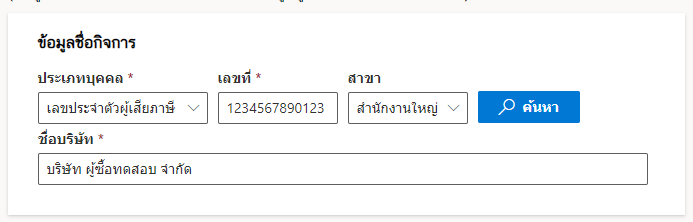
Click to select “Personal Type” as shown in the example. “Tax Identification Number”.
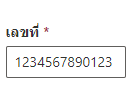
then enter “number”.
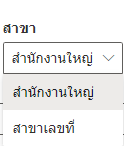
Then select “Branch” as shown in the picture.
You can search for these information that Is it in the system ?
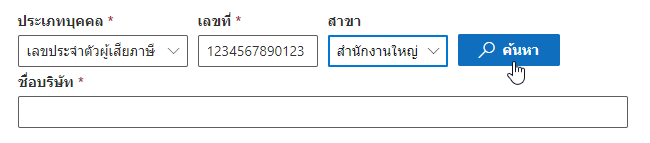
Then enter “company name”.

Completed information will be displayed as shown in the figure.
1.2 Registered address
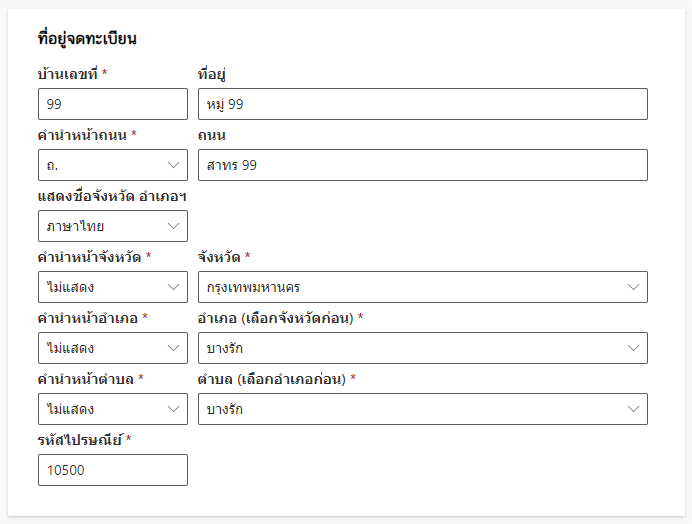
This section contains information as shown in the figure.

Enter “house number” and “address”.

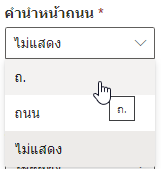
Fill in the road information by selecting “Road Prefix” and entering the name “Road”.

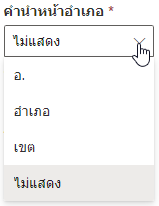
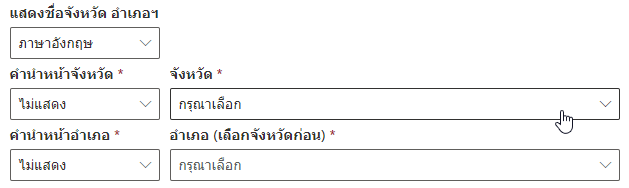
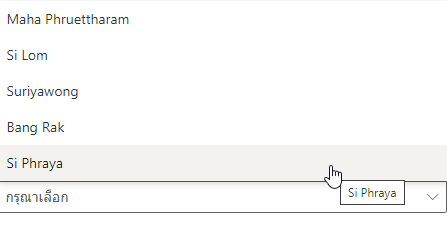
Choose a language for displaying the name of the province, district and sub-district. There will be a province to choose from. Click by selecting the prefix of the province first If it’s Bangkok It is available to choose from ไม่แสดง (Not show).

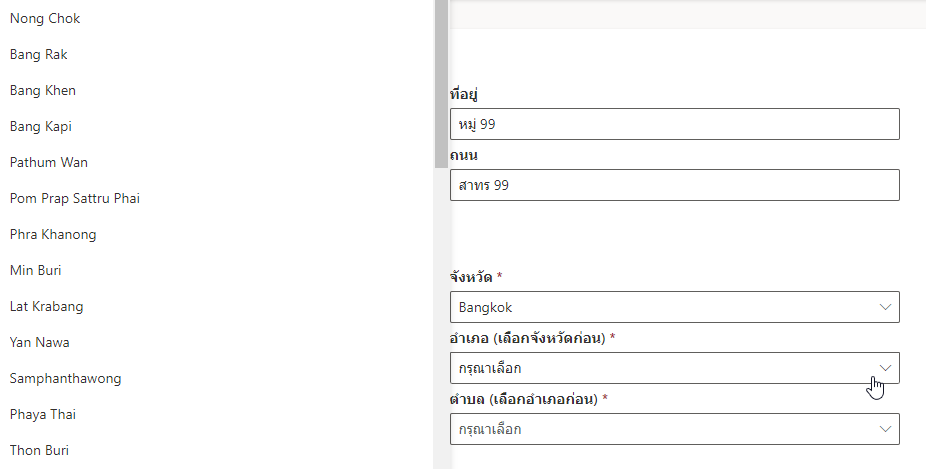
The same is true for the district. If you choose Bangkok A field name will be displayed to select.
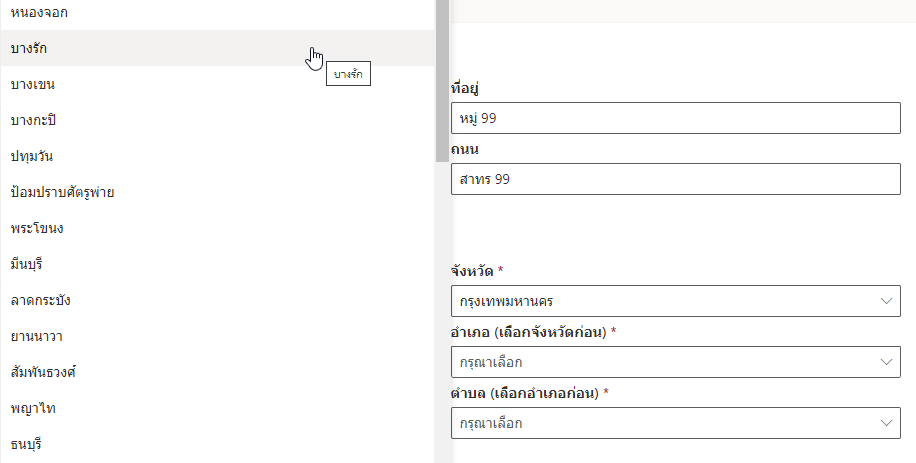
The choice of a district or district is the same.


If selected ภาษาอังกฤษ the name of the province and district will be displayed in English. as an example.

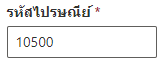
then enter zip code.
All entered information is shown as an example.
1.3 Contacts
This is the details that the seller can contact the buyer or the customer or service user. There will be a form to fill out as shown in the picture.
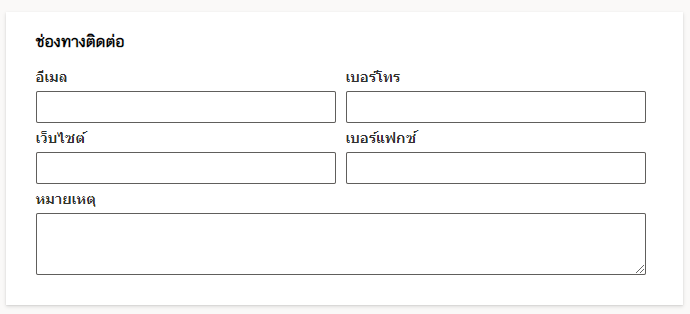
Fill out the information as shown in the sample image.

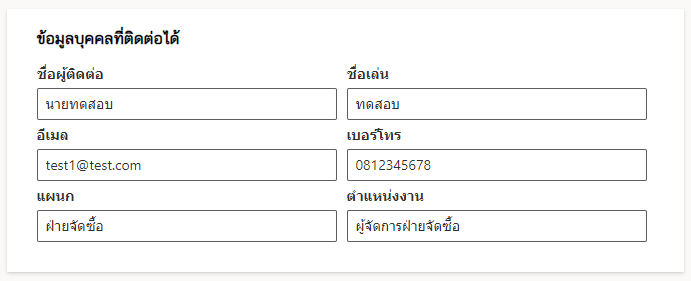
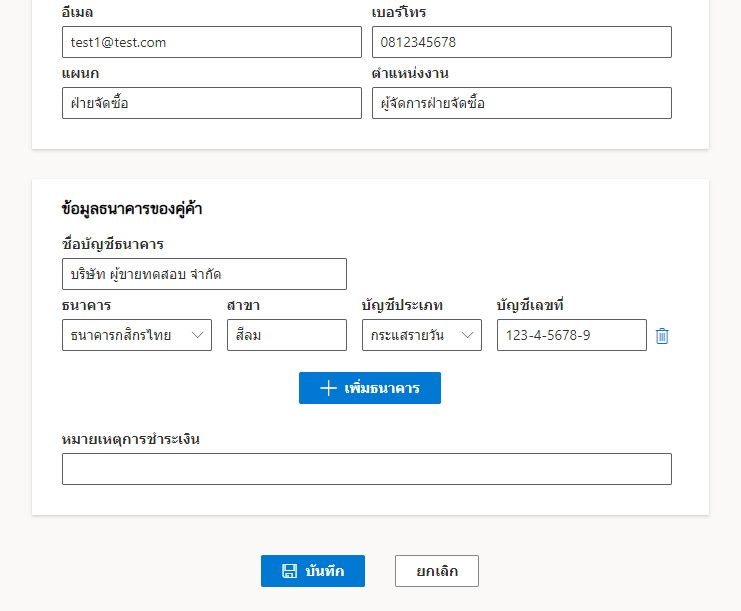
1.4 Contact person information
There will be a form to fill out as shown in the picture.
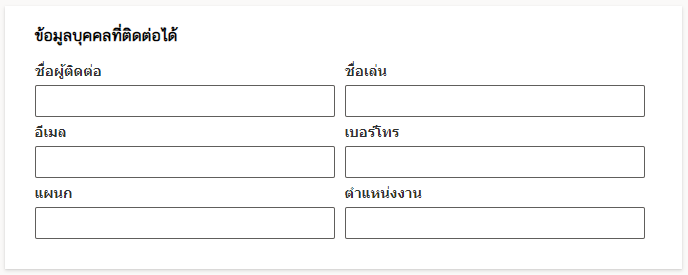
Fill out the information as shown in the sample image.
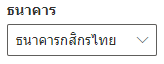
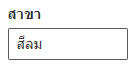
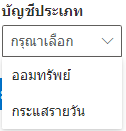
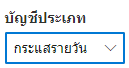
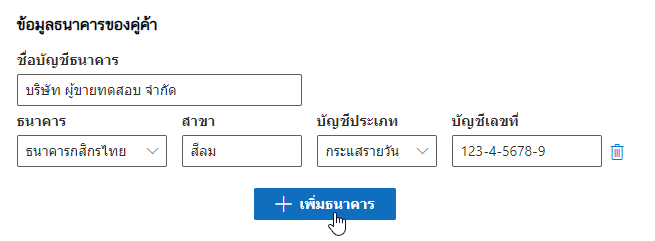
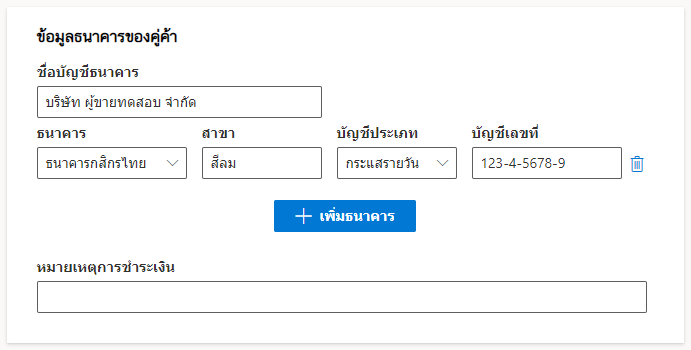
1.5 Partner’s bank information
There will be a form to fill out as shown in the picture.
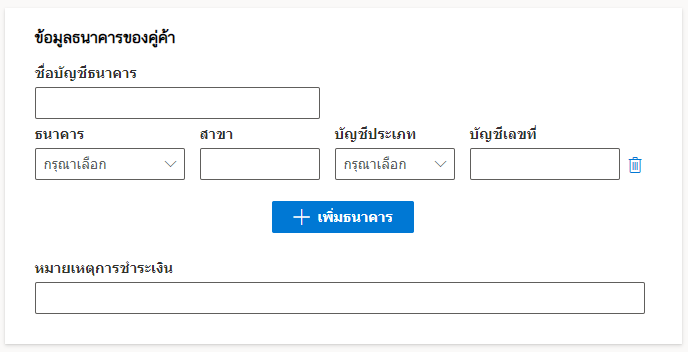
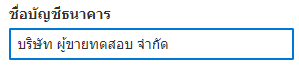
Enter account name first.
and select the name of the bank.

Type the name of the branch of the selected bank.
Choose an account type.
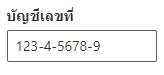
Then enter the account number.
To add a bank, click on เพิ่มธนาคาร (Add Bank).
Fill in the details of the payment note (if any).

Completed information will be shown as an example.
1.6 Save and list contact information
After filling out all the information, click on บันทึก (Save).
The information of the contact will be in the database as in the picture.
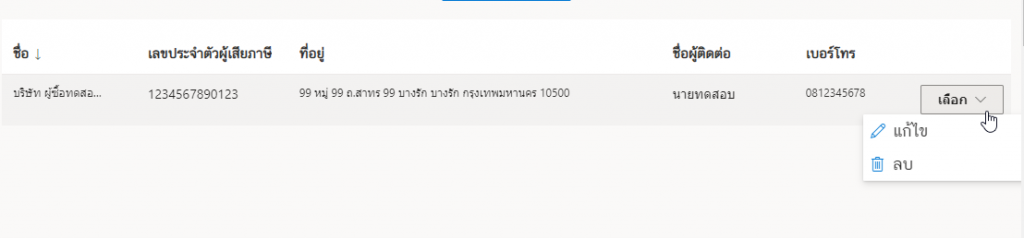
If you want to “delete” or “edit” a contact list, there will be a button “Select” and you can click to select as shown in the picture.
2. Creating a contact menu through any document
Click to select Create Document. In the example would be “Receipt/Tax Invoice”
When creating a document, contact information must already be filled in. Therefore, when filling out this section The data will be in the system after the document has been created.