How to install a Certificate from .p12./pfx file
1. Go to page “Certificate”.
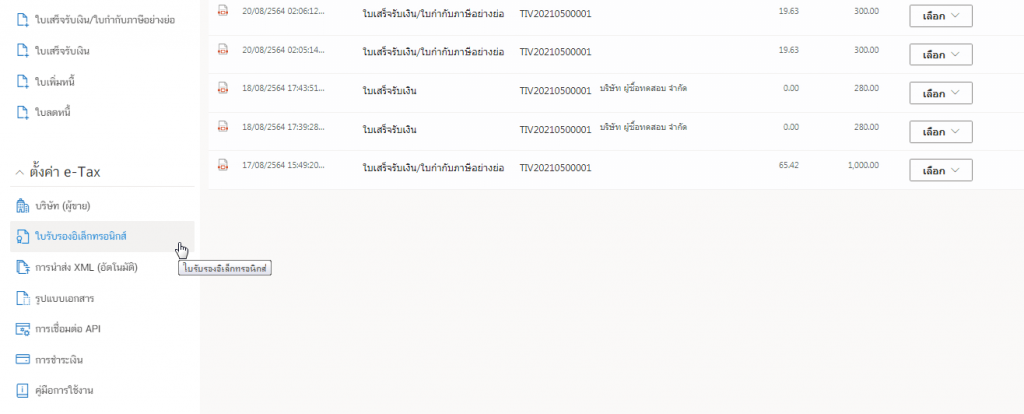
You can click on the ติดตั้งใบรับรองอิเล็กทรอนิกส์ (Install Certificate).
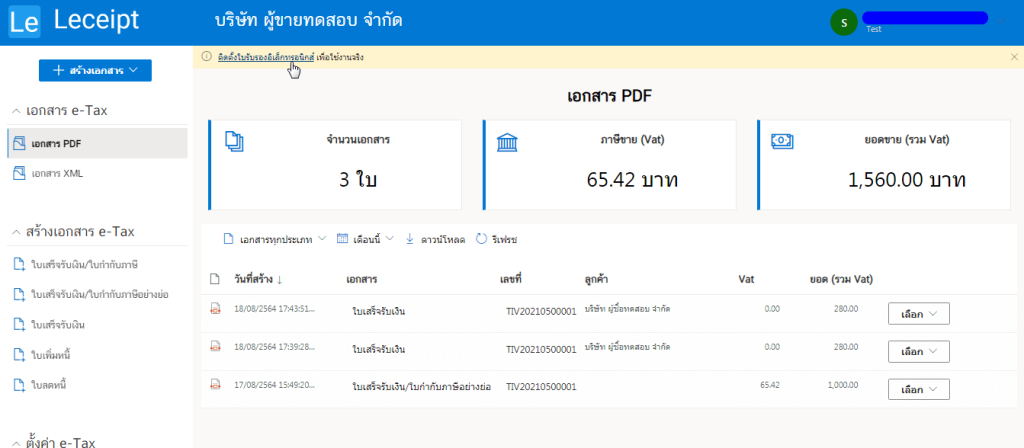
Or when in the main page of the system and then scroll down the mouse when you notice the menu bar on the left hand side you will see the ใบรับรองอิเล็กทรอนิกส์ (Install Certificate) then click on it.
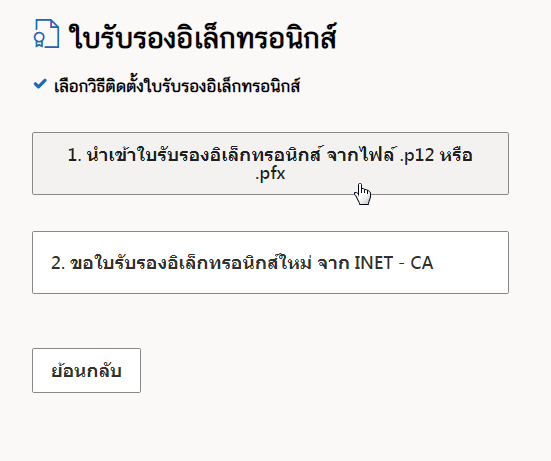
2. Import certicate from .p12/.pfx file.
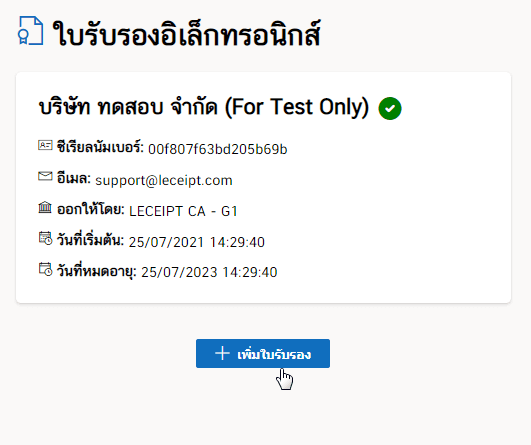
After into the page click on the เพิ่มใบรับรอง (Add certificate).
And click on นำเข้าใบรับรองอิเล็กทรอนิกส์จากไฟล์ .p12/.pfx (Import certicate from .p12/.pfx file.).
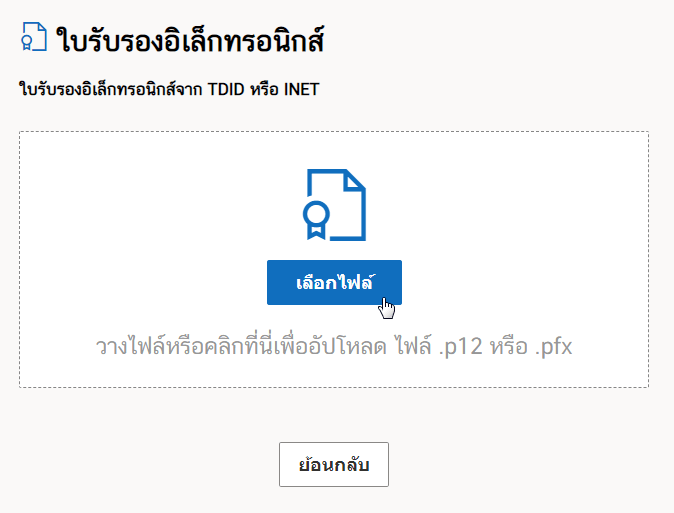
And choose the .p12 หรือ .pfx file.
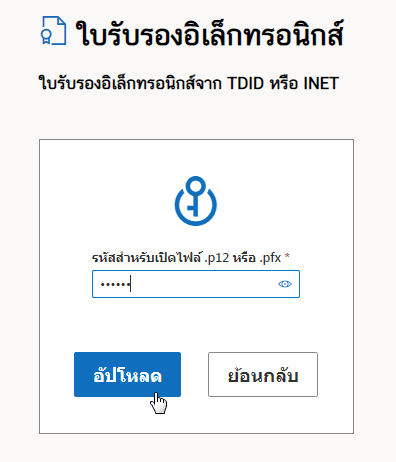
Click on the อัปโหลด (Upload) button.
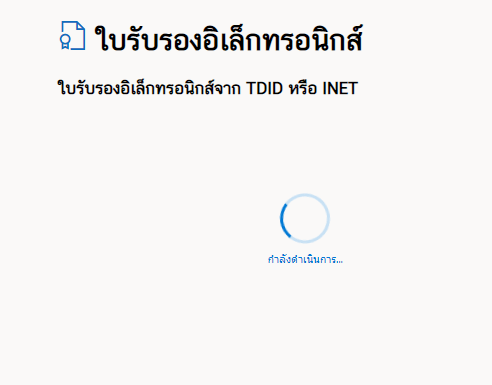
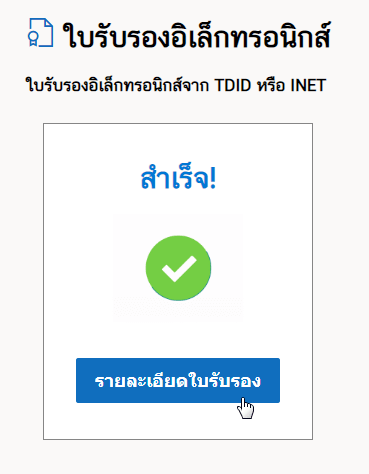
Then wait a few minutes for the system to process.
The system will inform you that the certificate was successfully installed, click on รายละเอียดใบรับรอง (Certifiacte details).
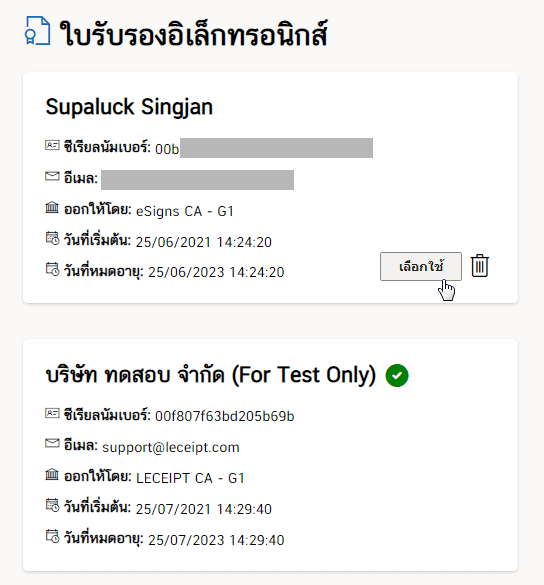
3. Certificate selection & apply.
After entering the page showing the details of the certificate. You can choose to use the certificate that you have installed to take it as a digital signature.
By clicking on the เลือกใช้ (Apply).
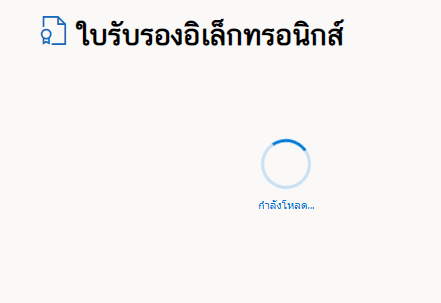
Then the system will process please wait a moment.
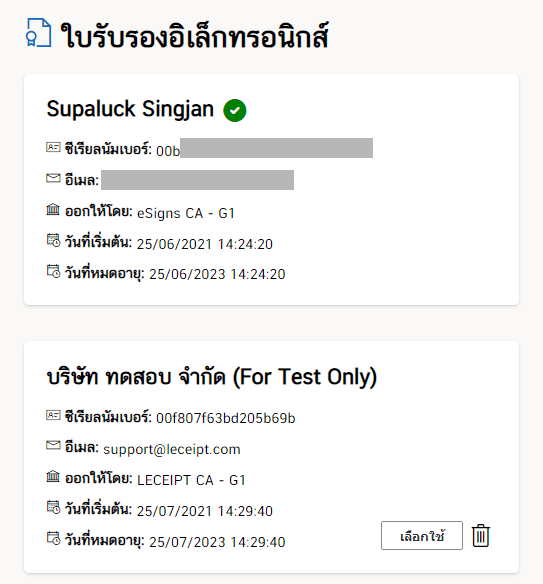
Your certificate can now be digitally signed on documents.
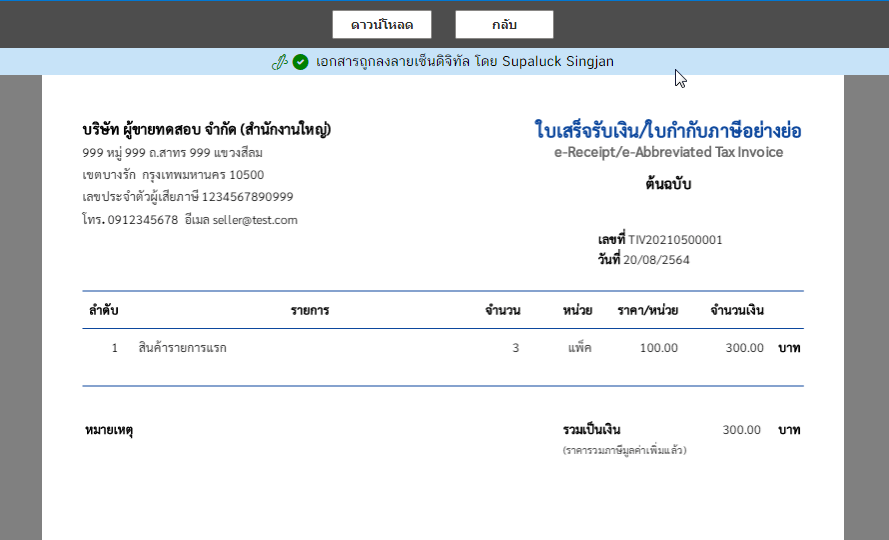
For example, take it for a digital signature on the document. As example below.